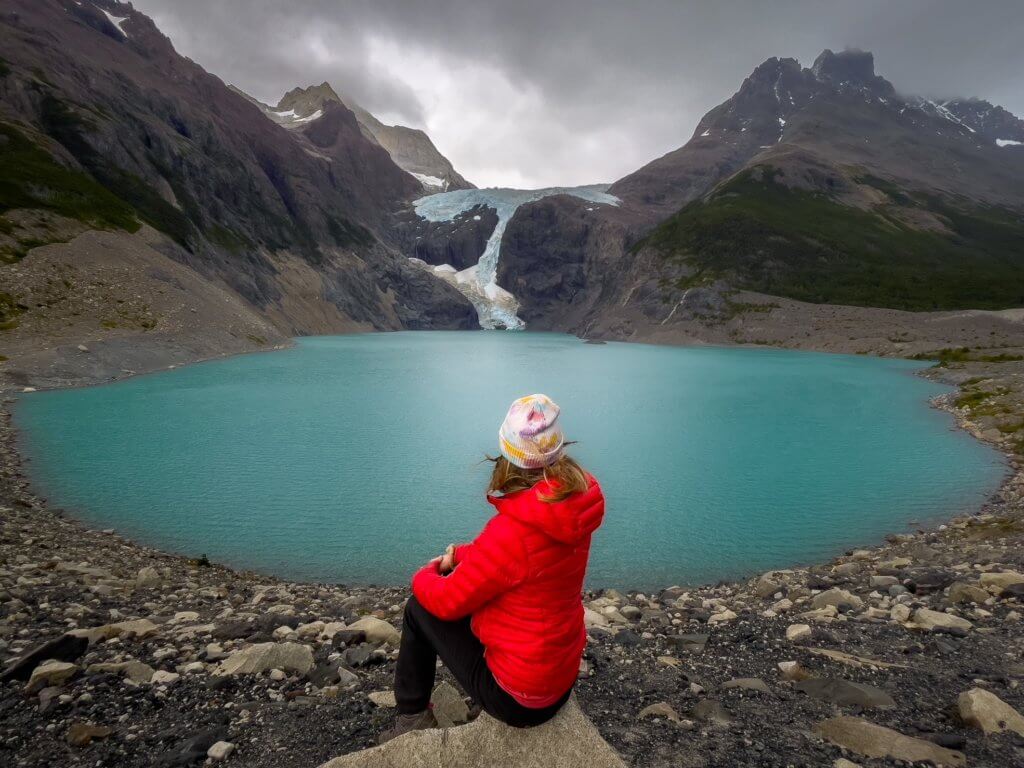
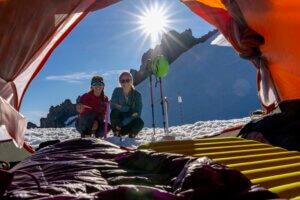
What if I told you that you we’re about to embark on an adventure that involves 8 days FULL of hiking, sleeping in tents, pooping in the woods, huge mountains, epic rock towers, endless rainbows, massive ice fields, thousands of ft of elevation gain, glacial lakes, 100 mph winds, suspension bridges, wildlife, watercolor sunrises, blisters, chapped lips, cold nights, endless laughter, a few tears, good people and did I mention 100 mph winds?? If that just got your adrenaline running, then KEEP READING! The Torres del Paine Trek in Patagonia is calling your name! Below you will find all the information you need to do the full “O” backpacking circuit in Torres del Paine National Park!
Check out our backpacking gear guide for gear recs.
Contents
| ***Disclosure: This post contains affiliate links. If you click one of them, I may receive a small commission (for which I am very grateful for) at no extra cost to you. |
What is Torres de Paine's “O” Circuit?
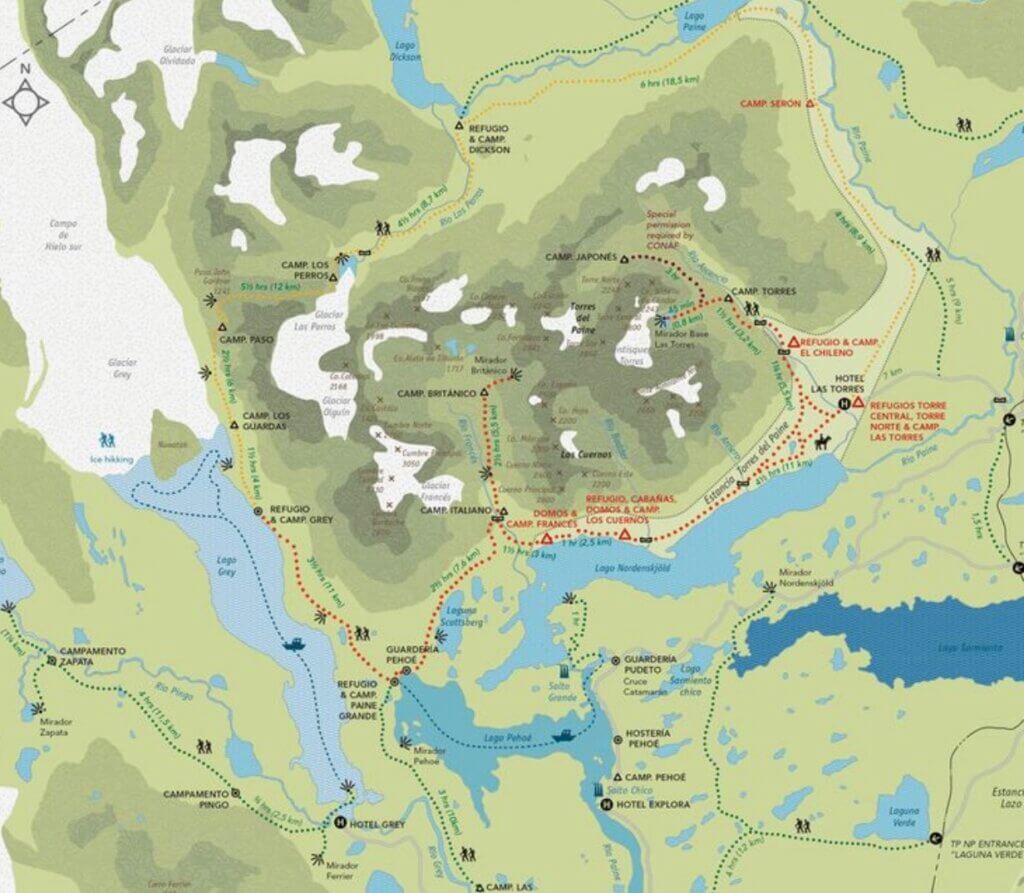
The O Circuit is an 85 mile (136 km) backpacking trek located in the beautiful Torres del Paine National Park in Chilean Patagonia. It is a loop trail that runs counterclockwise around the Cordillera del Paine mountains aka “The Towers”. There are two backpacking routes you can take in the park (the “W” or the “O”).
The W route is a PART of the O route and about half of the length. If you are not looking to bite off 8 days of backpacking, or simply do not have enough time, then the W is a good option! It hits some of the highlights of the park and is a good way to get a taste of everything without doing the full circuit. If you are an avid backpacker/in good hiking shape and have the time, then I would highly recommend the full O (which includes the W section)!
How Long Does it Take to Hike the O
The O can be done as quickly or slowly as you’d like. A typical itinerary is anywhere from 7-9 days, with the sweet spot being 8 days/7 nights. We chose to do it in 8 days and felt like it was the perfect amount of time! We will be illustrating the full itinerary that we followed in the “daily breakdown” section.
It is important to note that you do NOT have the normal flexibility of changing your plan on the fly like a normal backpacking trip, as it is mandatory that you reserve a campground for each specific night.
The Best Time to Hike in Torres del Paine
Summer season is the opposite in Patagonia (from the USA) and therefore “high” season is considered November-March, with December-February being the most popular time for trekking. In these summer months, the highs can be anywhere around 70 F (20 C) and lows down to 40 F (5 C).
How to Book Campsites for the Torres del Paine Trek/What to Book
To hike the O route, you must make reservations IN ADVANCE! A good rule of thumb is to book the sites at least 3 months before your planned trip. These campsites fill up FAST, so I would suggest waiting to book any flights/hotels/transportation until you SECURE your campsites.
How to Book Campsites in Torres del Paine
Let’s first dive into HOW to book camping. Bear with me, as this (to me) was the most confusing part of planning the trip. There are three different companies that own the campsites in Torres del Paine, known as CONAF, Vertice Patagonia, and Las Torres (Fantastico Sur). CONAF offers free campsites, but as of spring 2024 they are UNDER CONSTRUCTION & they are not available to book. Vertice Patagonia owns campsites Dickson, Los Perros, Grey, and Paine Grande. Las Torres (Fantastico Sur) owns campsites Central, Seron, Frances, Los Cuernos, and Chileno. The Vertice and Las Torres campsites can be booked on each of their websites listed below-
What to Book for Torres del Paine Trek
Now let’s talk about WHAT to book! Below is the suggested 8 day/7 night campsite itinerary. This is a quick reference to use when booking your sites, but for more detail see section “daily breakdown”.
1: Seron
2: Dickson
3: Los Perros
4: Grey
5: Paine Grande
6: Frances OR Los cuernos
7: Central OR Chileno
Before you make your reservation there are a few KEY decisions you need to think about regarding room and board. The cheapest option you have would be to bring all your own food and gear and only book the campsite itself. If you’ve got a little extra cash then you can choose the option to rent gear and/or buy the food packages at each site.
Rental Gear
All of the campsites offer the option to rent a tent, sleeping bag, and sleeping pad. When you rent this gear, it will already be set up for you when you arrive to camp.
Check out our backpacking gear guide for gear recs.
Food
Each campsite also offers breakfast, boxed lunch, and/or dinner. The breakfast and dinners are all restaurant style. You will sit at a table and be served a 3-course hot meal. For each meal you will get the choice of regular or vegetarian. Other than that, you get whatever they are serving for the night. The boxed lunches normally consist of a hearty sandwich, a fruit, and a couple of snacks such as energy bar or trail mix.
Rental Gear/Food Price Breakdown
Vertice Campsites
- Tent Site: $11
- Tent Rental: $44
- Sleeping Bag Rental: $28
- Sleeping Mat Rental: $12
- Full Board (3 meals): $95
- Half Board (dinner & bfast): $65
- Breakfast: $29
- Lunch: $30
- Dinner: $46
Las Torres Campsites
- Tent Site: $35-$40
- Tent Rental: $50-$55
- Sleeping Bag Rental: $30-$35
- Sleeping Mat Rental: $11-$12
- Full Board (3 meals): $110
- Half Board (dinner & bfast): $80
- Breakfast: $30
- Lunch: $35
- Dinner: $55
*** All items expressed in USD
In addition to booking each campsite, you will also have to pay the National Park entrance fee.
How to get to Torres Del Paine National Park
Once you get to Laguna Amarga, you will take a quick 5 min shuttle to Camp Central. This is cash only and around $5 USD or 4,000 CLP. This is the same process for the route back to Puerto Natales.
IMPORTANT: The bus from Laguna Amarga back to Puerto Natales runs twice a day at 1430 and at 1945. When using this itinerary, it is important to note that you will be catching this bus AFTER your hike to the base of the towers on day 8. The only way to catch the 1430 bus is if you plan to do the towers as a sunrise hike. Otherwise, you will need to book the 1945 bus.
Daily Breakdown
***The mileage and elevation shown is what we ACTUALLY did, not an average of what is online. We used precise Garmin watches to gather our data.
Torres del Paine Day 1: Camp Central to Camp Seron
7.9 miles, 1,115 ft elevation gain
Once you take the shuttle bus to Camp Central, it will be time to hop on the trail and get GOING! Day 1 is a relatively easy day to break in the trail legs and work out some kinks in your packing strategy.
Torres del Paine Day 2: Camp Seron to Camp Dickson
11.3 miles, 1788 ft elevation gain
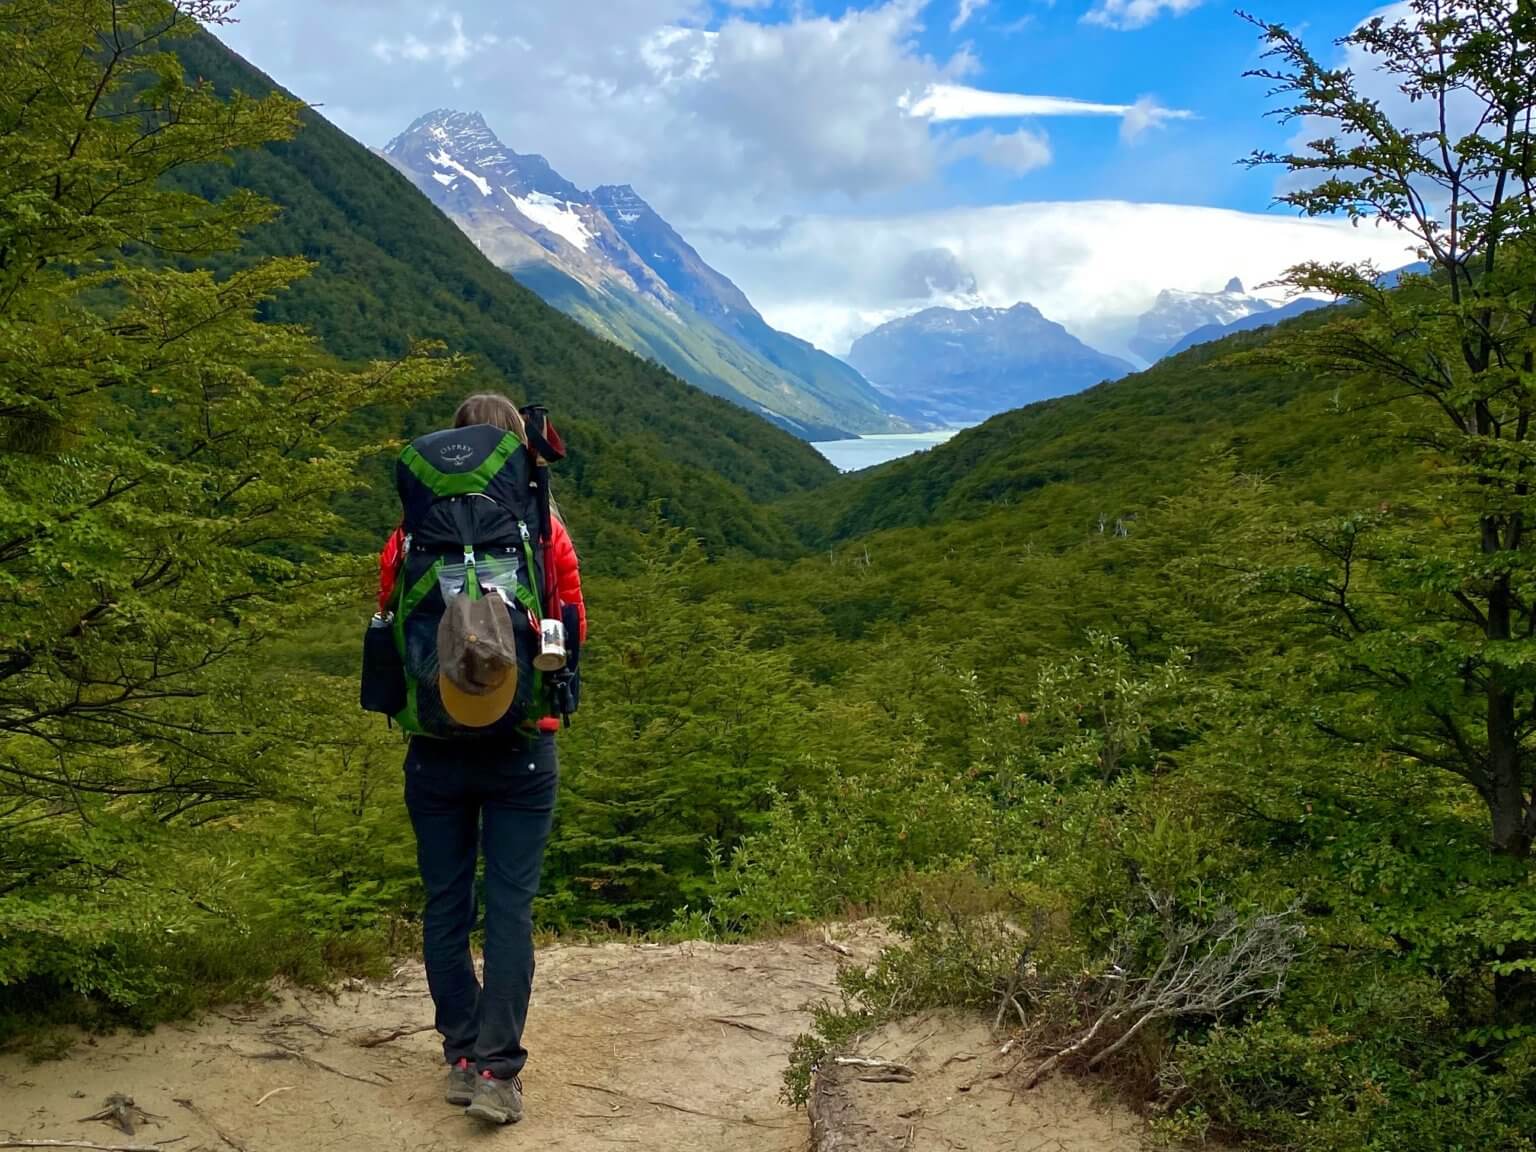
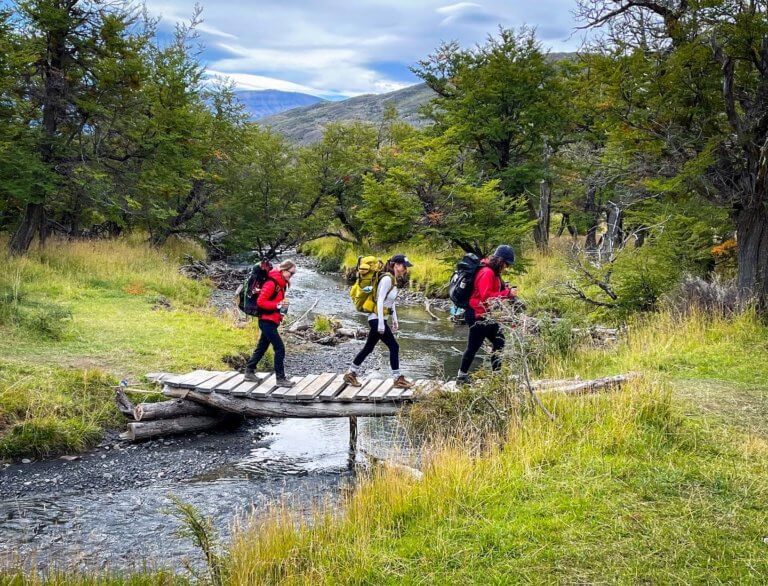
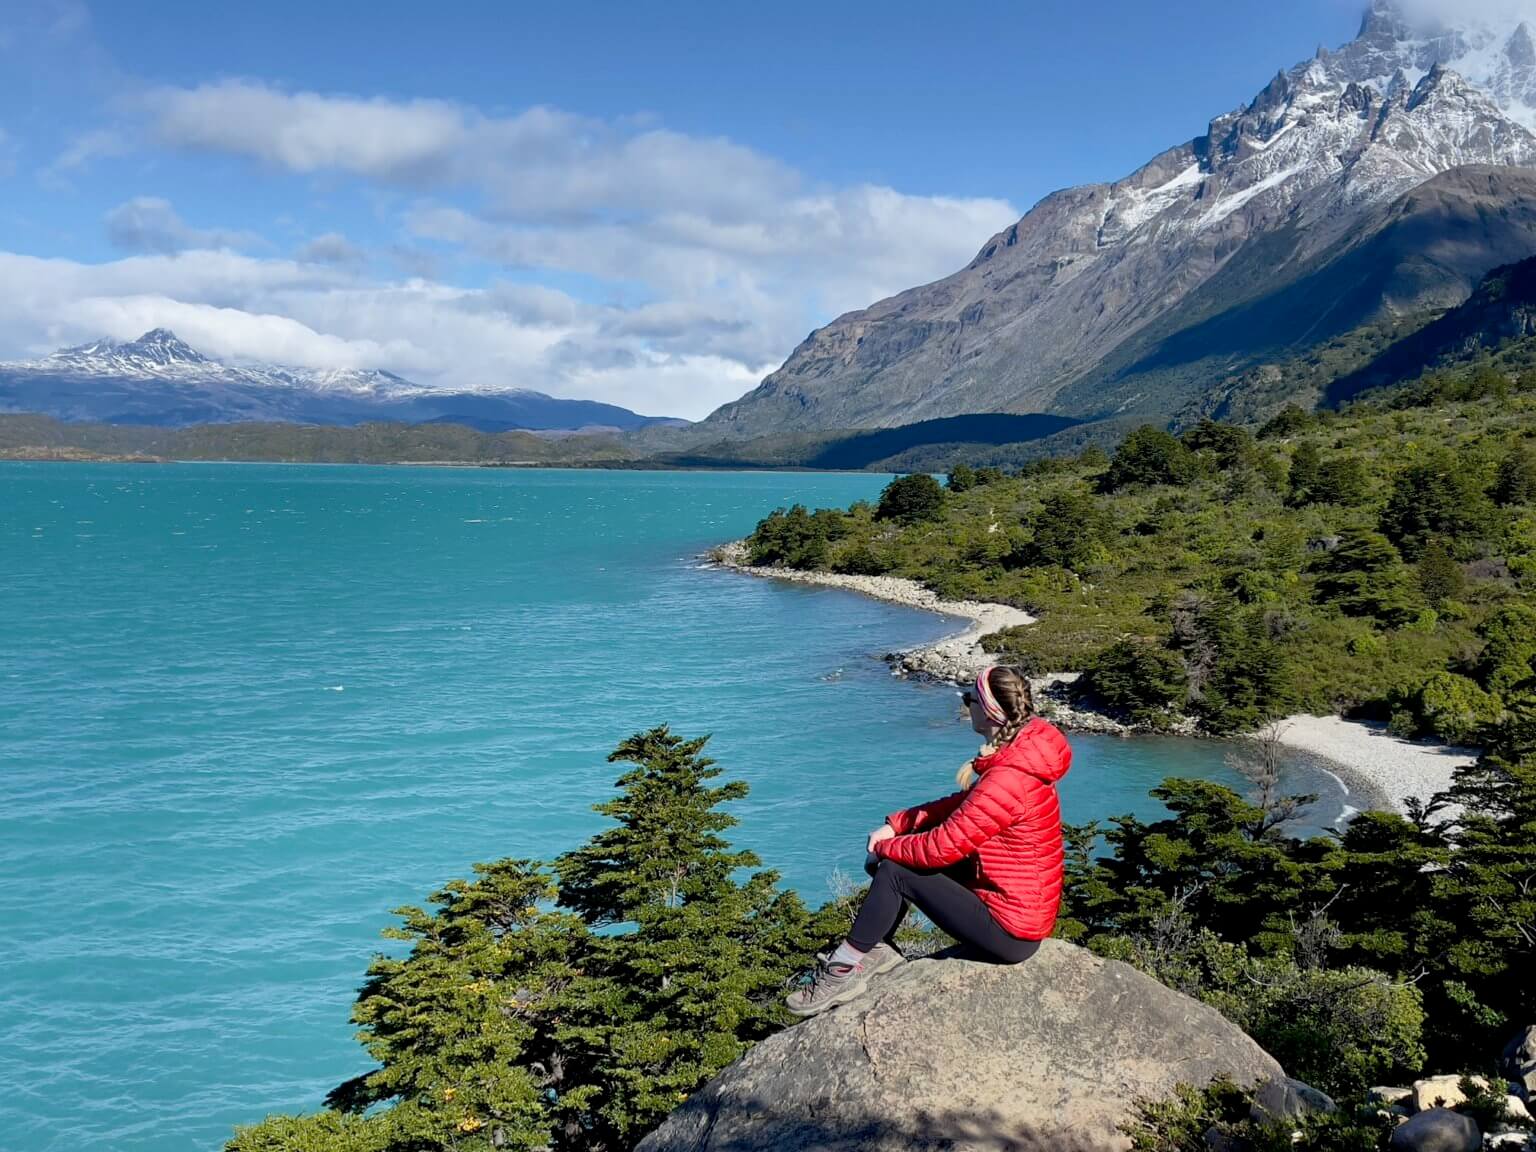
Day 2 is full of beautiful lakes and lush forests! You will head further and further into the mountains, where you will eventually be rewarded with a beautiful campsite bordering an icy blue river.
Torres del Paine Day 3: Camp Dickson to Camp Los Perros
7.1 miles, 1800 ft elevation gain
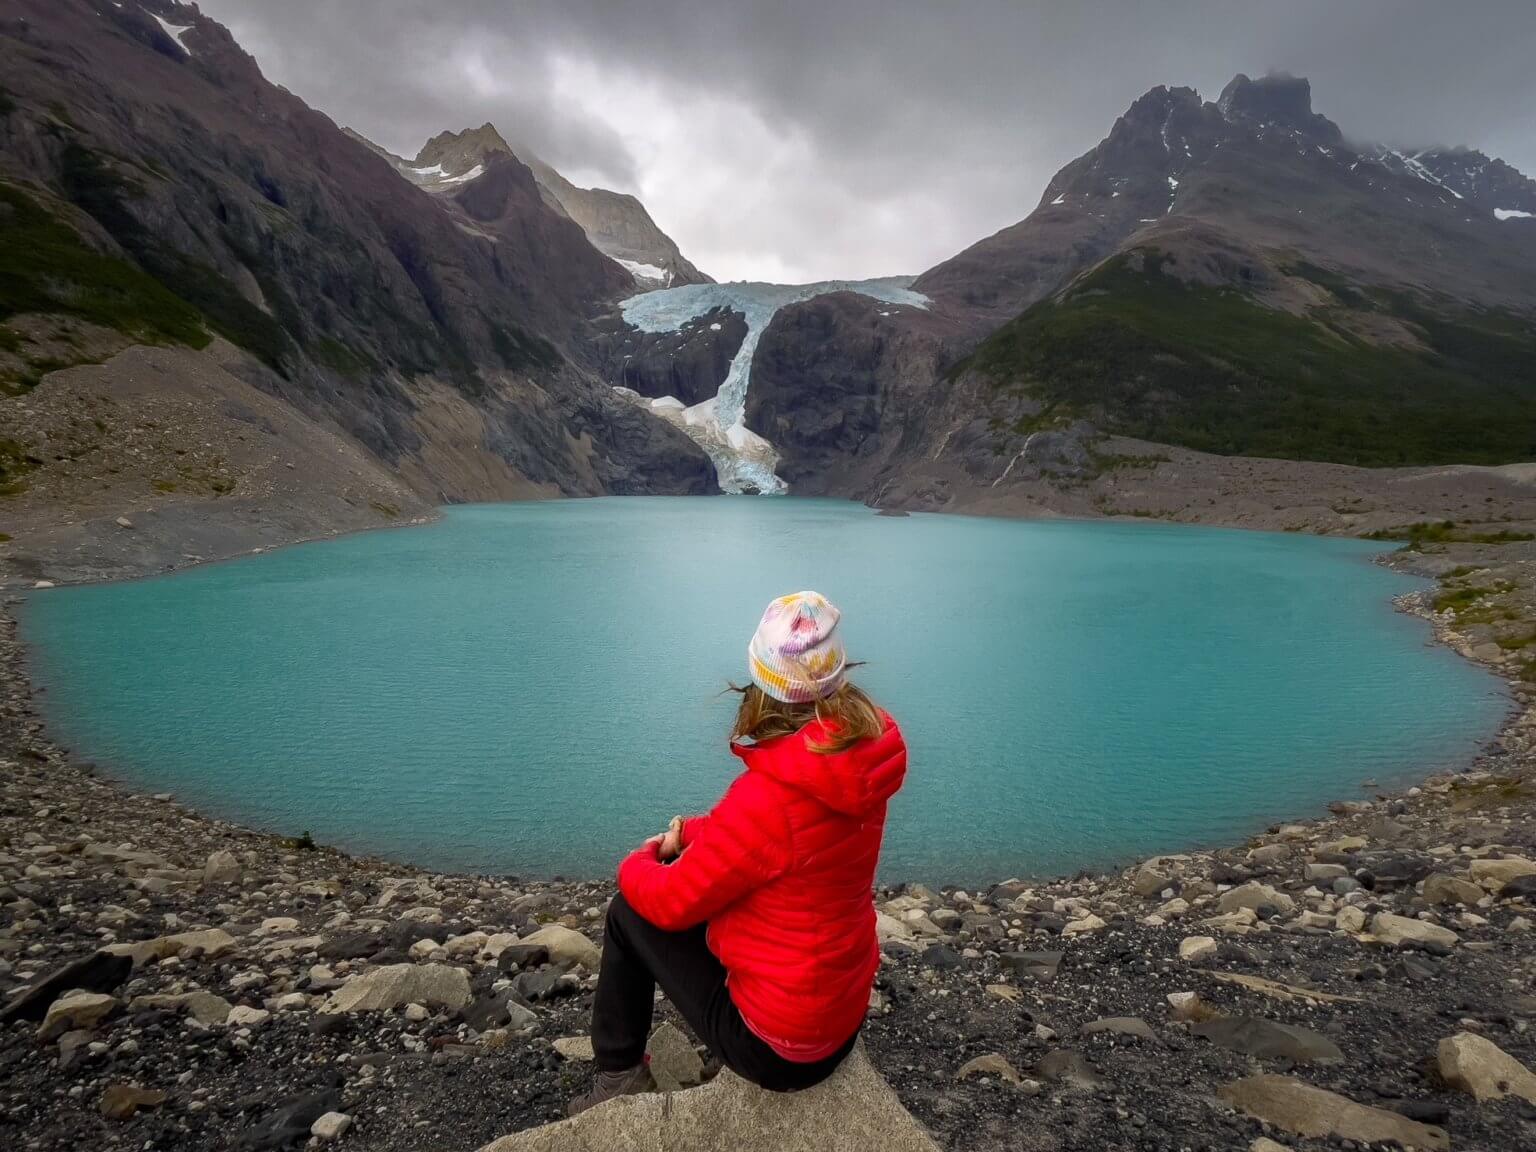
Throughout the day you will catch glimpses of Glacier Los Perros as you head towards camp. As you approach the final stretch of the day, you will climb a large scree field that overlooks the glacier and that perfect turquoise fresh water lake! Enjoy this easier day, as day 4 is the hardest day of the trek.
Torres del Paine Day 4: Camp Los Perros to Camp Grey
9.8 miles, 4585 ft elevation gain, 5653 elevation loss
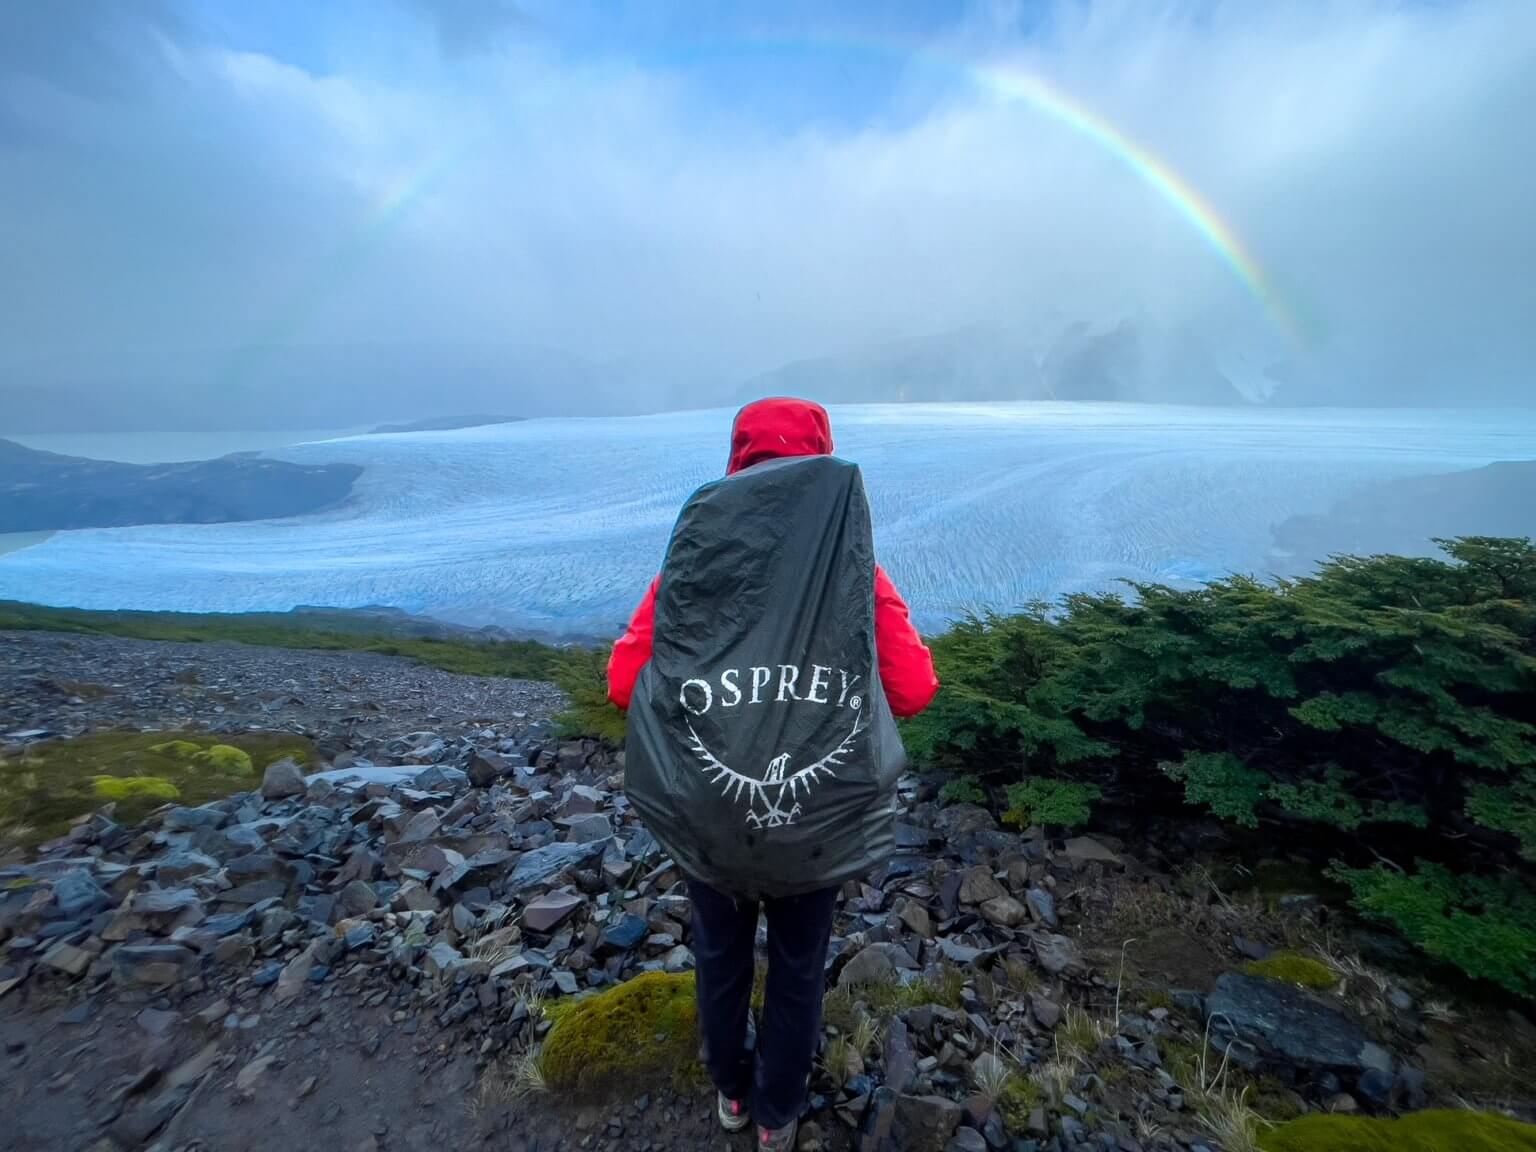
Yep, you read that correctly.. 5k ft up and then 5k ft down! Today you will tackle the John Gardner Pass. FAIR WARNING: it will be windy! Even if it’s a good weather day. Make sure to get an early start, and do NOT underestimate the day. PRO TIP: they sell the best handmade pizza at the refugio at camp grey, don’t miss out- you will have earned it!
Torres del Paine Day 5: Camp Grey to Camp Paine Grande
6.7 miles, 1581 ft elevation gain
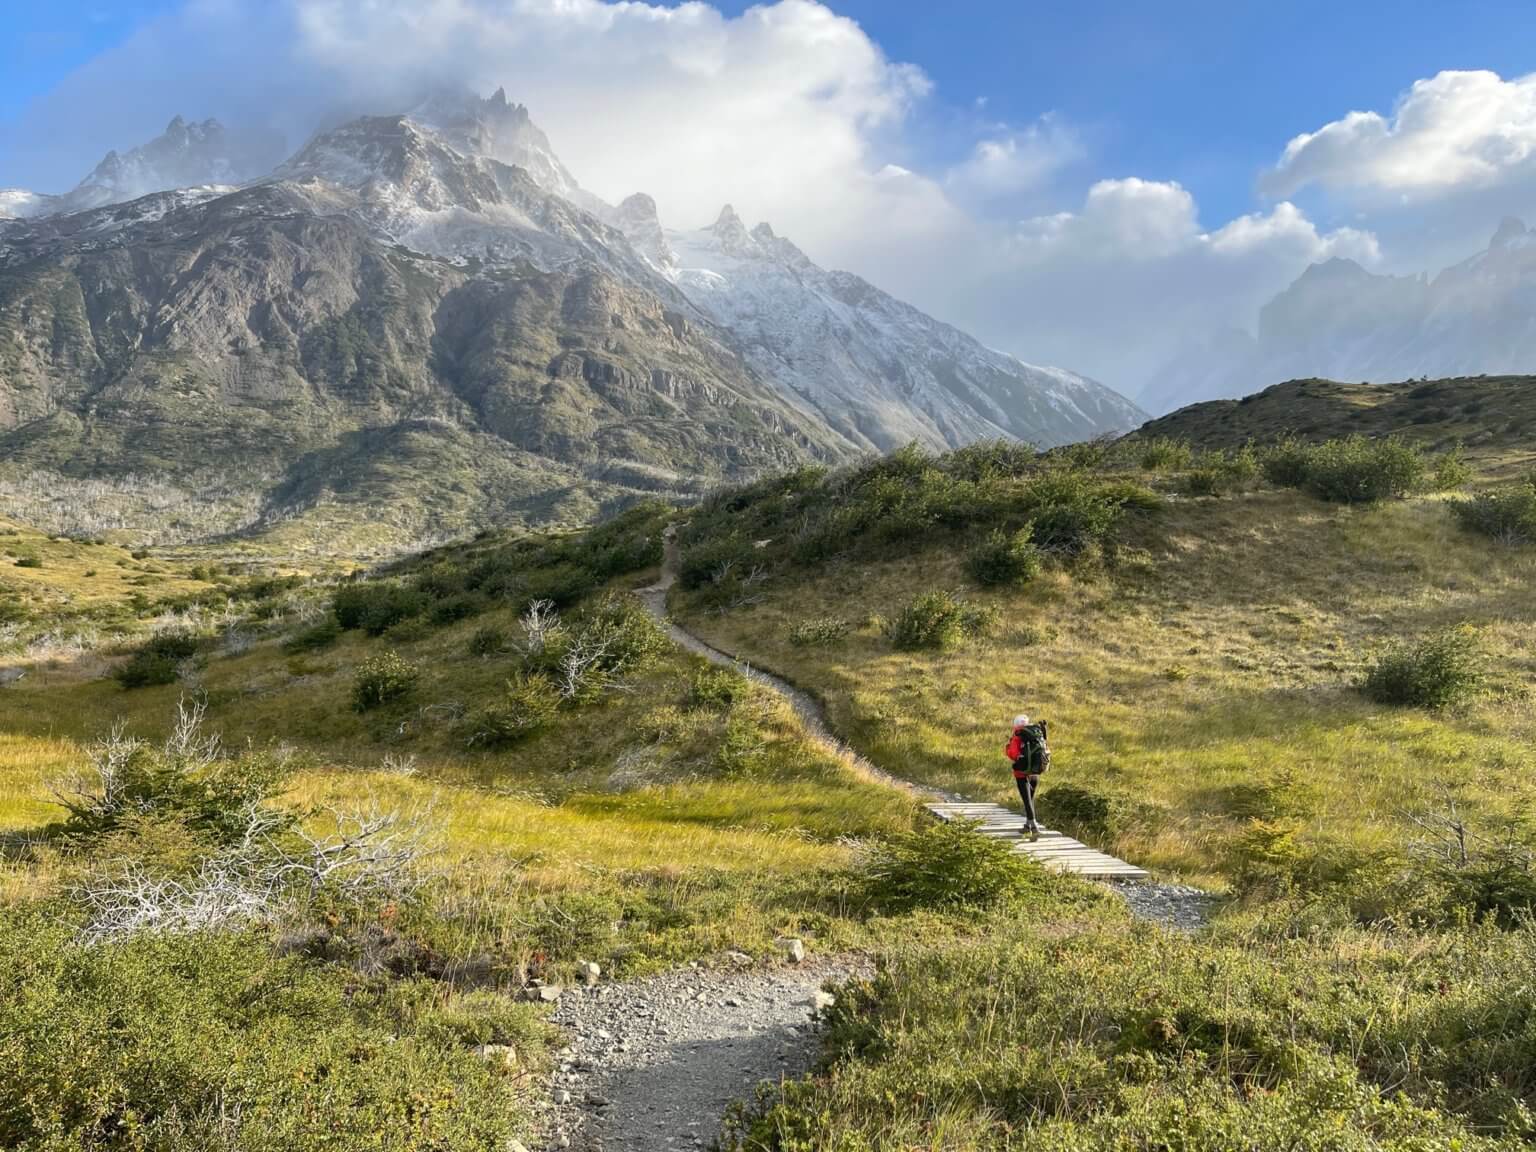
Day 5 is one of the easier days, and you should be thankful for it! I would suggest getting to Paine Grande early and having an evening filled with good food and a whole lot of stretching, because day 6 is another tough one.
Torres del Paine Day 6: Camp Paine Grande to Camp Frances
12.8 miles, 3543 ft elevation gain
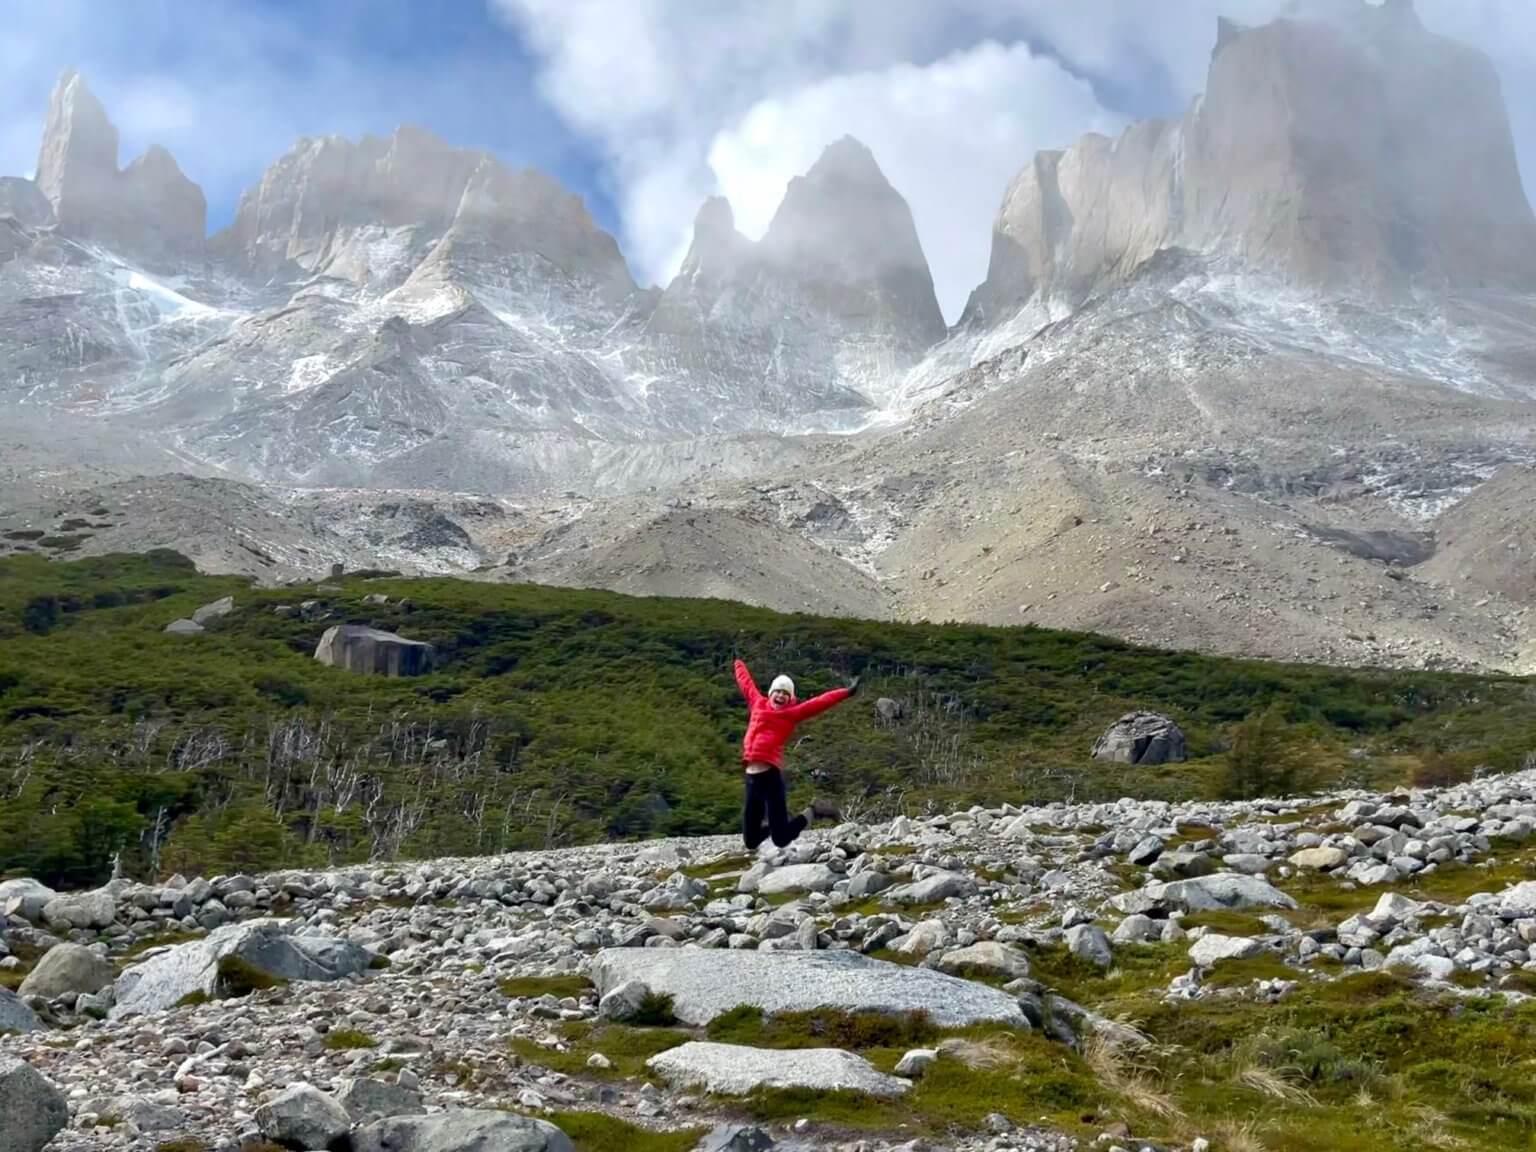
This is the first inlet of the W portion! You will start this day by heading towards Camp Italiano (under construction). At the camp, you can drop your pack off at the old refugio, as the rest of the hike will be out and back. You should feel light as a feather without your bag on, so use it to your advantage to make sure you have enough time to make it all the way to Britanica (the lookout point)! The view is well worth it. Once at Britanica, you will head back to Camp Italiano, grab your pack and continue onward to Camp Frances for the evening.
Torres del Paine Day 7: Camp Frances to Camp Central
10.1 miles, 2096 ft elevation gain
Day 7 will be spent hiking along the beautiful lake Nordenskjold! This day is bittersweet as you make your way back to where it all began, camp Central.
Torres del Paine Day 8: Camp Central to Puerto Natales
12.9 miles, 4127 ft elevation gain
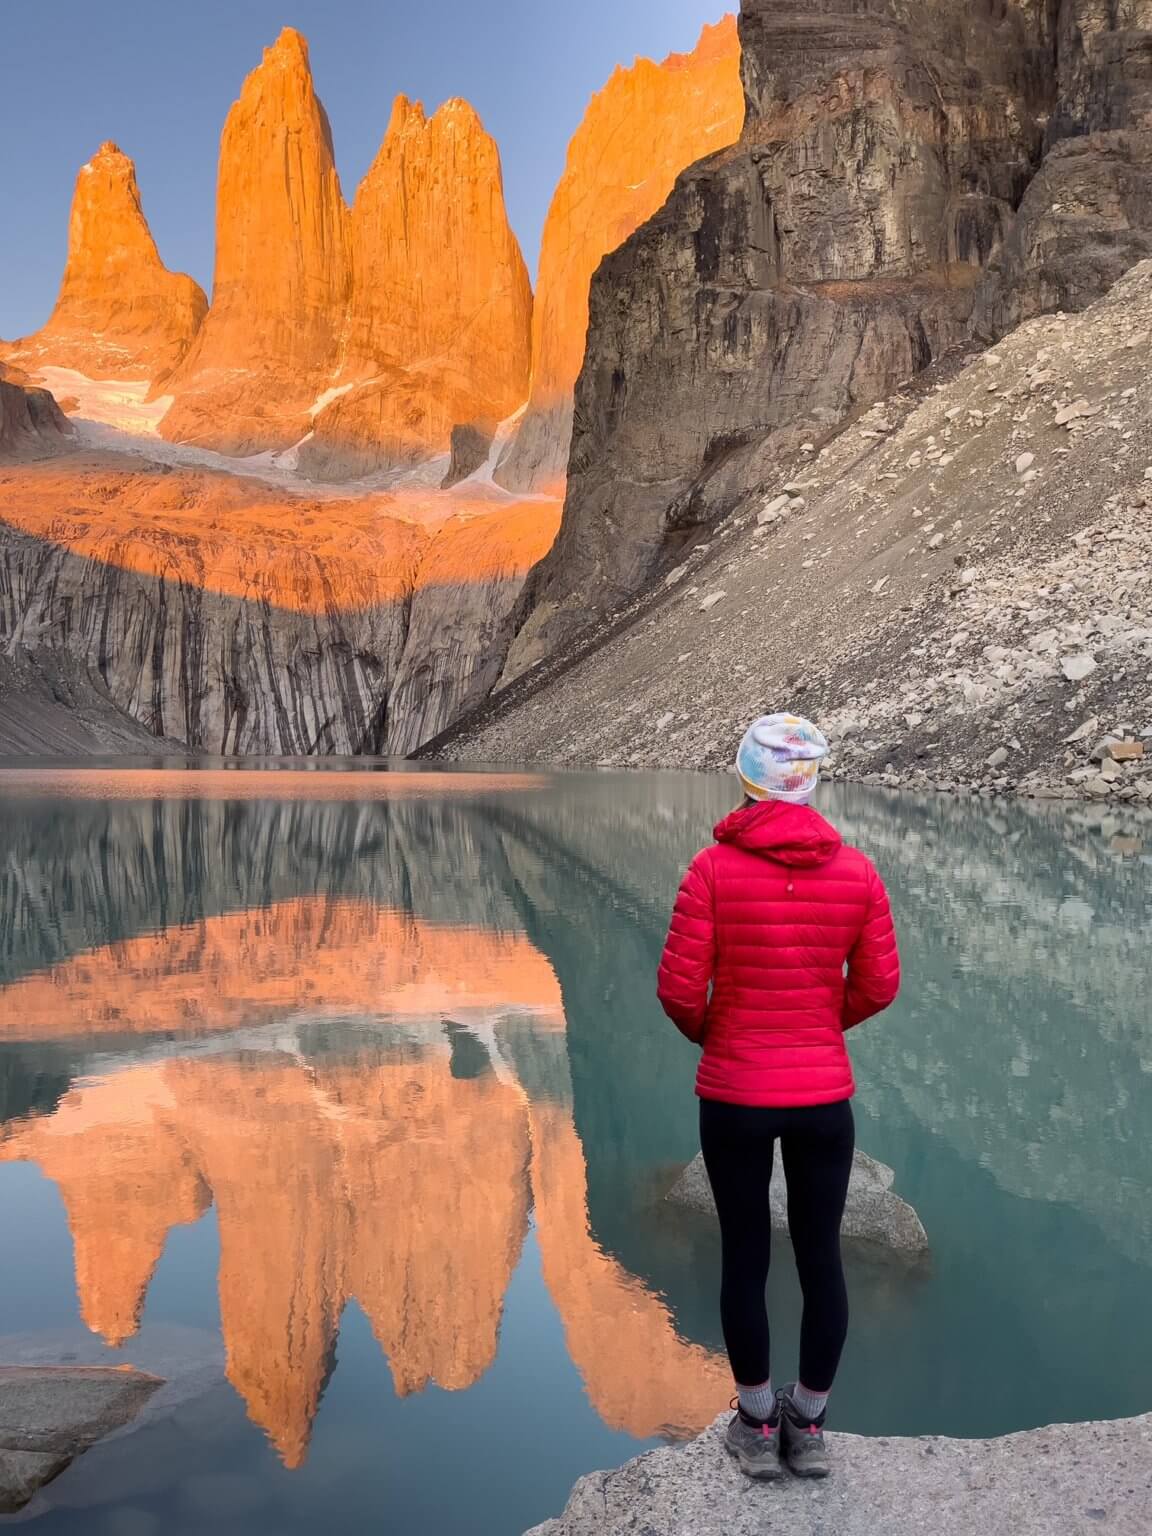
It’s time for the grand finale- THE TOWERS! It is such an epic day to end on! I would HIGHLY recommend waking up at 330 am, strapping on the headlamps, and making your way towards the towers for sunrise. This is a very popular hike that a lot of people come to the park to do as a day hike. By 8 am the trail is saturated with people, which really takes away from the beauty of the area. Plus, those towers at sunrise… INSANE!
Gear Guide for Torres del Paine Trek
You will want to pack THE USUAL backpacking gear when going on your trip, but there are a few items specific for Patagonia that I want to go over that might not make your normal packing list..
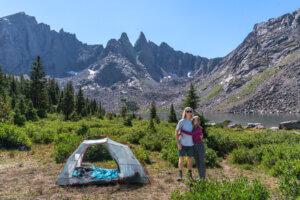
Guylines and heavy-duty stakes: They are a MUST HAVE item for your tent! The winds in Patagonia are no joke, our friend’s tent broke on night one because she didn’t stake the guylines down. Even if the day has been a calm one, STAKE IT DOWN!
Wind Layers: We normally like to bring our lightweight, packable rain/wind layers when backpacking, but for this trip we opted for our heavy duty Gore-Tex layers to help break the wind, and we’re glad we had them.
Chapstick: Another wind related item (are you seeing a trend here), never forget chapstick!
Hiking Boots: We suggest using boots versus trail runners! The terrain is very rocky, and some extra ankle protection is nice to have. We LOVE these Salomon’s in women’s and men’s!
Sleeping Bag: Make sure to have a bag rated for 30 deg F or lower.
TREKKING POLES: Save your knees people, you’ve got a lot of elevation to go up AND down.
Nalgene: We did not carry a water bladder at all! We each had our 1L Nalgene that we refilled when needed in a river/stream.
Pack LINER: You will want a pack COVER too, but a lot of times when the winds are howling, the pack covers will fly into the air and give zero protection from the rain. By having a pack liner, you will ensure that your gear/clothes stay nice and dry
Helpful Tips for visiting Torres del Paine
- The trail is VERY well marked. You do not need a map, but it is always best practice to carry one.
- There is an option to pay for Wi-Fi at each Refugio.
- NO FIRES, and camp stoves are only to be used in designated areas at the refugios (they will show you at check in).
- Almost all of the refugio’s have hot showers, bring a packable towel and toiletries if you plan on showering.
- You do not need a water filter! There is plenty of safe running fresh water from rivers and streams along the trail.
- Bring a book or deck of cards. Sometimes you will get to camp early and it’s nice to have something to occupy your mind while your body rests.
- Get the Calafate beer AT LEAST ONCE, it is made from the Calafate berry and it is absolutely delicious. They sell it at each refugio.
Happy Backpacking!


10 thoughts on “Torres del Paine Trek: How to Plan for Patagonia’s “O” Route”
Nicely spoken without a doubt! !
Helpful write ups, Appreciate it.
Really a lot of wonderful advice!
Great post!
Did you bring your own tent or rent? Did you bring your own meals or purchase them? If purchased, was it worth the value paid? Did it consist of local fare?
Thank you!
we brought our own tent as well as our own food! I had a friend who bought her meals from the Refugios and it seems like the dinners were SO NICE and would be worth it!
Hi there, just wanted to say, I loved this post. It was helpful.
Keep on posting!
Recently visited Isla Mujeres and it was unreal! Highly recommend snorkeling .
Already planning my return trip!
Pingback: My Homepage
Pingback: Torres del Paine Travel Guide – Flights, Hotels, Homes, Tours, Car Rentals – NovaTreks
Hi!
I am looking to book the O-circuit (basic campsites) for the week of 11/23-11/30. The booking websites currently state they don’t have any availability for basic campsites. Do you think that is because everything is already booked, or do they release the campsites closer to the start date (e.g., 6-months in advance, 3-months in advance, etc.)?
Thank You!
Alonna
Comments are closed.