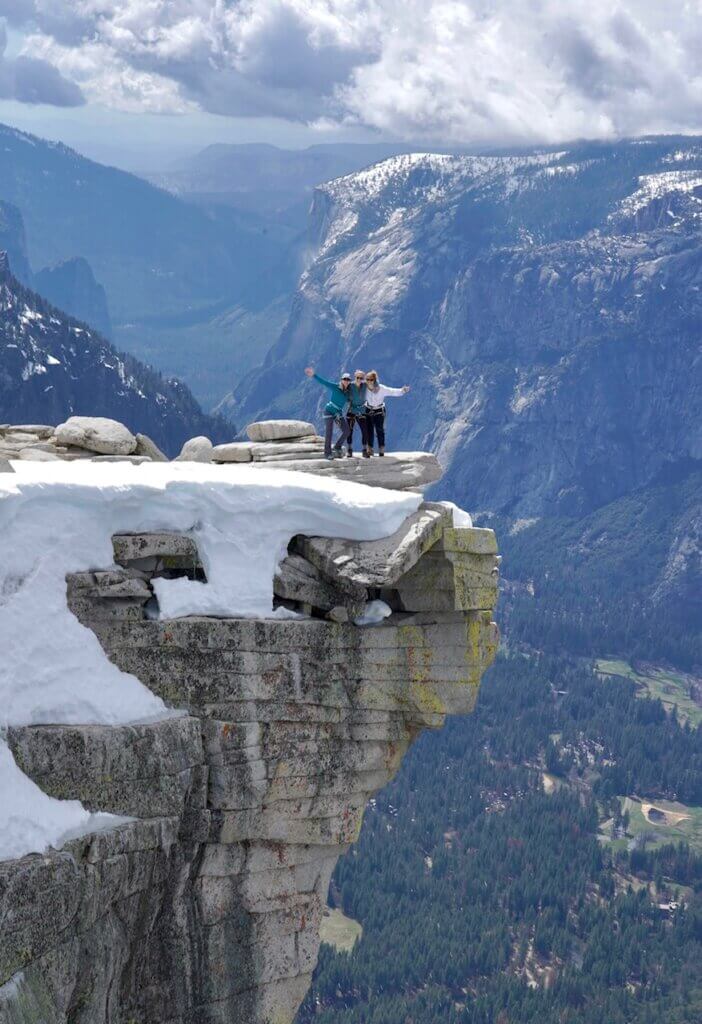
To climb half dome with the cables down is a once in a life bucket-list adventure! There is so much hype surrounding half dome, and for good reason. Throughout the hiking portion you experience massive waterfalls, giant boulder fields, lush forests, roaming wildlife, and raging rivers! Each and every turn brings new scenery and a new experience. Don’t be fooled by the fact that it is a very vigorous and long day to get to the top though. The route consists of 16 miles round trip and an elevation gain of 4,800 ft. It is a strenuous hike that should not be underestimated.
With all of that being said, let’s get to the real reason you’re here. You want to hike half dome with the cables down, right? Hell yeah, you do! Not that you need any more convincing, but here’s the 2 main reasons why:
You do not have to worry about getting a permit.
- The permitting system for half dome is very tedious and highly competitive. Climbing with the cables down means that you do not have to pay to enter a lottery that MAY or MAY NOT result in a permit.
You will essentially have the trail all to yourself.
- If you hike half dome in season (cables up), there will be a TON of people on the trail and the cables part of half dome is always covered up. During peak times in the day, there will be a line to go up and down them.
OKAY we’re convinced.. Now logistics
Contents
| ***Disclosure: This post contains affiliate links. If you click one of them, I may receive a small commission (for which I am very grateful for) at no extra cost to you. |
Who Should Climb Half Dome
If you own a harness and know how to tie a simple prusik knot, then you are a prime candidate! If you have no idea what that is, then you will need to do a little research. You can watch a quick YouTube on how to tie a prusik knot, but I would highly suggest assessing your comfort level with the knot and understanding how and why it works before proceeding. Also, my personal recommendation is that you should have at least one person in your group who is a competent rock climber. This has proven to be a dangerous and sometimes fatal climb if ill prepared.
When Should You Climb Half Dome
The cables go up around Memorial Day in the spring and are taken down around Columbus Day in the fall. The exact date will change each year, as it is based on the conditions of the trail.
The best time to hike with the cables down are the couple of weeks right before they get put up, and the couple of weeks after they get taken down. This will ensure that you have the best opportunity for good trail conditions.
Climbing Gear for Half Dome
- Harness (men’s & women’s)
- 2 Prusik loops
- 2 locking Carabiners
Hiking Gear for Half Dome
Shoes: We LOVE these La Sportiva approach shoes in men’s and women’s!
Pack: A good day pack makes ALL the difference! We love both Osprey and Gregory packs.
Sun protection: a brimmer hat and sun hoodie (women’s and men’s) are essentials in the sun!
Water: Be sure to bring a water bladder and/or reusable water bottle for your daypack. And a water filter in case you run out!
Snacks: Make sure to pack some trail snacks too! We love these waffle bars! They are delicious AND give you so much energy! We also usually bring these meal replacement bars along with us (although we use them as a snack not a meal!)
First aid kit: Just this standard first aid kit should suffice if anything were to happen!
Light: A headlampand extra batteries are important to carry in case you are out hiking later than you suspect.
Optional Gear
- Helmet
- Rock climbing shoes
- Gloves
- Trekking Poles
- Microspikes or crampons if heavy snow season
- Satellite communication/SOS device
- Whatever extra safety gear YOU feel is best
- Summit beer (worth it)
The Day Before you Climb Half Dome
Alright, now let’s talk about the day of the climb! The very first thing you want to do is check the weather. This is a very important step. You DO NOT want to attempt this climb if there is inclement weather in the area.
Step number 2 is to prepare all of your gear. Have everything packed up and organized the night before. If you are new to the prusik system then make sure you do a last minute “practice” or run through. You should be 100% confident in your skills before attempting the climb.
Set you alarm for early morning! The hike traditionally takes most people about 10-12 hours. Best rule of thumb is to hit the trailhead at (or before) sunrise.
Half Dome Trail
The hike begins with the Mist trail. The closest parking lot is the Yosemite Valley Trailhead parking which is about a half mile walk to the Happy Isle Bridge and the start of the hike.
Vernal Falls
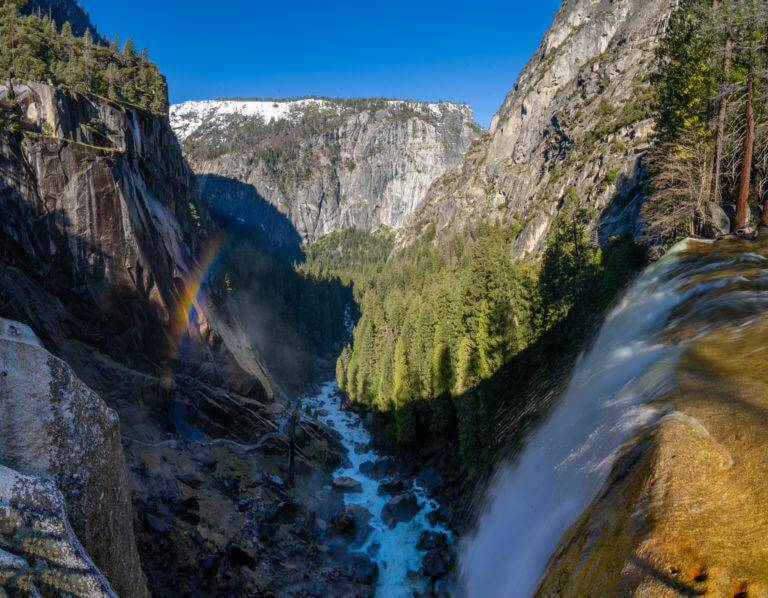
The first part of the trial is paved and takes you to Vernal Falls. To ascend to the top of Vernal falls you will take a steady rock staircase where you will learn how the mist trail gets its name! I would suggest a raincoat for this portion of the hike if you prefer to stay dry. At the top of Vernal falls you will be rewarded with a great viewpoint, and the occasional rainbow.
Continuing on the trail, you will wind through the lush forest. Keep your eyes peeled, as there have been multiple bear sightings here! Also, check out our post on bear safety for what to do if you encounter one.
Nevada Falls
Once you get to Nevada falls, I would suggest taking a little snack break and enjoying the view because you’ve got a steep boulder field up next to get to the top of the falls. This section is not technical, but keep an eye on your feet as the boulder staircase has a lot of ankle breaking opportunity. Trekking poles can definitely come in handy here.
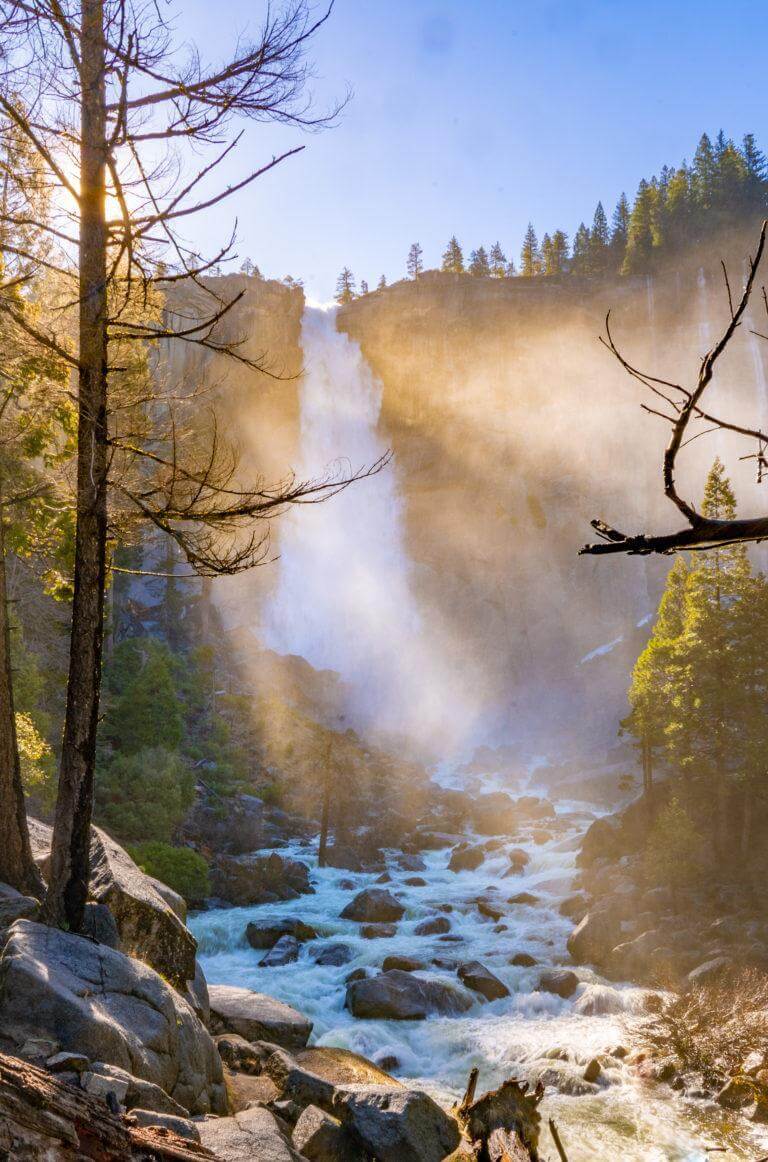
At the top of the boulder field, you will take a left to continue onward toward half dome, or take the optional 0.2 mi hike to the top of Nevada Falls for an extra viewpoint.
This part of the trail eases up a bit- enjoy it, as it does not last long. You will pass the Little Yosemite Valley Campground where there is a composting toilet for all of your elimination needs. This is also a good area to take another break if needed.
SubDome
Your next objective is subdome. The hike up subdome is grueling; it is steep, steady, and it is unforgiving! It is a large rock staircase that feels like it will never end! Remember, that you are at an elevation of roughly 8,000 feet so take as many breaks as you need and stay hydrated.
At the top of subdome, you will get your first glimpse of what lies ahead… a 400 ft ascent via the hanging cables.
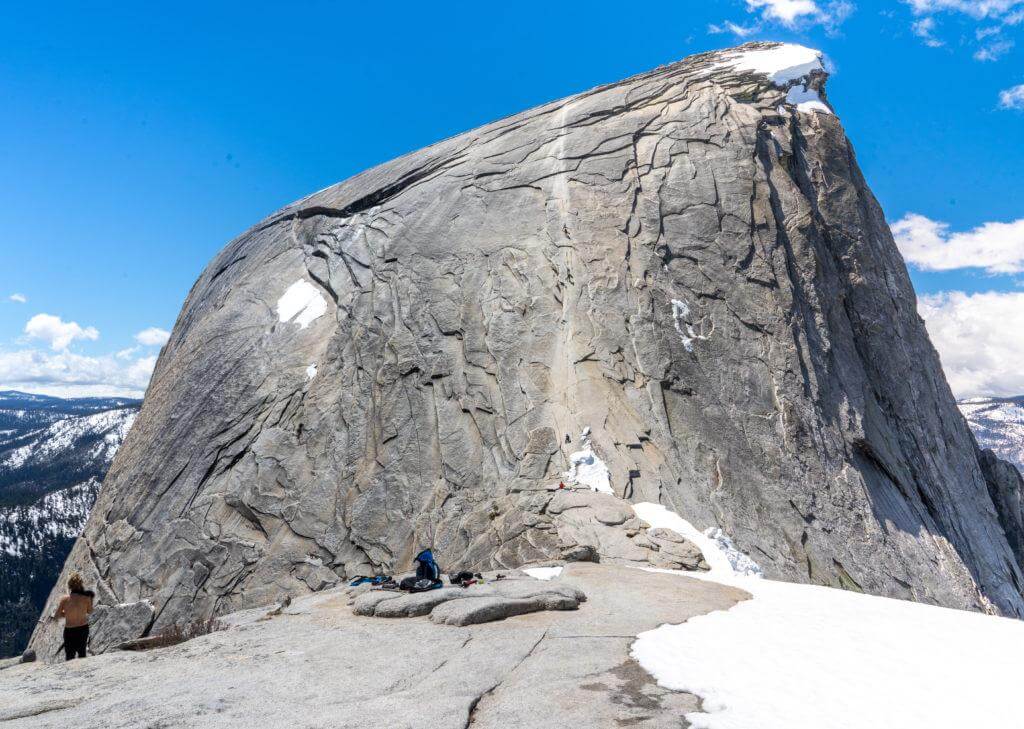
Take another break here, have a snack, relieve your bladder and get ready for some fun! If you opt to not bring your own gloves, there is usually a stack of used gloves at the base of the cables section (do not rely on this) that you can borrow.
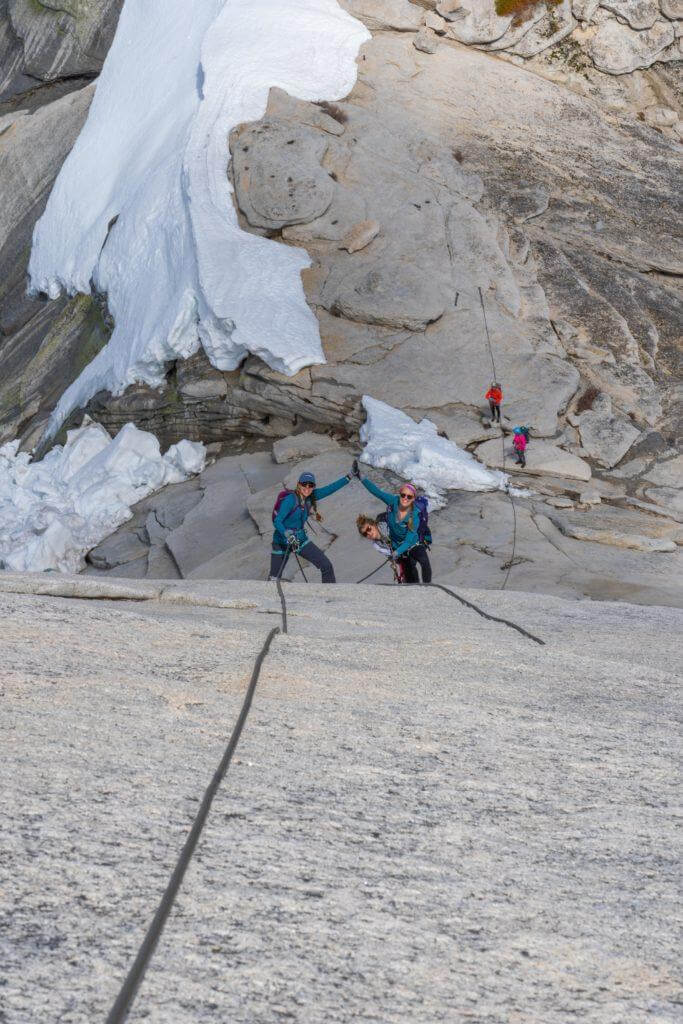
OK it’s time to tie in with your double prusik loops attached to your harness! Fair warning, this section is steep and exposed, and pictures hardly ever do it justice. Anyone afraid of heights will likely struggle.
Protection for the Cables Section
Not only does having 2 prusik loops ensure a back-up system, but it also allows you to make the transition between the joints in the cable without coming untied and losing your protection. As you approach a joint, you will untie from one of your prusiks and then replace the prusik back onto the cable, but above the joint. You will now do the same with your second prusik. In using this system, you never come untied from the cable, ensuring your safety.
Getting to the Top of Half Dome
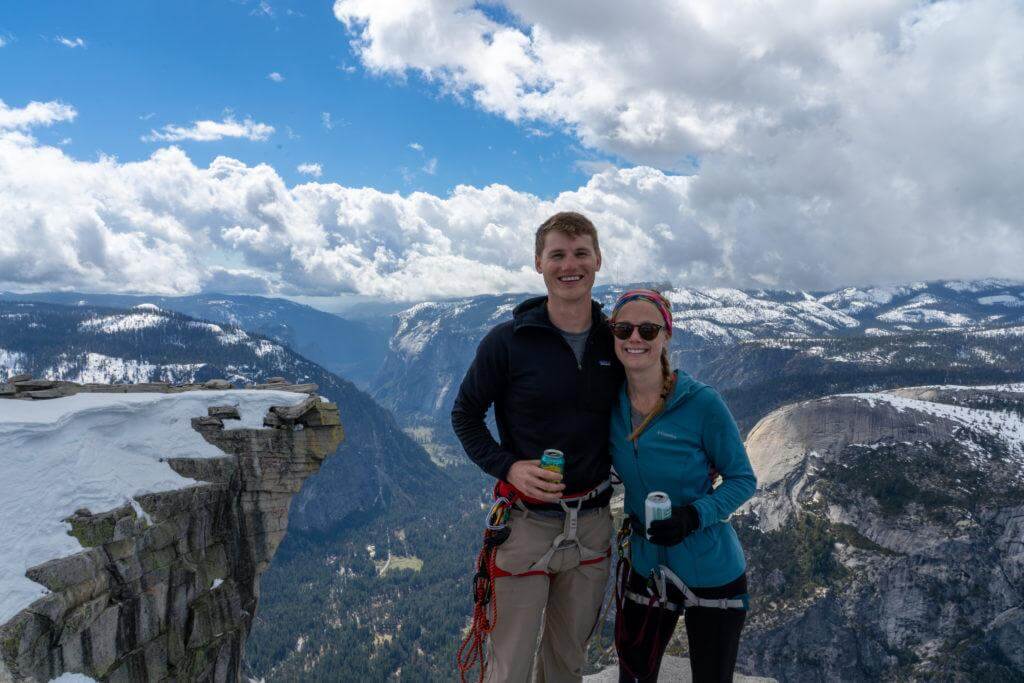
Once you get to the top, you are rewarded with 360 degree views of Yosemite Valley! It is time to crack open that summit beer and take a load off, your hard work has finally paid off.
Back Down
Eventually, you will realize that your day is only halfway finished and it will be time to head back down the trail.
To descend the cables, you will follow the same procedure as you did to go up. Ensuring that one of your prusiks is secured to the cable at all times. After that, it is pretty straight forward. Follow the trail the way that you came, and you will eventually pop right back out at the Happy Isle Bridge. The adventure will be over, but you will ride the high for days to come!
Pro tip: You will likely end the day late afternoon/early evening. Nothing will be open when you get done, and if you’re anything like us, you will be HANGRY! Prepare for this moment ahead of time, and have something ready to eat at your car (leftover pizza?) literally anything. Thank me later.
Happy trails!

13 thoughts on “How to Climb Half Dome with the Cables Down”
Anyone planning on doing half dome the week of April 28th May 3, 2025
Anyone going up when cable down week of 10/26, 10/27, 10/29 please save me a spot. Thanks. Have climbing gears, just need a quick refresher.
Done this and will be doing it again thank you for putting this information together
Yay! So glad it helped! Half Dome is definitely a bucket list climb!!
Would a via ferrata harness be comparable here?
When the cables are down the anchor points are not close enough together for a via ferrata system. The falls with this gear would be significant and dangerous. Just get a couple prusik ropes (they are not expensive) and use them with your harness instead, this is much safer. If you are going when the cables are up, however, a via ferrata system works great. With the poles up the anchor points are much closer together and the via ferrata set is designed to manage the kind of impact you might have if you fell.
What size friction hitch did you use? Looks like your link is another carabiner. Sterling 6.8mm HollowBlock2 Loop – 13.5?
What time did you leave trailhead?
We used a mix between the sterling hollow block and some 6mm nylon cord tied into a loop with a double Fishermans. Either with work fine. I don’t remember the exact time that we started but it was around 5am ish.
what time of year is the snow melted enough that the hike is possible?
Honestly that depends on the amount of snowfall that the Valley sees during the winter season. Specifically this year has had a TON of snow, so I would anticipate the opening of the cables will be after memorial day. The best time to do this hike will be RIGHT before the cables open. You can follow Yosemite NP on IG and they normally announce the opening day on there.
I feel it’s important to say that alcohol is illegal in the National Park, you could be ticketed, so be discreet if you choose to have a summit beer.
Citation needed. The store in Curry Village sells beer, wine, and liquor, and it’s certainly legal at your campsite.
Thanks for all the good information 🙂