Building a camper-van water system can be as simple or complex as you’d like it to be. In this article I will give you some things to consider before you start, and I’ll offer a variety of water system designs that will fit your specific needs.
Not ready to tackle your water system? Check out how to set up your van’s electrical system first.
Contents
The Water System Spectrum
I like to think of camper van water systems in three categories: No fresh water tank, removable fresh water tank, and fixed fresh water tanks.
No Fresh Water Tank
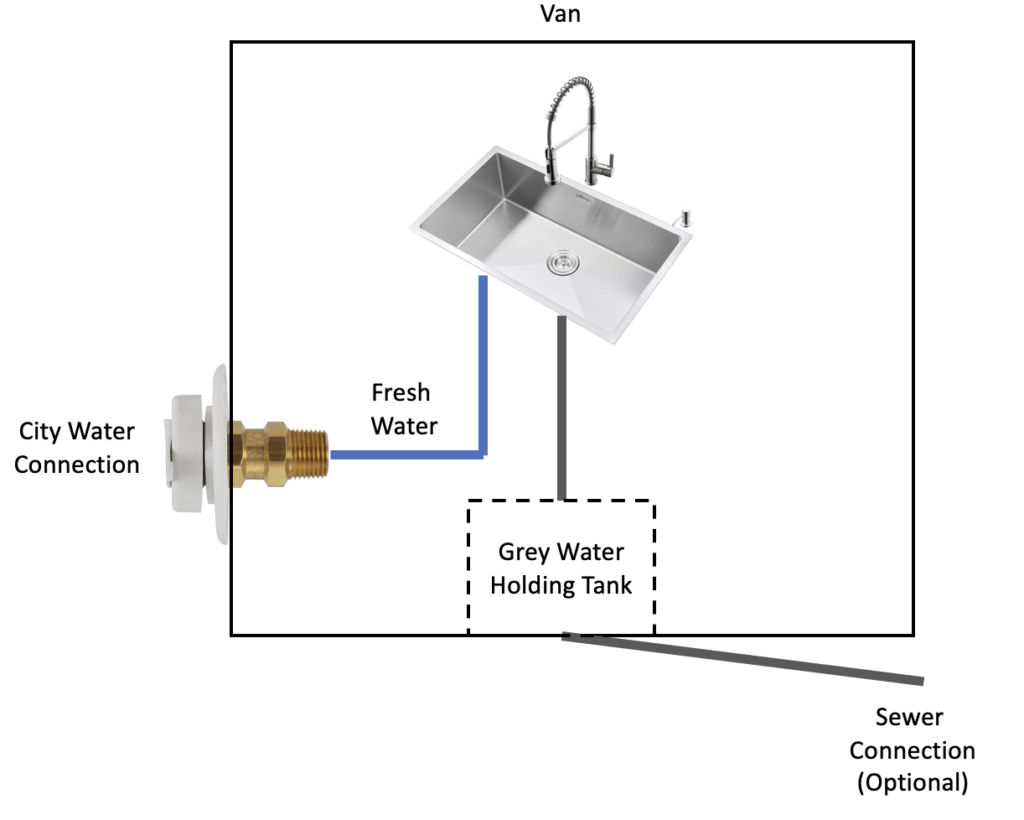
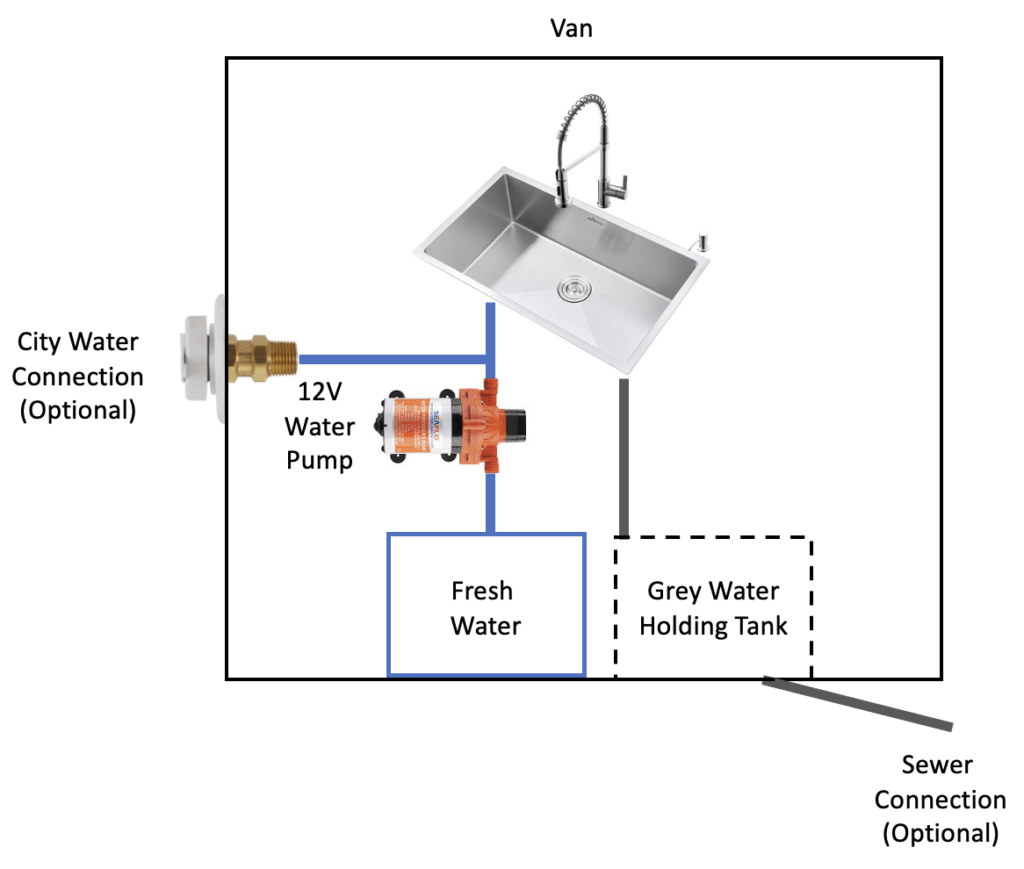
Having no fresh water tank inside your rig means you will be dependent on a city water connection (a spigot) at all times. This is a very easy system to build and requires no water pump or electricity because the water pressure comes from your city water connection. I put this set-up first because a city water connection can be plumbed into all of the configurations mentioned below. Just make sure that the connection is plumbed in downstream of the water pump. Here’s what it looks like:
Pro’s:
- Simple to construct
- Cost effective
- Lightweight
Con’s:
- No running water when traveling between campsites
Who is this Setup for?
Ideal for someone who will spend most of their time in a campground and want to keep their rig as light as possible.
Removable Fresh Water Tank for Camper-Van Water System
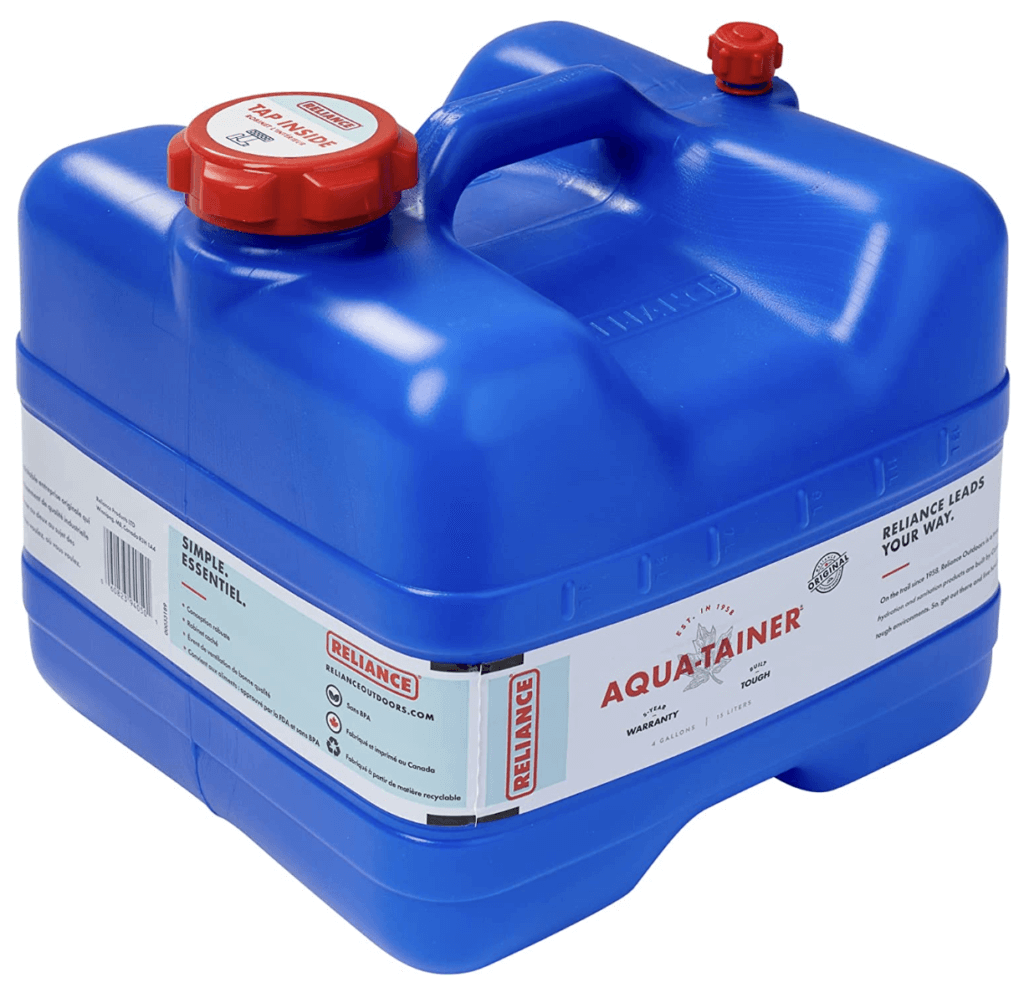
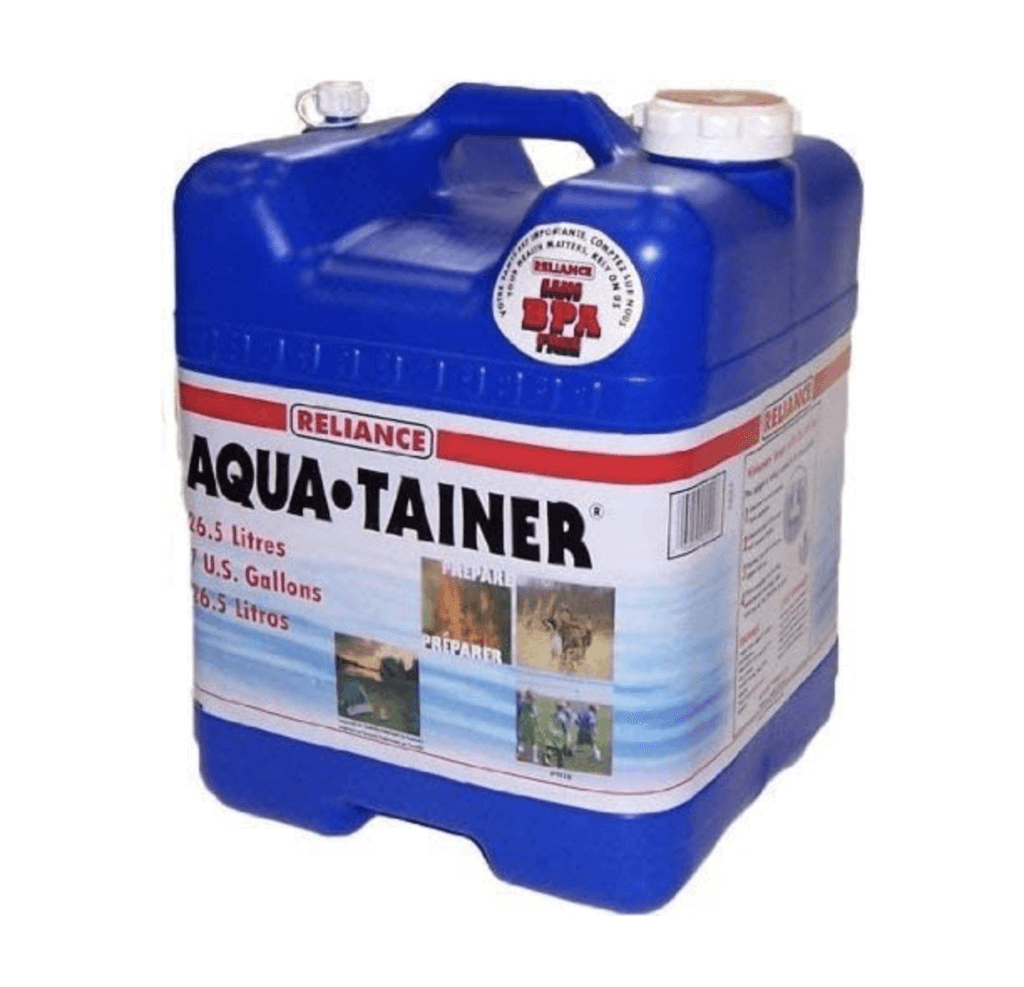
Having a removable fresh water tank is a great option for small volume water systems (5 gallons or less). A system like this increases the number of places you can refill your water which is a great luxury to have while you’re on the road. The one obvious downside is that you will have to refill more often. We ran this system in our first van and ended up wishing that we had larger water tank, but for some people this will work perfectly. This setup looks like this:

Pro’s:
- Simple construction
- Can refill/exchange jugs at many major retailers
- Can carry additional jugs for longer trips if needed
Con’s:
- Need to conserve water when camping away from a refill source
- Exchanging the jugs can be annoying if placed in an awkward spot. Build accordingly.
Who is this Setup for?
Great for someone who’s building their van for shorter weekend adventures. If you’re looking to go for the full time van life then I would recommend using a fixed water tank system.
Fixed Fresh Water Tank
The traditional way most RV’s are equipped is to have a fixed (not removable) fresh water tank with a city connection available. In my opinion, this is the most practical set up for vans as well. That system looks like this:
Pro’s:
- Larger water capacity
- Less concern over water usage
- Easy to refill
- A larger capacity makes amenities like a shower or bike more practical
Con’s:
- More complex to build
- Heavy when full
- Need a spigot and hose to refill
- More expensive
Who is this Setup for?
Works for pretty much every type of build. This system has a variety of amenities that can be added on and it allows you to fill up and hit the road with all the normal comforts of home.
How to add Hot Water in your Van
If you want to add all the comforts of home into your van then you’ll need to plumb hot water into your system. Doing this is a bit different than your standard home set-up, but with appropriate planning and with the information below you should be able to easily find a set up that will work for you.
Types of Hot Water Systems
There are two types of hot water heaters we’ll cover: Standard and Tankless.
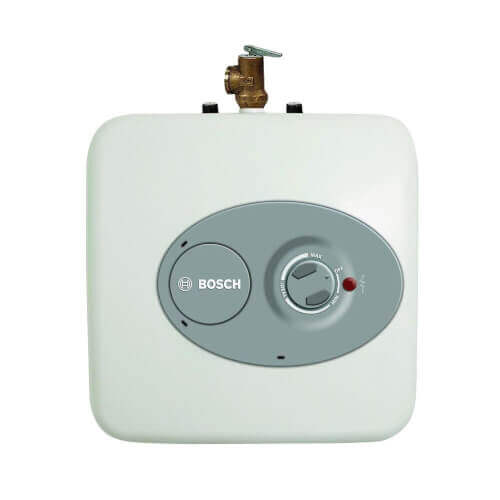
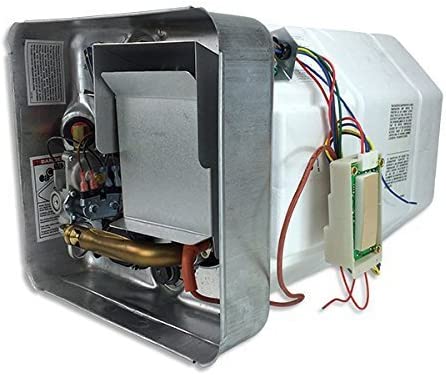
Standard 4 Gallon Heater
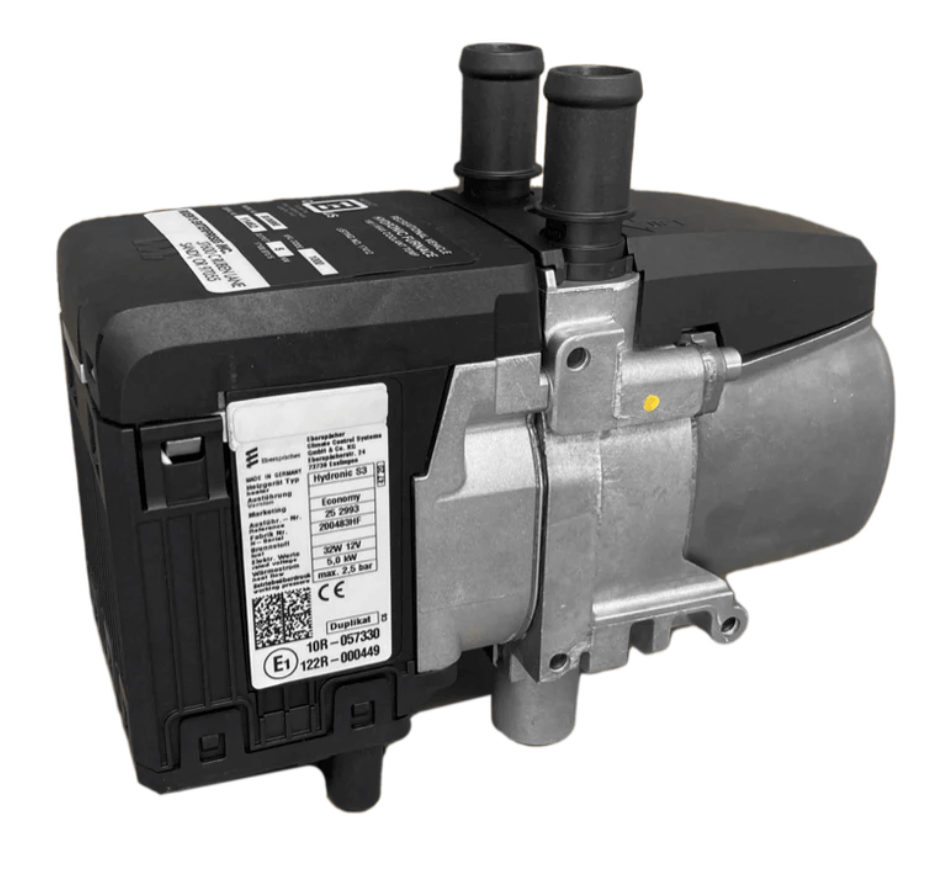
Tankless Hydronic Furnace
1. Standard Hot Water Heaters
Standard hot water heaters will have a water holding tank. The heater will keep the water within the tank hot until needed. This is likely the same type of system that you have in your house. While this is the standard style system for hot water heaters there have been a few interesting innovations that make these systems more appealing for an off-grid lifestyle.
Power Source: Electric: 120VAC, 1440W
Capacity: 2.5g or 4g
Dimensions: 14″ x 12.5″ x 14″
Description: The most basic water heater you can buy. When turned on an electric element heats the entire tank to the desired temperature.
Pro’s: Cheap
Con’s: Large power draw, limited hot water, have to wait for the water to heat, takes up a lot of space.
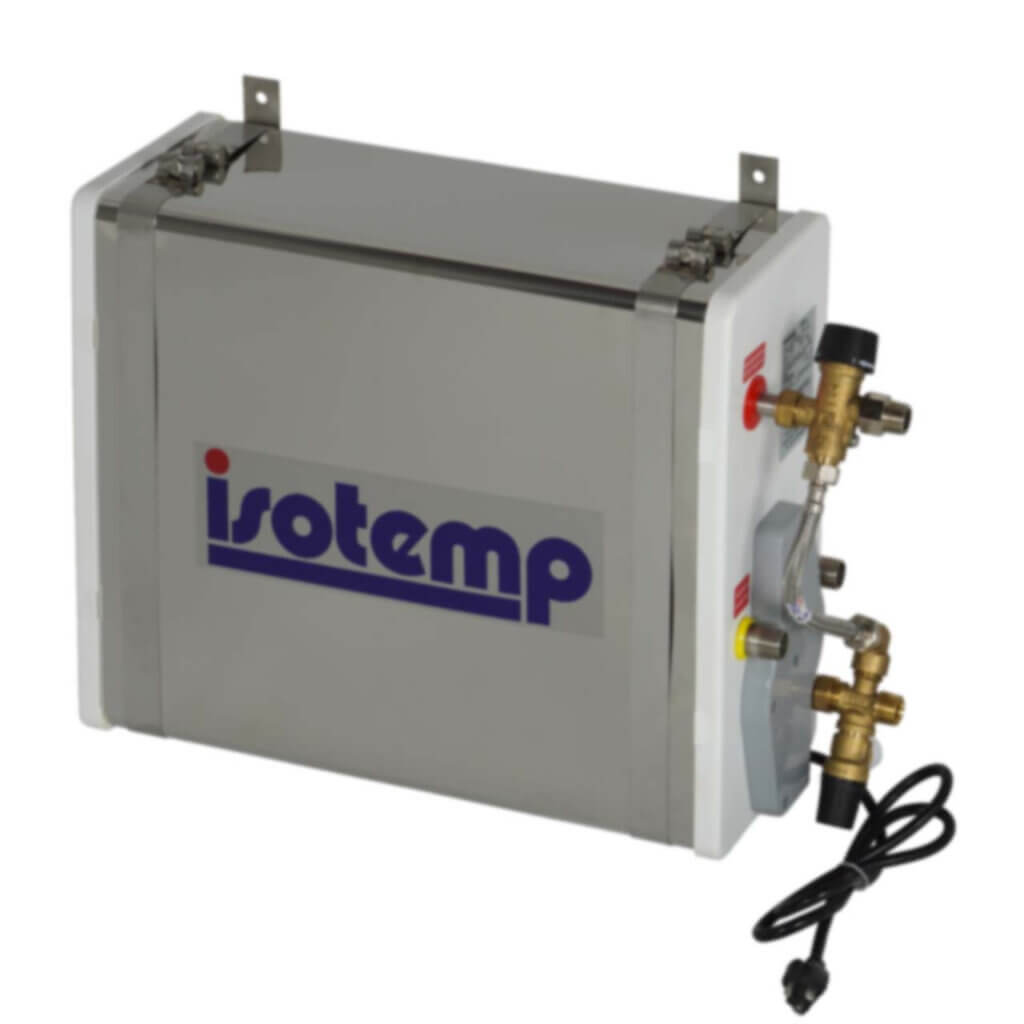
Power Source: LP Gas/Electric: 120VAC, 1440W
Capacity: 6g
Dimensions: 25″ x 19″ x 19″
Description: Standard RV water heater. It can operate on LP gas, electric or a combination of the two for expedited heating.
Pro’s: Dual heating option
Con’s: Large power draw on electric, requires a a propane system, limited hot water, have to wait for the water to heat, takes up a lot of space, requires cutting a large exterior hole for installation.
Power Source:Gasoline/Electric: 120VAC, 750W
Capacity: 4.2g
Dimensions: 23.25″x16.75 “x7.25”
Description: Nifty heater that utilizes the engine coolant from your vehicle to heat the water in your tank. This heating method is referred to as hydronic heating. It also contains an electronic heating element for use when needed.
Pro’s: Dual heating options, highly energy efficient, slim footprint
Con’s: Limited hot water, complex installation, expensive.
2. Tankless Hot Water Heaters
Tankless water heaters obviously don’t have a holding tank and thus are able to avoid the requirement of keeping multiple gallons of water hot continually. These systems heat water instantly are generally a better solution for RV/off-grid rigs.
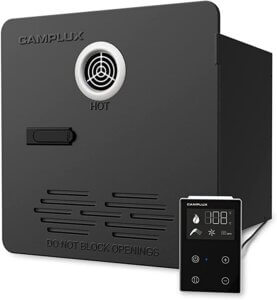
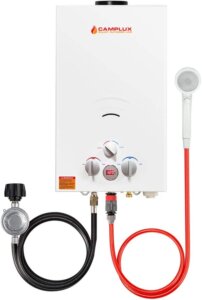
Power Source: LP Gas
Capacity: N/A
Dimensions: 15.1″ x 12.5″ x 12.6″
Description: The Camplux is an upgrade from your standard RV hot water heating system. It provides unlimited on demand hot water.
Pro’s: Unlimited hot water, on demand hot water, energy efficient
Con’s: Requires a propane system, requires a large hole to be cut into the van for installation, large footprint
Power Source: Gasoline/Diesel
Capacity: N/A
Dimensions: 8.4″x 3.5″x 5.5″
Description: The creme de la crop of water heating options. Hydronic heaters can tap into your vehicles native fuel system and is incredibly efficient. The unit mounts under your rig and requires only a small footprint in the cabin.
Pro’s: Taps into vehicles native fuel system, exterior mounting option, highly efficent, can expand to provide heated floor, air heater, and warm vehicle start
Con’s: Complex installation, expensive.
Power Source: LP Gas
Capacity: 2.64GPM
Dimensions: 13″x 6″x 21.5″
Description: Outdoor shower set-up. Mount it to your back door, plug your propane in and you’re good to go.
Pro’s: Cheap and simple
Con’s: No hot water at sink, must be used outdoors
Fresh & Grey Water Holding Tanks
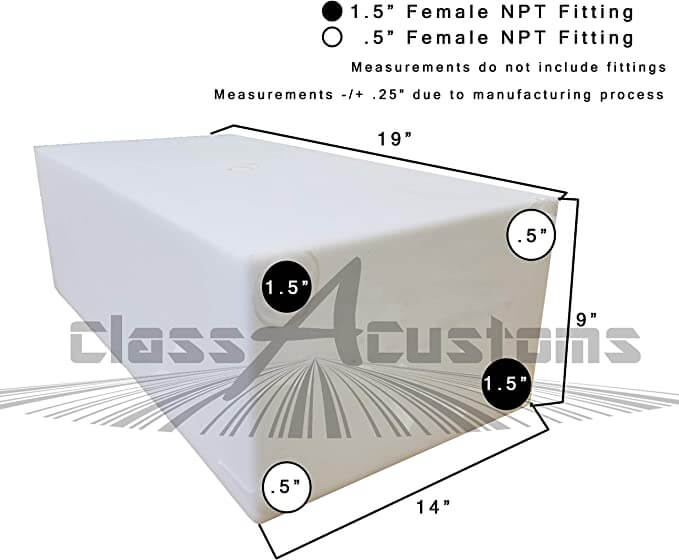
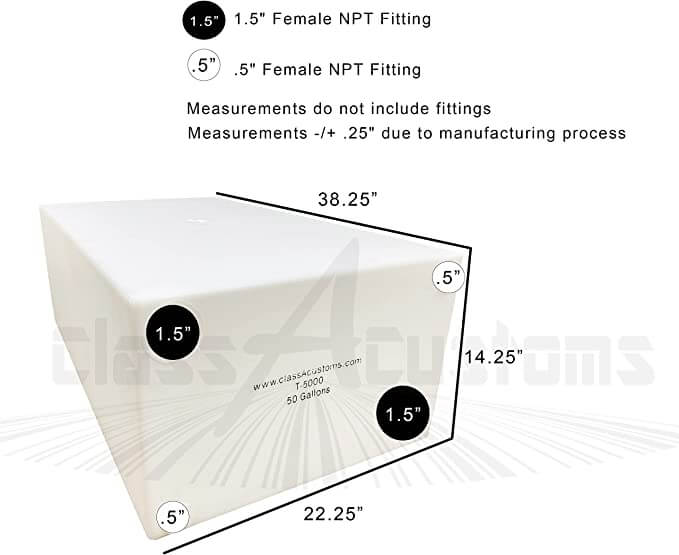
Fresh water tanks hold your clean drinking water and gray water tanks hold the water that goes down your sink. The biggest decision to make here is how much capacity you need for your rig. This will vary based on your use and amenities (sink, shower, bike wash etc.). Your second decision will be deciding whether to mount your tanks inside or outside of your rig. All the referenced tanks can be used for fresh or grey water.
Water Tank Layout
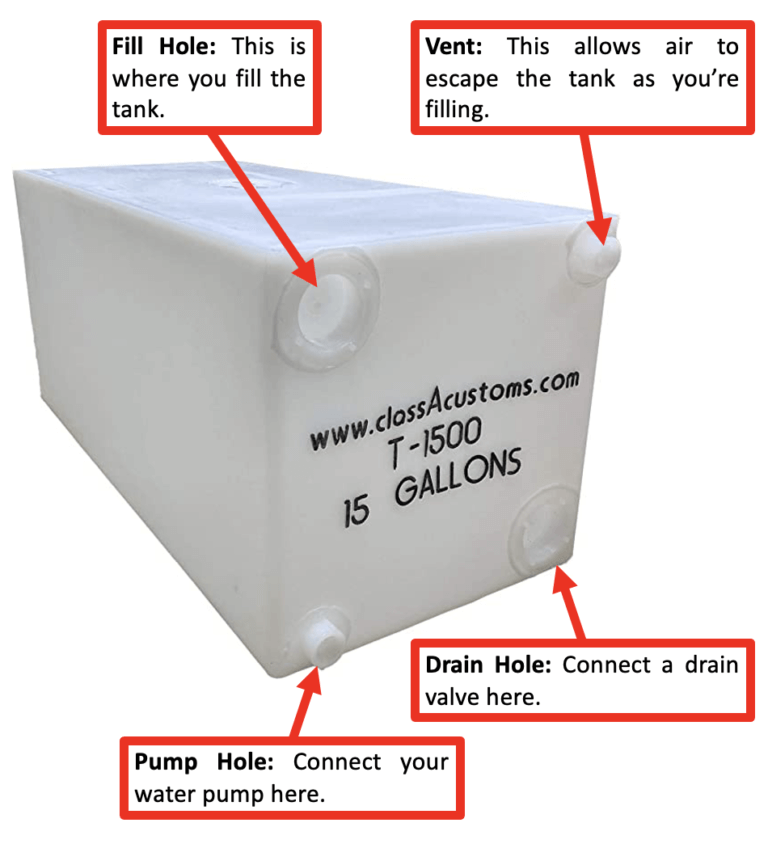
Indoor vs. Outdoor Mounting
Indoor
A good option if you plan to camp in temperatures below freezing. It also makes the overall installation process much easier.
Outdoor
An outdoor mounted fresh water tank frees up precious interior space and also keeps the vehicles center of gravity nice and low. However, it will freeze quickly in cold conditions and the installation can be tricky.
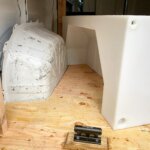
In our rig we placed our fresh water tank in the “garage” area and mounted our grey water tank underneath the van.
Recommendations:
Removable Water Tanks
Standard Fixed Water Tanks
Custom Fixed Water Tanks
Capacity: 11-36 Gallons
Description: These tanks are custom made to utilize the space around the vehicles wheel wells. This is a great way to expand your water capacity without taking up too much space.
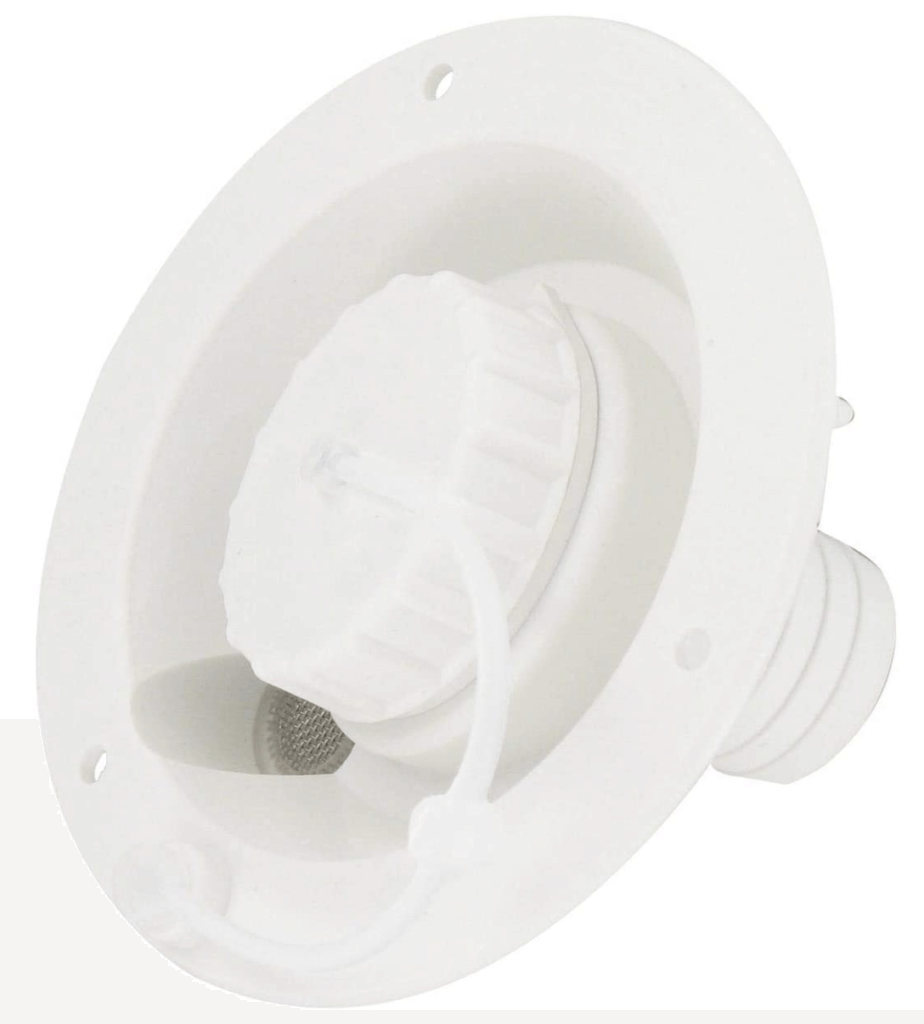
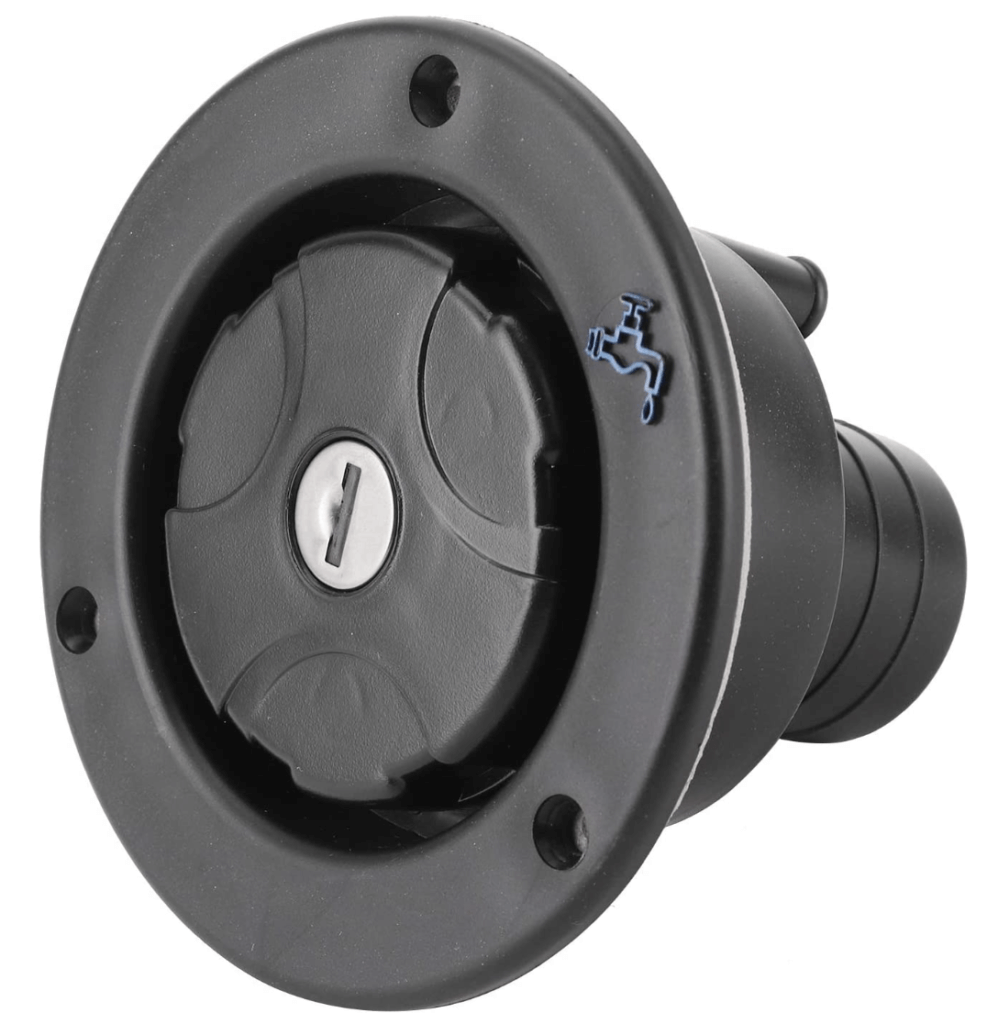
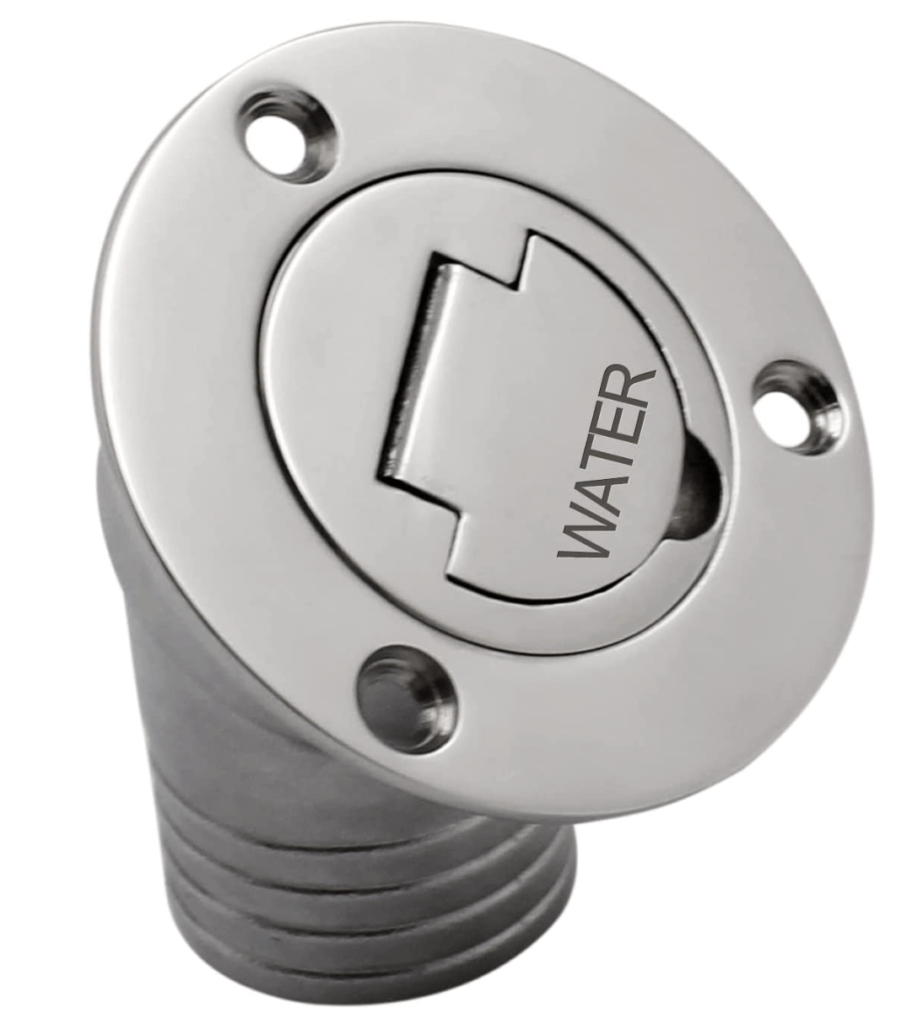
Gravity Fill Ports
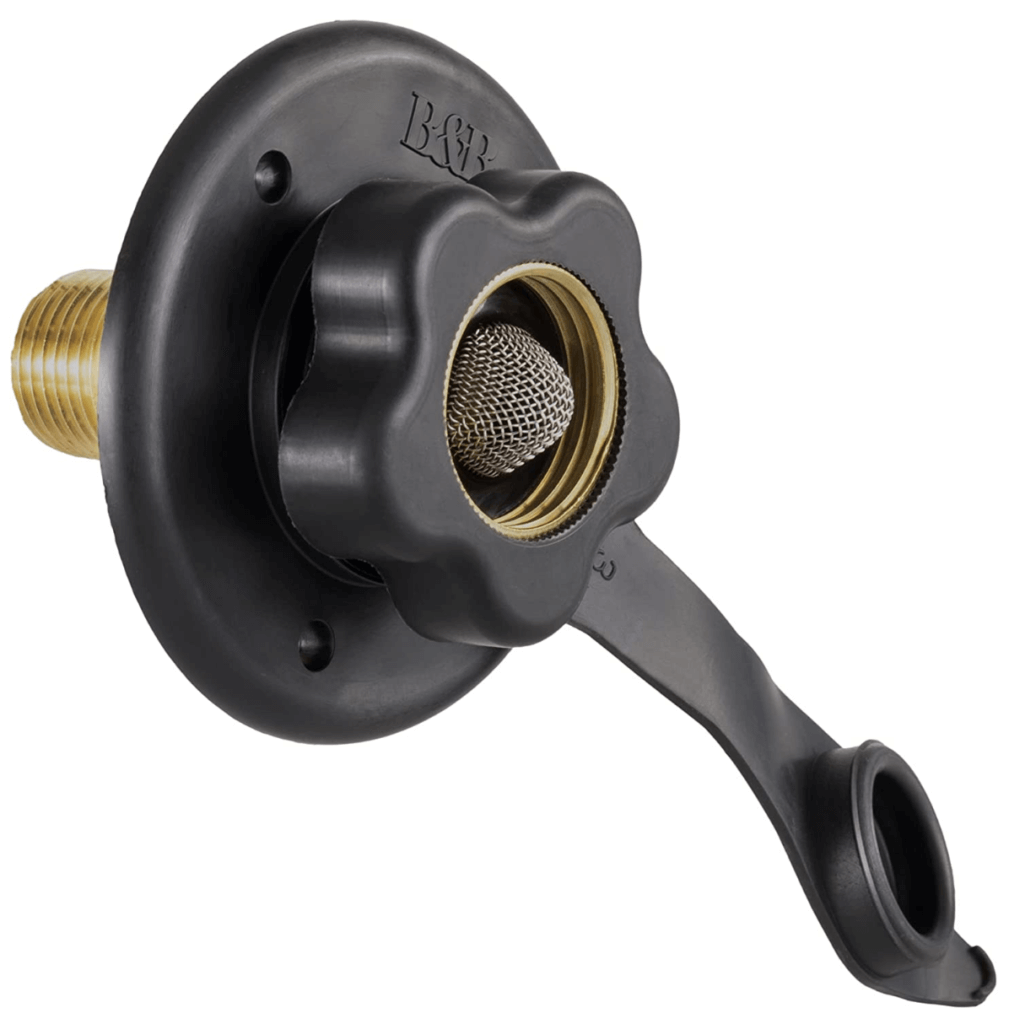
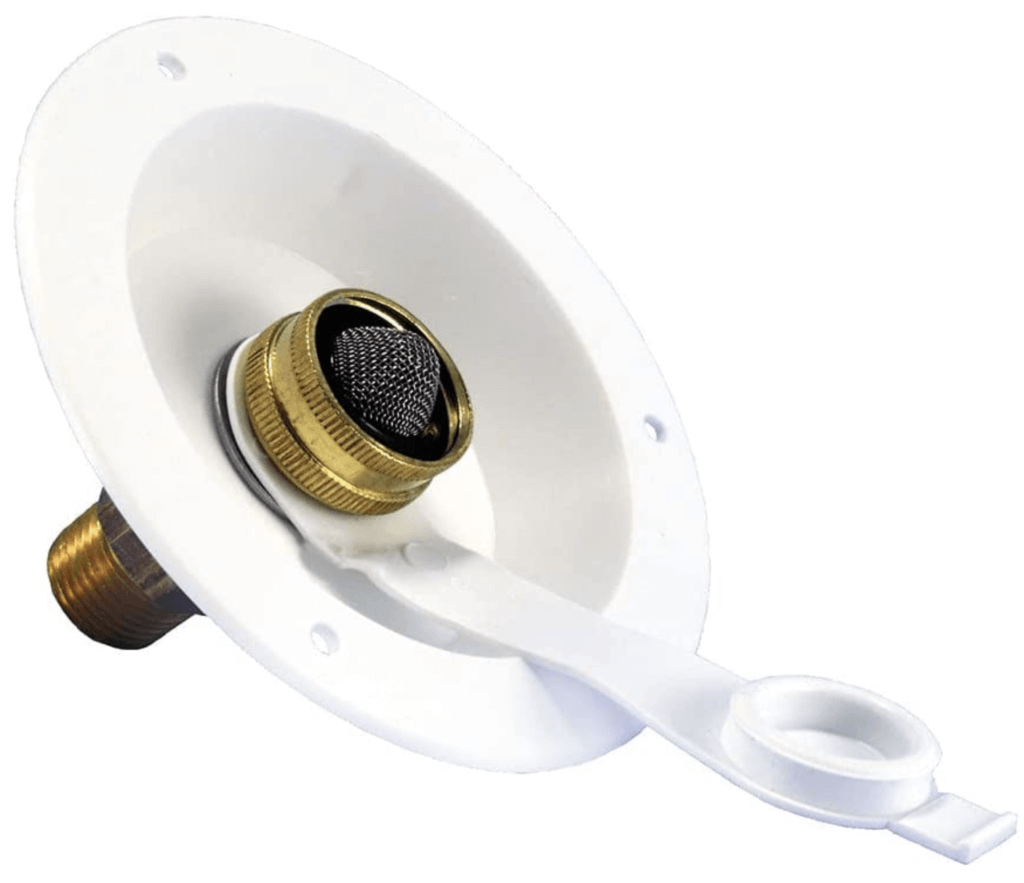
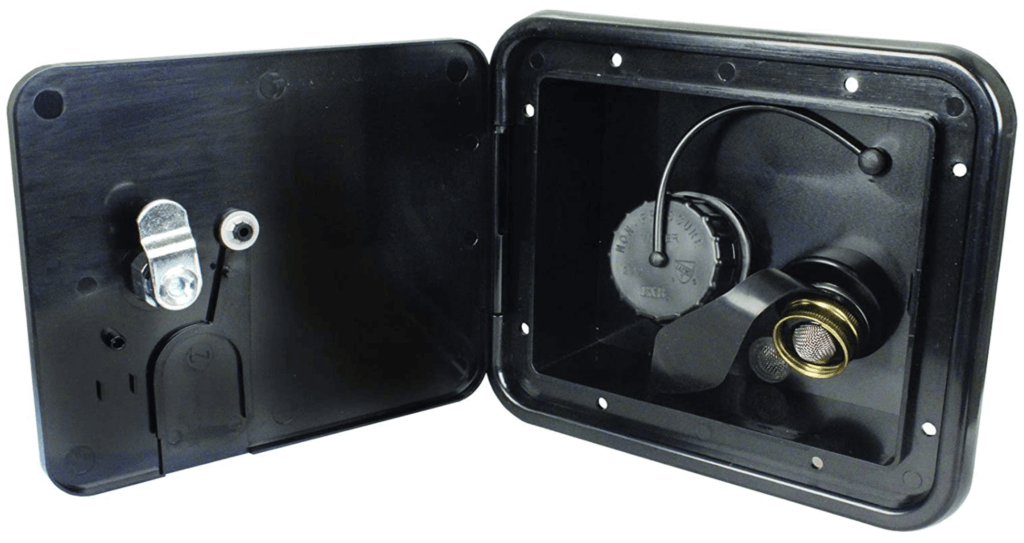
City Water Connections
City Water, Water Pumps & Accumulators
Your water system will be pressurized in one of two ways: a city water connection or a water pump.
City Water
A city water connection is used to connect a water hose from a spigot to your van. The pressure from the spigot will pressurize your water system. This is the standard way to pressurize your system when staying in a campground.
Water Pumps & Accumulators
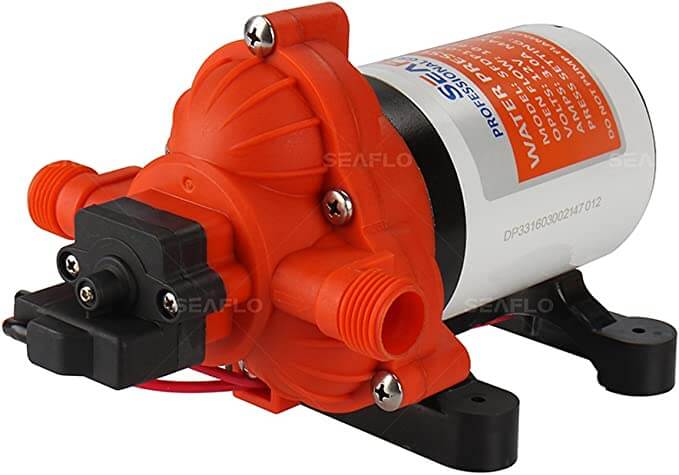
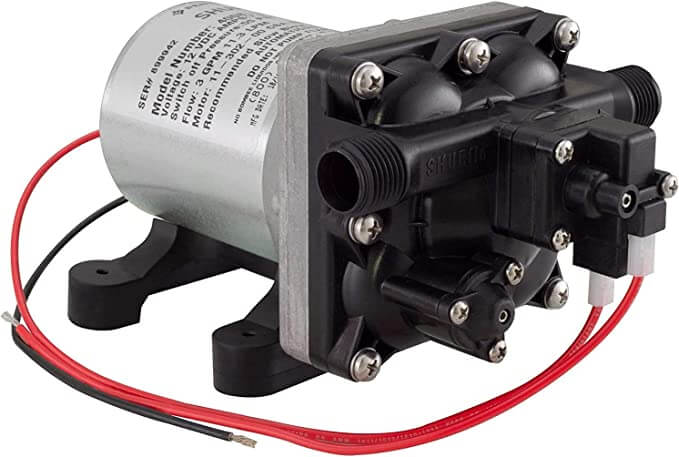
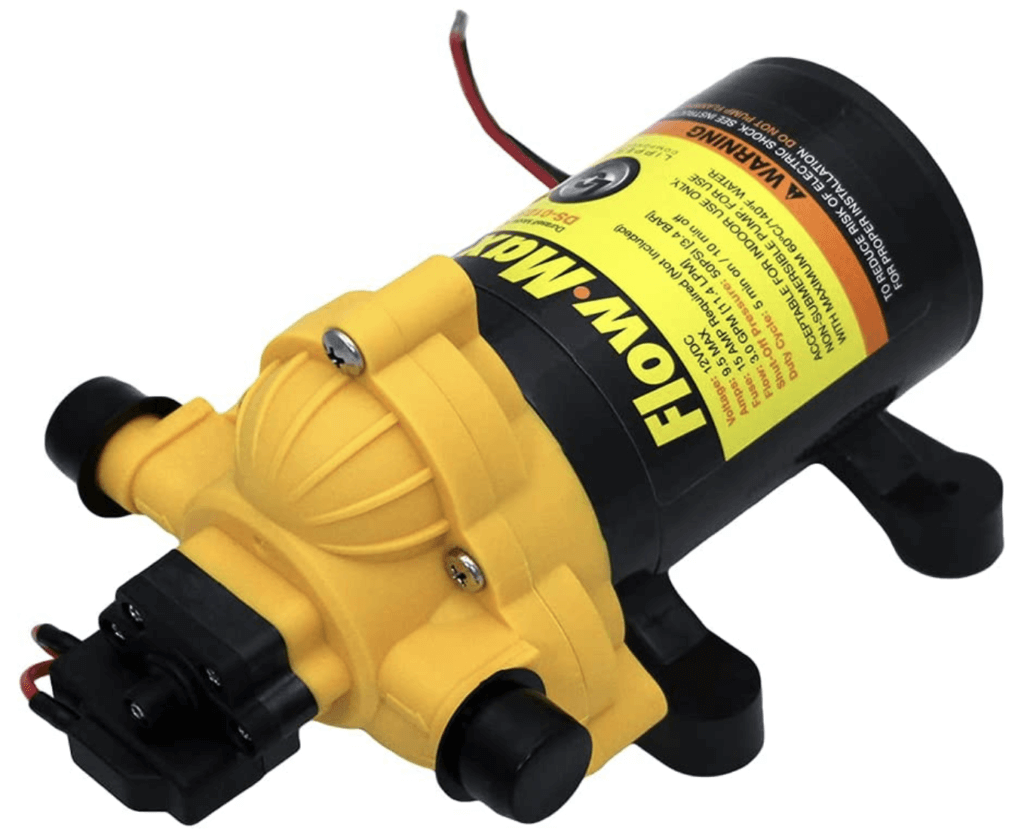
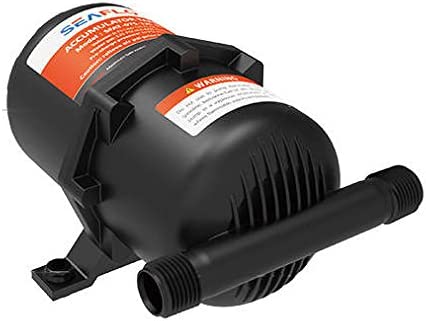
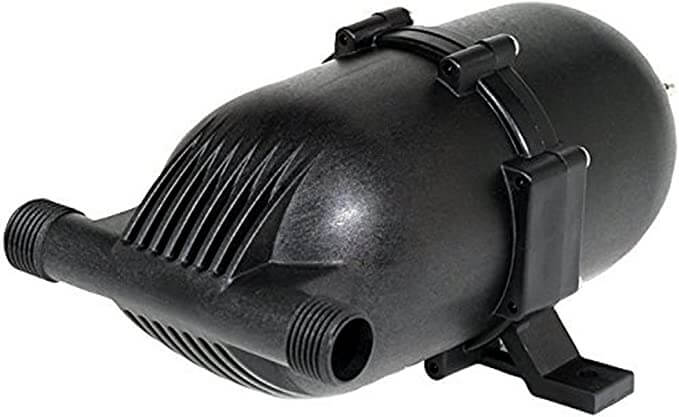
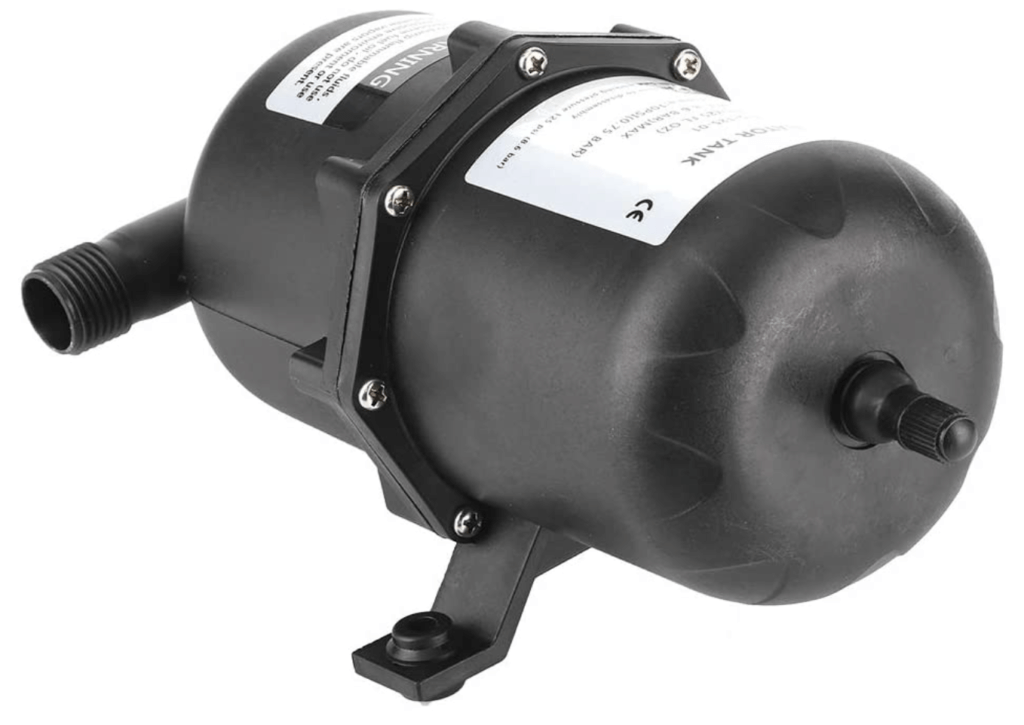
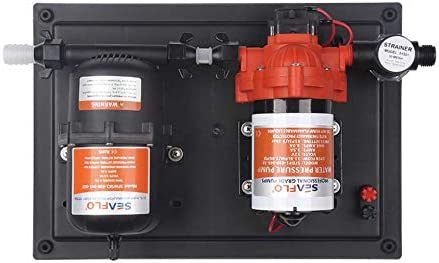
A water pump is used to draw water from your fresh water tank and pump it through the system. This is how you will pressurize the system when you’re camping off-grid. Accumulators are used to stabilize the pressure in the water system. They are not required, but they do help prevent excessive sputter and save energy by helping the pump run more efficiently.
When shopping for a pump make sure you’re getting a 12V diaphragm pump. These pumps self prime and can run dry in the event that you run out of water . It’s also a good idea to wire your water pump onto a switch so that you’re able to turn it off when you’re out of water and far away from a water source (it’ll happen). The pumps below meet all of the stated criteria.
Recommendations:
Water Pumps
Accumulators
Combo Option
Pipes & Fittings for your Camper-Van Water System
Now that we’ve looked at all of the major components of a water system lets cover how it’s all attached together. You’ll be using a combination of PEX, ABS, and a variety of fittings.
PEX (Cross-linked Polyethylene)
PEX is the standard plumping found in most homes and RV’s today. It’s cheap, flexible and host a variety of beneficial characteristics over standard PVC piping. There are three components to the system: pipe, crimps and fittings.
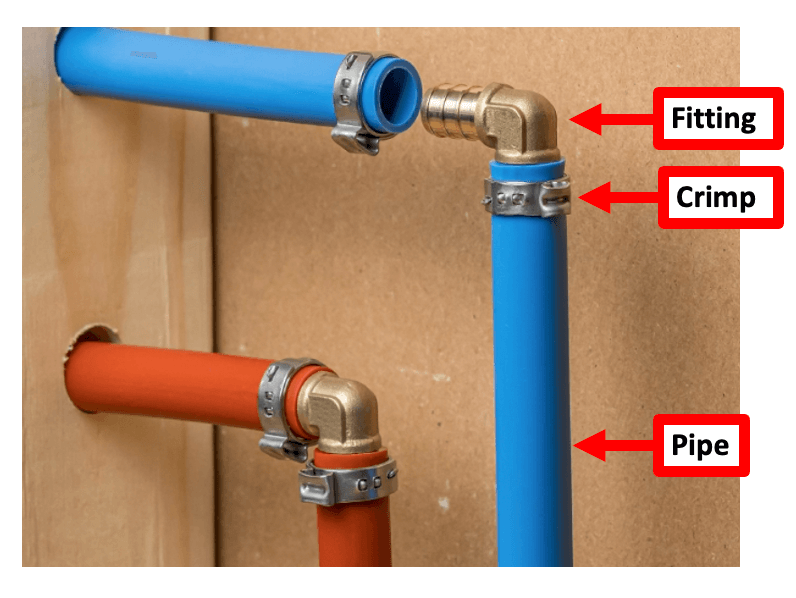
PEX Piping
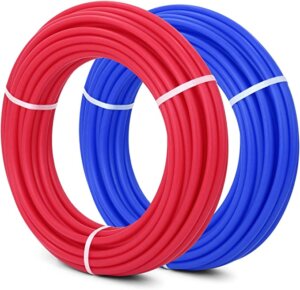
PEX pining is available in red and blue to differentiate between hot and cold lines. It is also available in a variety of sizes but for our purpose we’re only going to look at 1/2″ pipe because that is what is standard in the RV industry.
PEX Fittings
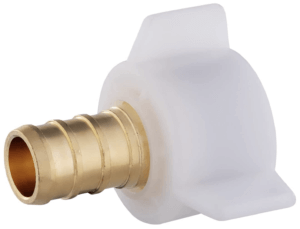
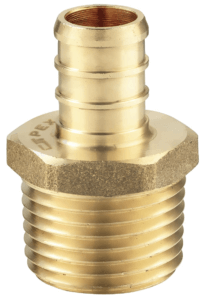
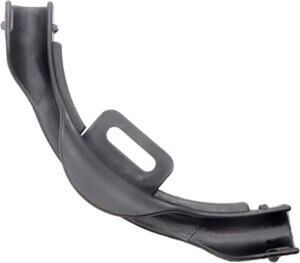
PEX fittings allow you to connect two pieces of pipe together. The main fittings you’ll use will be tees, straight and 90° elbows. Another option for routing your PEX is to use bend supports. These devices allow you to make a variety of angles without cutting the pipe. This is the best option because it decreases the chance of having a leak later down the road, but it’s not always a viable option.
PEX Crimps
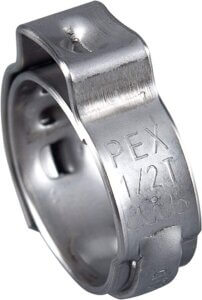
There are a variety of ways to clamp a PEX connection, but my preferred method is a stainless steel crimp. These crimps are easy to install and provide a very secure seal. You will need a special tool to crimp and remove these crimps. I’ll link those below as well.
Recommendations:
Pex Piping
PEX Piping
Fittings
1/2″ FNPT
1/2″ NPT
Bend Supports
Stainless Crimps
Special Tools
ABS (Acrylonitrile Butadiene Styrene)
ABS piping will be the black piping that you see at the hardware store. This pipe is seen on every RV waste system. It’s chosen because it’s being installed outside, it’s stronger and performs better in cold temperatures. Additionally, it does’t require primer before cement like standard PVC In a camper van this pipe will be used for connecting your sink P-trap to your fixed grey water tank under the van (if you go with that system) and if you choose to add a RV dump valve to your system.
Valves for your Camper-Van Water System
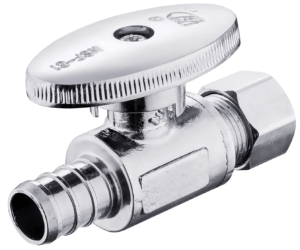
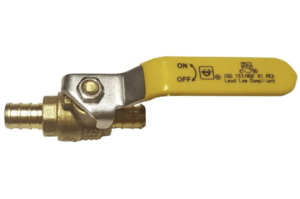
Valves are a necessary component for your water system because they allow you to isolate sections of the plumbing in the event that maintenance needs to be performed. The only valve we’ll use in this system is a ball valve.
Valves
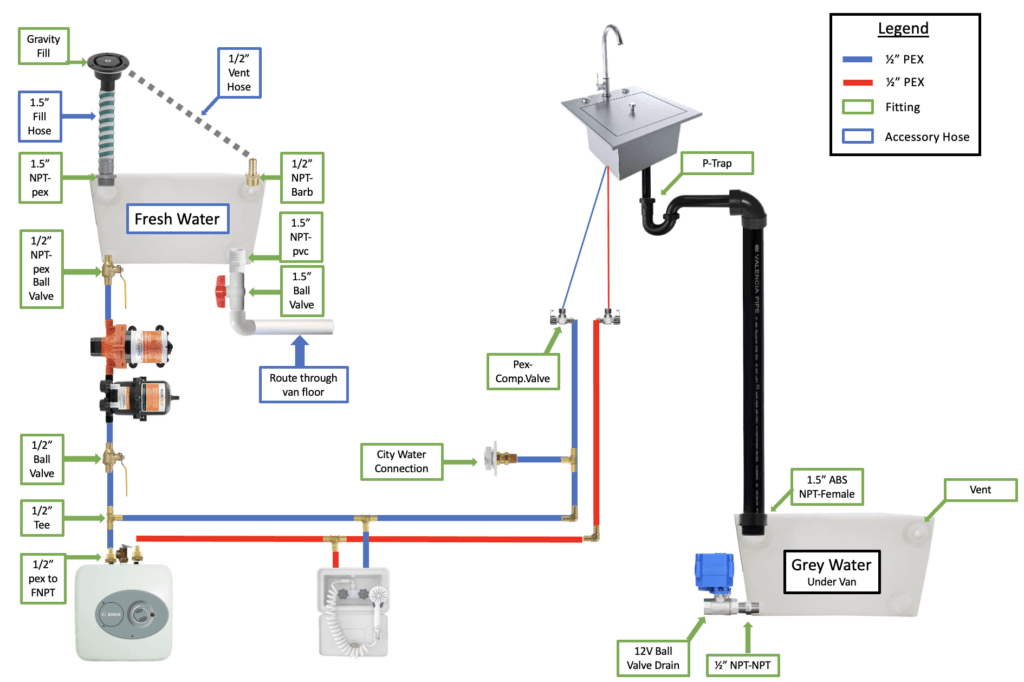
Camper-Van Water System Diagram
Now that we’ve covered everything here’s a diagram of how it all comes together. The diagram you see below is what we currently use in our van. We’ve been full time in our van for two years now and we love this set up! We occasionally wish that we had hot water plumbed into the sink, but it’s a luxury we’ve learned to live without.
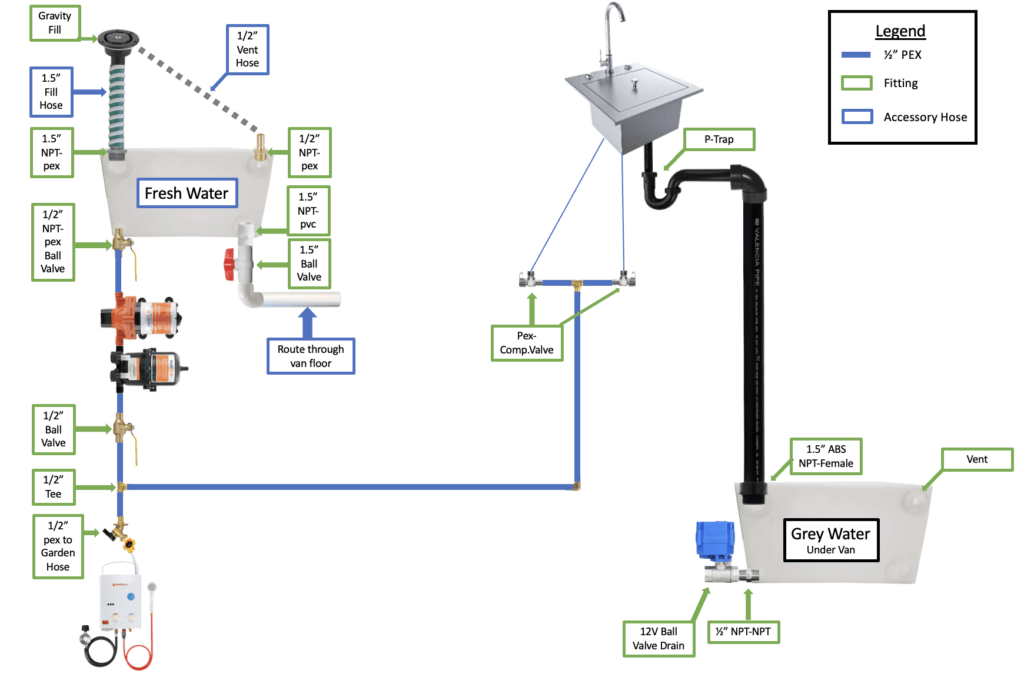
Parts List
*Pipe lengths and joints needed will likely be different for your build
*Special tools not included
-
Gravity Fill Port $25
-
25g Fresh Water Tank $108
-
1.5" Fill Hose $18
-
1.5" NPT-Barb $6
-
Large Worm Drive Clamp $10
-
Vent Hose $20
-
1/2" Clamps $11
-
1/2" NPT-Barb $10
-
1/2" NPT-PEX Ball Valve $9
-
1.5" PVC Ball Valve $8
-
1.5" NPT-PVC $8
-
1.5" PVC 90 $5
-
1.5" PVC $16
-
1/2" PEX $11
-
1/2" PEX Crimps $23
-
12v Water Pump $50
-
Accumulator $39
-
1.2" PEX Ball Valve $7
-
1.2" PEX Fittings $17
-
1.2" PEX-GHT $10
-
1.2" PEX-3/8" Comp. Valve $13
-
Ruvati SInk 15x20 $290
-
Sink Faucet $50
-
Simple Drain P-Trap $25
-
1.5" Slip Joint $10
-
1.5" ABS Pipe 8' $42
-
1.5" ABS 90* $3
-
1.5" ABS NPT $9
-
1/2" NPT-NPT Coupler $5
-
20g Grey Water Tank $124
-
PVC Primer & Cement $12
-
ABS Cement $4
-
NPT Vent $5
-
Grand Total $1,004
If you have any questions about this material drop them in the comments below!
