Most people hear Havasupai and think about the stunning blue waterfalls they’ve seen in pictures and social media, but Havasupai is actually so much more than just the waterfalls. Havasupai refers to the Native American Tribe that has lived in the Grand Canyon for centuries upon centuries.
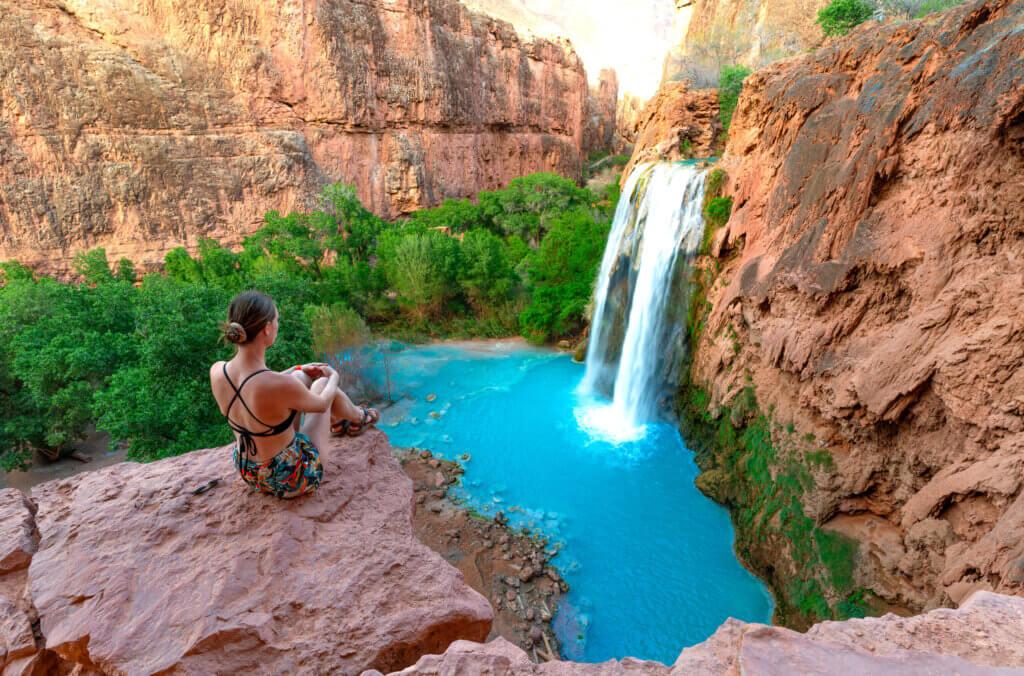
The tribe has a deep cultural and historical connection to the Grand Canyon and its gorgeous waterfalls. Even the phrase “Havasupai” means “people of the blue-green waters” in the Havasupai language, and that blue green water is exactly what has made Havasupai so famous today.
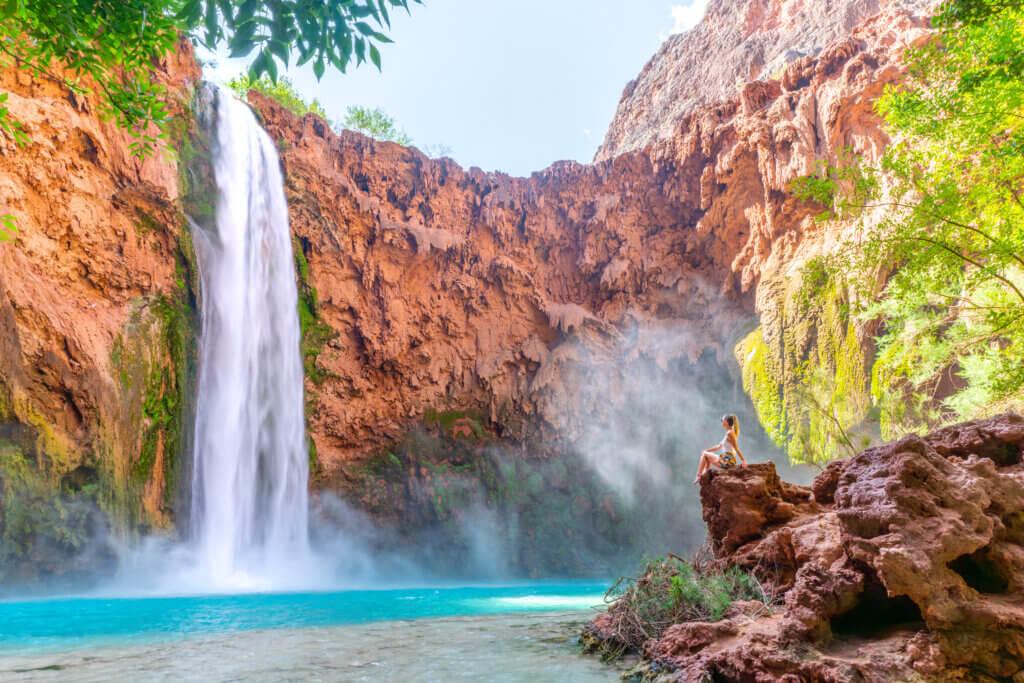
Havasupai Falls, which consists of Havasu Falls, Mooney Falls, and Beaver Falls, are the famous trio of Havasupai. They are known for their vibrant blue-green color, which is caused by high mineral content in the water. The Havasuapi Reservation and people control access to the falls and allow limited tourism from February to November of each year via permitted entry only!
The Reservation’s website is very confusing to navigate and does not provide a ton of information about what to expect when backpacking Havasupai, therefore I made this super detailed, comprehensive travel guide so you will be ultra-prepared when it’s finally time to take your trip!
Contents
| ***Disclosure: This post contains affiliate links. If you click one of them, I may receive a small commission (for which I am very grateful for) at no extra cost to you. |
The Best Time to Visit Havasupai
There is NO bad time to visit Havasupai, but there are OPTIMAL times to go depending on what activities you like to do! The Reservation allows tourists to visit between February 1-November 30 each year. Each season has its pros and cons and therefore choosing when to go can be tough! Let’s just break it down by season:
Spring
Feb-March
Early spring is ideal for people looking to put in some hiking miles while exploring the Havasupai area. The temps are mild with a high around 70 and low around 40, making it perfect hiking weather! It is not the best time of year for swimming since the air temperature isn’t super warm, BUT the water of the falls stays at around 70 degrees year-round; therefore if you WANT to swim during this time, it is still possible.
April-Early June
This is one of the “sweet-spot” times to visit. The highs tend to be anywhere from 75-90 with the lows around 45-60. It’s a great balance of being cool enough to hike, but warm enough to swim! ++ the nights cool off significantly from the daytime, so camping is comfortable!
BONUS springtime also brings all the gorgeous desert blooms!! Keep in mind that because it’s a sweet-spot, late Spring along with Early Fall are some of the most competitive times to secure permits for.
Summer
Late June-August
If you’re looking to splash around in the gorgeous Havasupai waterfalls all day, then summer is your time to visit! The days are HOT, and the water is REFRESHING! The highs can reach up to 115 with the lows only reaching around 65.
The higher temps are nice for swimming, but hiking in them is an entirely different story. You must be very careful when visiting during summer as hiking can be super dangerous in these temperatures. BUT another pro to summer is that the days are super long which is nice when you have limited time to explore!
Fall
September-October
Ah, another sweet spot! Similar to Spring, Fall is a wonderful time to visit the falls. Warm days & cool evenings that make for a good time to hike & swim! Fall is nice because “summer break” is officially over and the crowd that goes during this time tends to be on the more mature side and less on the party side.
November
November can be hit or miss depending on the year. Sometimes the temps are PERFECT like in Sep-Oct, but sometimes they can start to drop and be similar to Feb.
How to Book Campground Permits
OKAY now on to the confusing part. The Havasupai Tribe has once again changed the way things will work in 2024 and beyond. There will now be 3 opportunities to obtain a reservation.
***OF NOTE: Campground reservations are available from February 1 – November 30 & lodge reservations are available from April 1 – November 30.
- Pre-sale lottery
- Public Sale
- Cancellation List
Presale
For the 2025 tourist season, the Havasupai Tribe Tourism Office is offering a presale lottery. This allows you to register in advance and purchase priority access to a limited number of permit reservations. Presale entries do not guarantee a reservation spot, but they will significantly increase your chances of securing a reservation for one of your preferred dates.
The presale period opens at 8 am Arizona time December 16 through 5 pm January 3, 2025.
There is a $20 non-refundable fee for entering the pre-sale lottery.
Once the presale period has closed, a randomized process will then assign a limited number of reservation dates among people who have purchased a presale entry.
Public
The remaining permits will become available to the general public for purchase in February, beginning at 8 a.m. Arizona time.
IMPORTANT: Once the public sale goes live, the tickets sell out almost immediately. BE SURE to have an account already created and a payment method saved to your account. This will expedite your checkout when securing tickets.
Cancellation List
Once the public sale books out, the only way to get a permit is through the official online cancellation list. The list is updated once each day at 8:00 AM (Arizona time). Every evening people release tickets to the cancellation list and therefore there is always new tickets to choose from each morning at 8am.
BEWARE! By 801 am all the tickets are usually taken. You need to be quick to secure your tickets.
How Much Does it Cost to Visit Havasupai
2025 PRICE UPDATE!!
The Havasupai Tribe has updated the prices of the permits for the year of 2025. Below are all the updated prices taken directly from their website!
- $455 per person for a campground permit, 3 nights.
- $2,277 per lodge room – up to four people, 3 nights
- Pack mule reservation fees are currently $200 per mule (each way) / $400 per mule round trip.
How to Get to the Trailhead
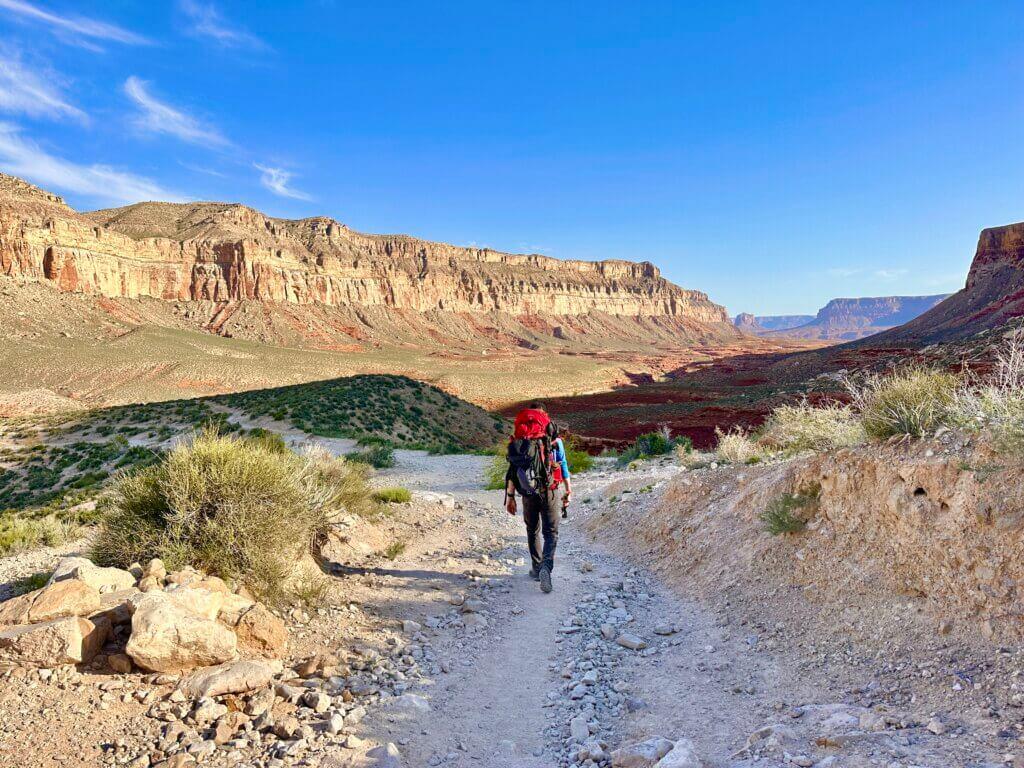
The trailhead is located in Supai, Arizona at the end of Indian Road 18 (also known as BIA Road 18 or Hualapai Hilltop Road). The trailhead is commonly referred to as Hualapai Hilltop. If you use apple or google maps you can type in “Hualapai Hilltop” as your destination and it will navigate you there correctly.
***The road to Hualapai Hilltop can be rough. You’ll see that its often recommended to use a high-clearance or 4-wheel drive vehicle, but we made it just fine in our 2wd promaster van- it was just slow.
If you plan to fly in to visit Havasupai, there are 3 nearby airports you can fly into. You will need to rent a car as each of them are pretty far away:
- Flagstaff airport: 169 mi
- Las Vegas: 223 mi
- Phoenix airport: 291 mi
4-day, 3-Night Havasupai Itinerary
Day 1
Hike from Hilltop- Havasupai Campground
I would suggest getting to the trailhead EARLY on day 1 to maximize the time you have to explore! We slept in our car at the trailhead and were able to start hiking by 4am!
Distance: 10 miles ONE WAY
Elevation Loss: 2500 ft
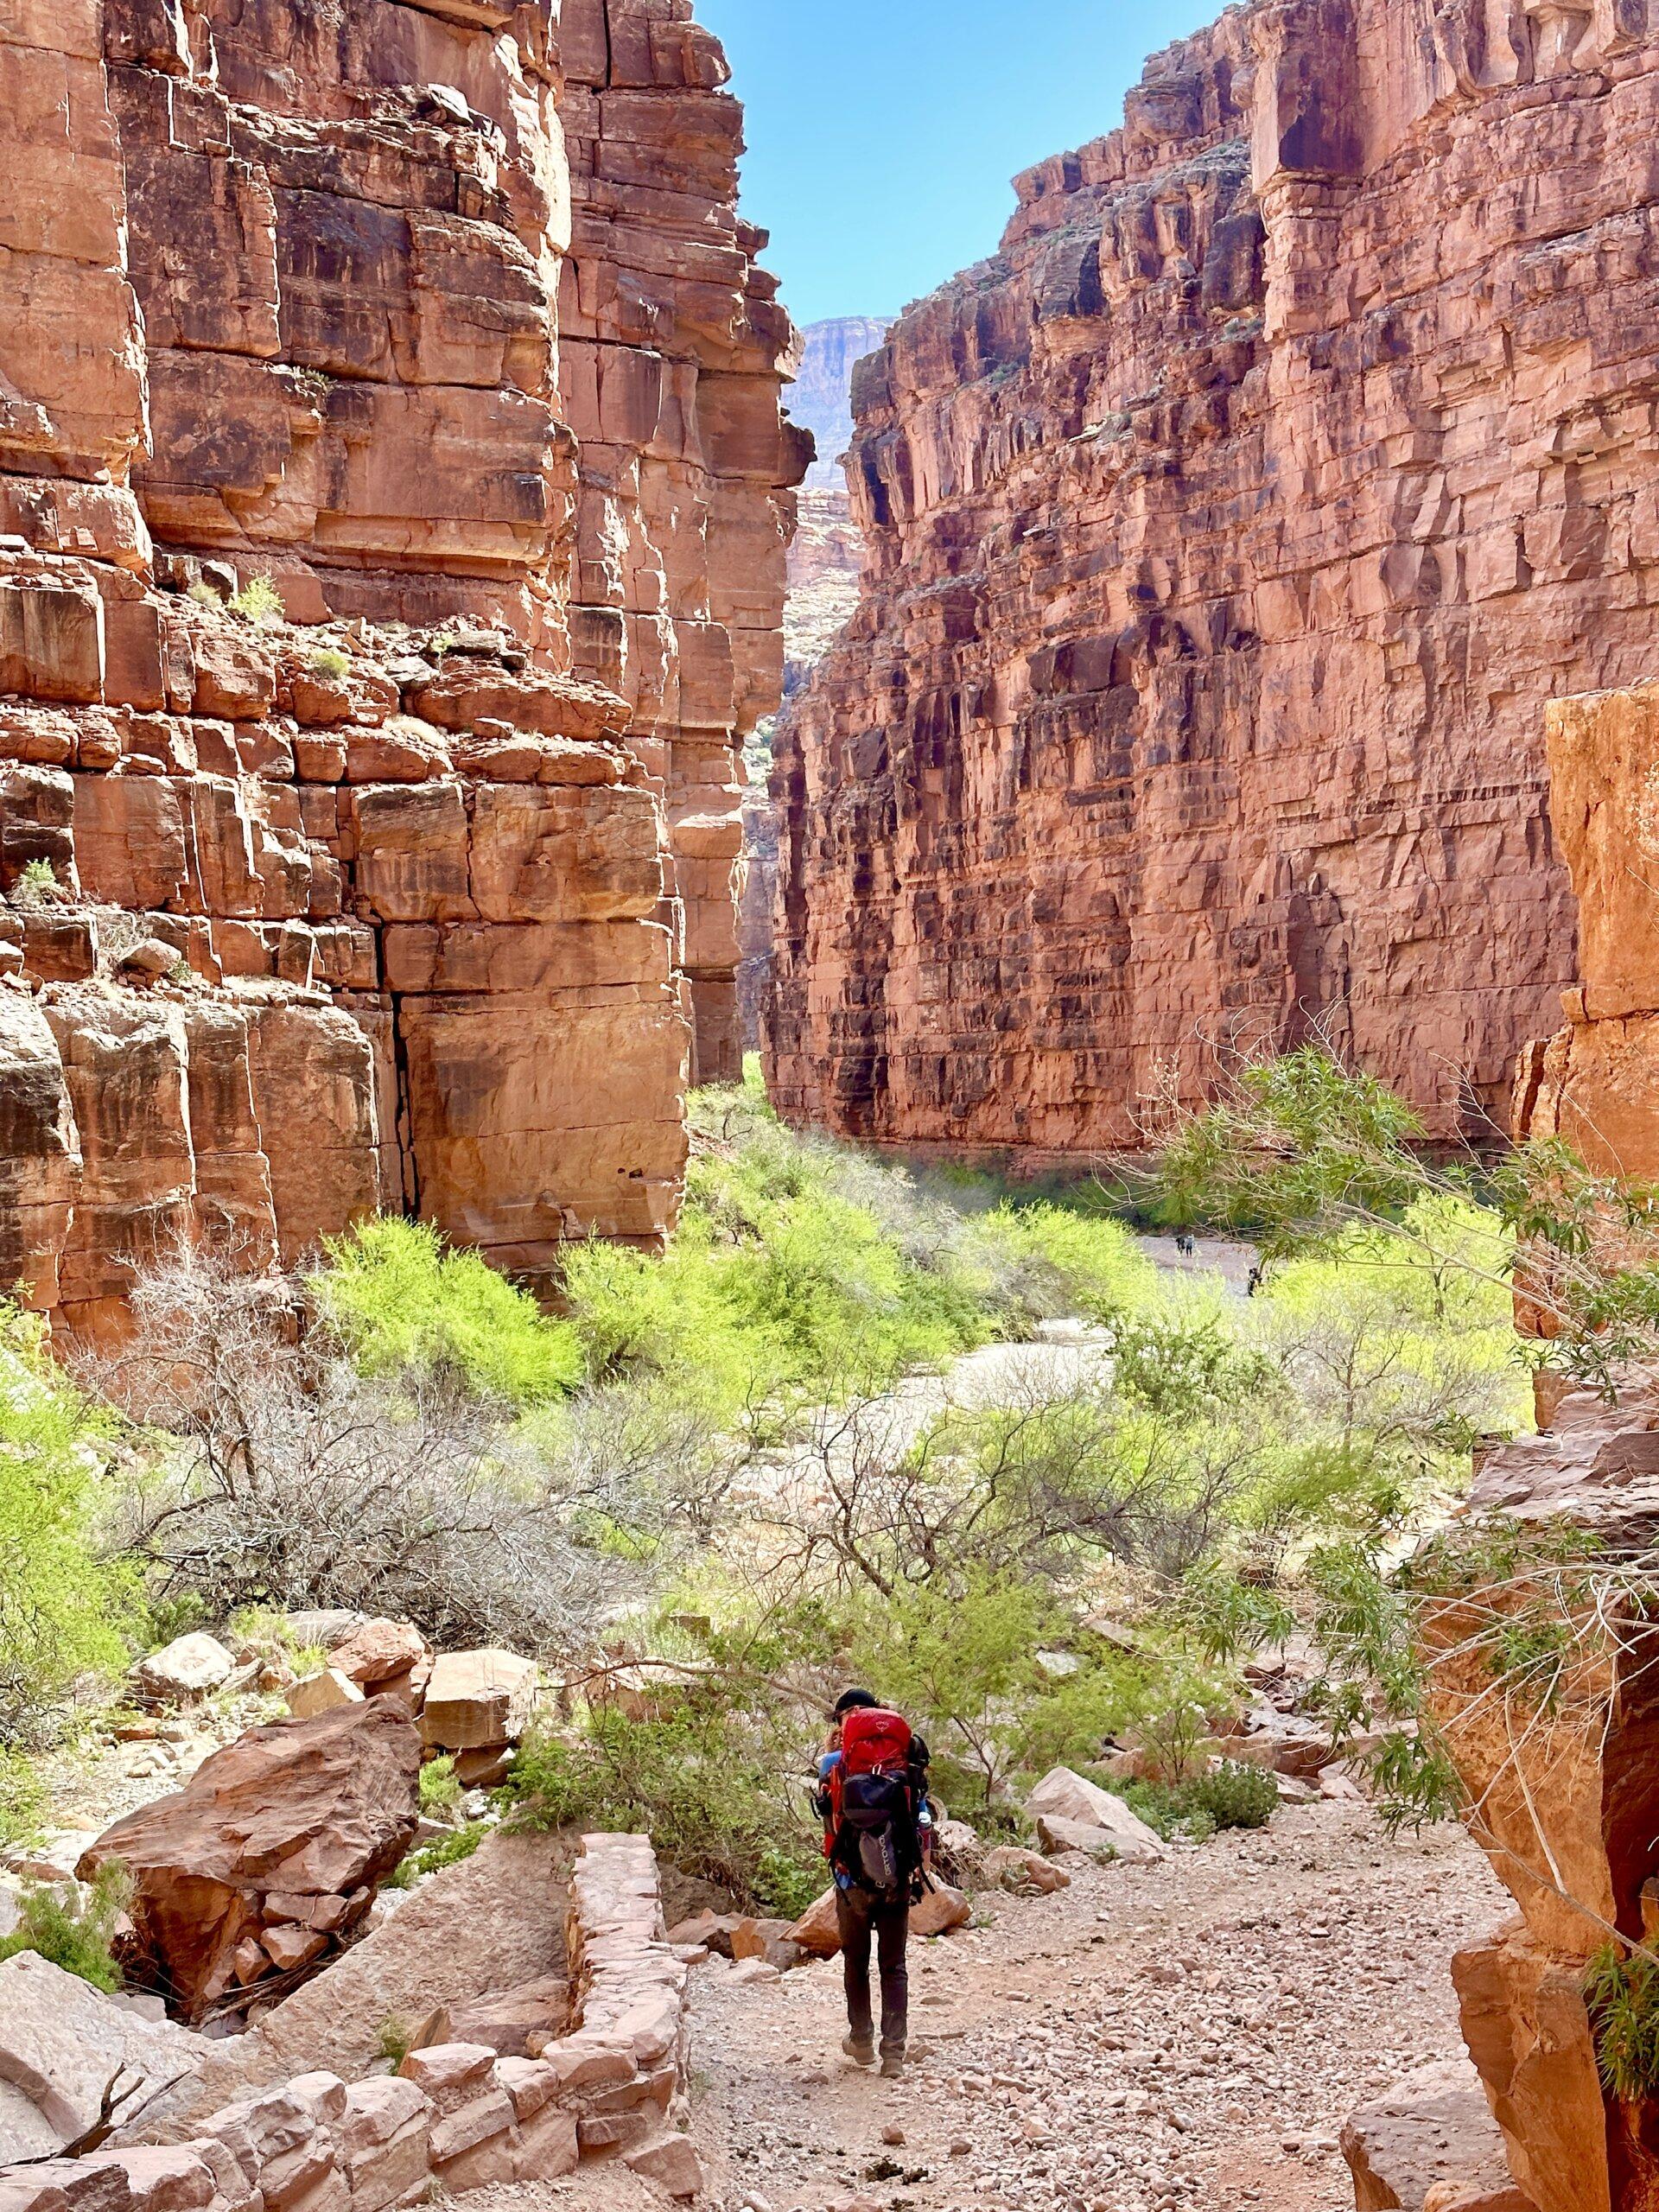
It is about 8 miles to get to Supai (the town) and then another 2 miles from Supai to the actual Campground. It’s nice to head straight to the campground when you get there to secure a camp spot so you don’t have to worry about that the rest of the day. My advice when choosing a camp spot would be to pick one towards the back of the campground near the river. The further you go into the campground, the less people there will be!
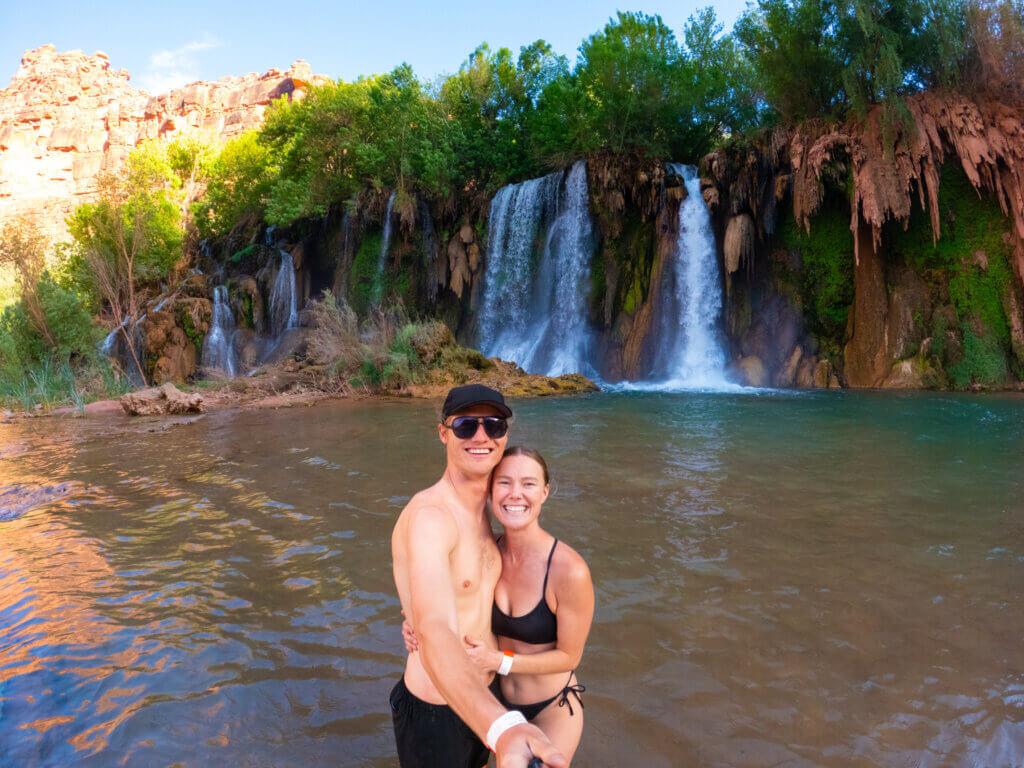
Once you set up camp you should venture out towards the lesser talked about falls- Navajo Falls and Fifty Foot Falls. They are located back towards the village and are just as magnificent as the popular falls AND with way less crowds! We splashed and adventured around for the rest of the day and then head back towards camp around dusk, took in sunset at Havasu Falls and then went to bed.
Day 2
The Confluence & Beaver Falls
If you’re going to hike to the confluence of the Havasu Creek and the Colorado River then day 2 is the day to do it! It is a very long and strenuous hike BUT its so worth it. It also passes right by Beaver Falls so it’s nice to do both in one day.
The Confluence
Distance: 18 mi RT
Elevation gain: 4,000
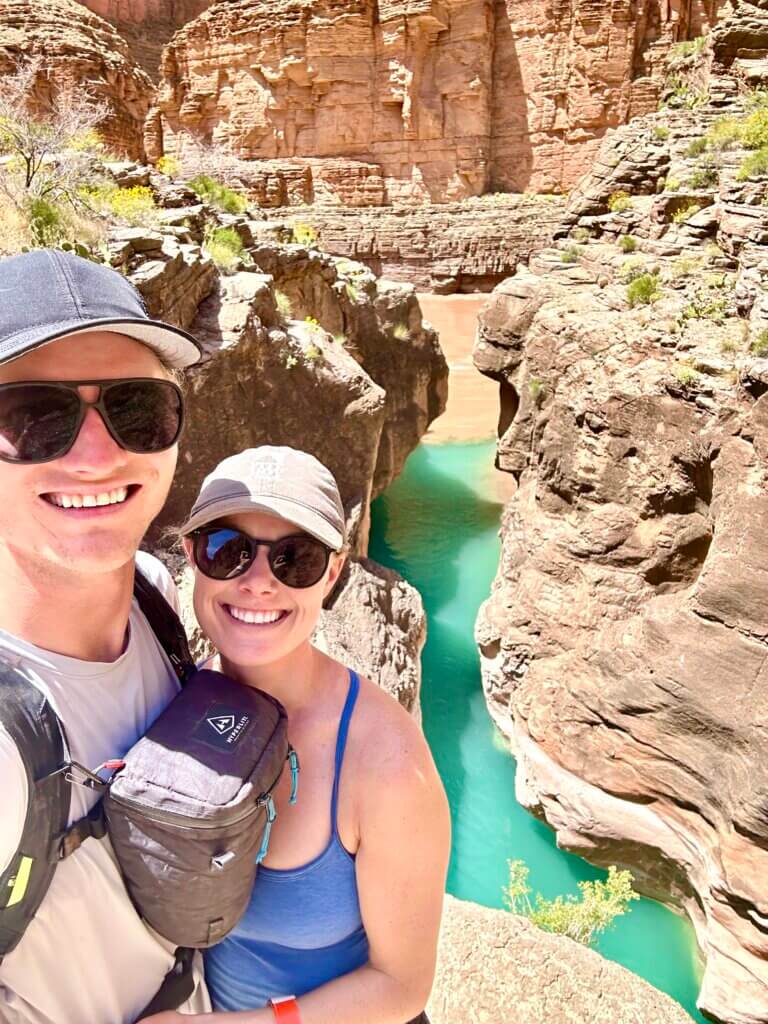
YOU NEED TO GET AN EARLY START IF YOU PLAN TO DO THIS HIKE! It’s a long, hard and an unforgiving hike if it’s hot outside. Do not underestimate it.
We started our hike to the confluence right as the sun was rising. I actually would not suggest starting much earlier than sunrise because the hike down to Mooney falls can be pretty dangerous in the dark. It will be super tempting to stop at Mooney to explore, but try to keep going- you will be exploring Mooney Falls tomorrow. After Mooney you will continue onward toward Beaver Falls.
Once you get to the Beaver Falls split, keep going towards the confluence. You will stop at Beaver on the way back! After Beaver Falls you will basically be following Havasu Creek all the way down to the Confluence.
Once you get past Beaver, you will cross the creek multiple times as well bushwhack through the brush on the banks of the creek. There isn’t a super obvious path to follow, but if you continue down the creek following the path of least resistance you will eventually get there!
We also used the alltrails map as a general reference to follow, but it isn’t super accurate so I would only use it to facilitate your instincts.
Beaver Falls
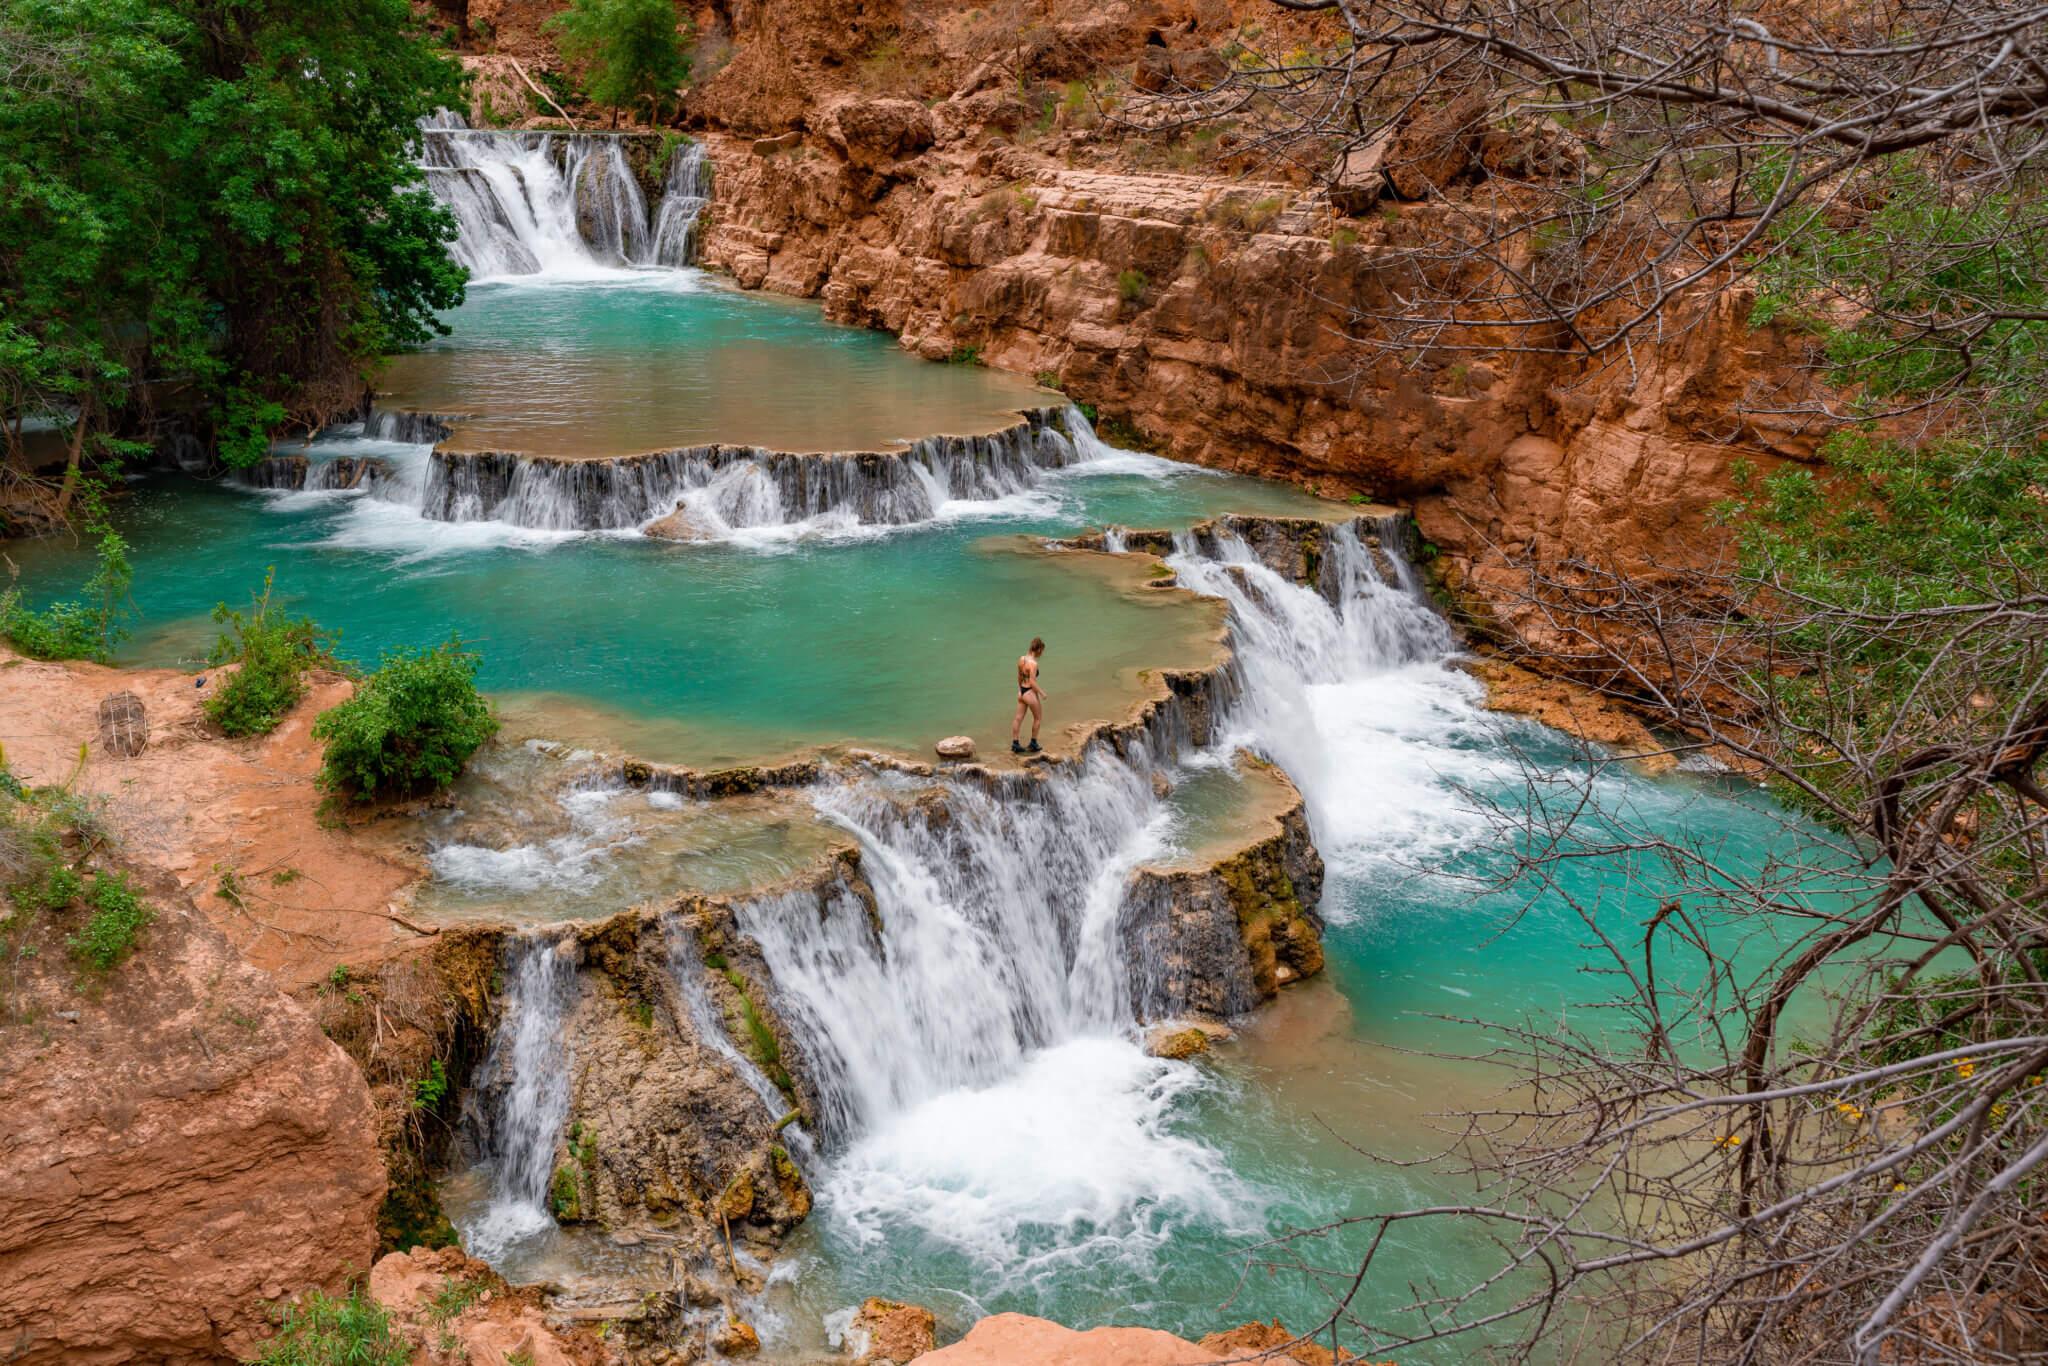
The BEST time to visit Beaver Falls is on your way back to the campground from the Confluence! Most people have cleared out of the area for the day and the likelihood that you’ll have it all to yourself is high!
***be very conscious of what time it is and head back towards the campground with plenty of daylight to climb up Mooney Falls
Day 3
Mooney Falls & Havasu Falls
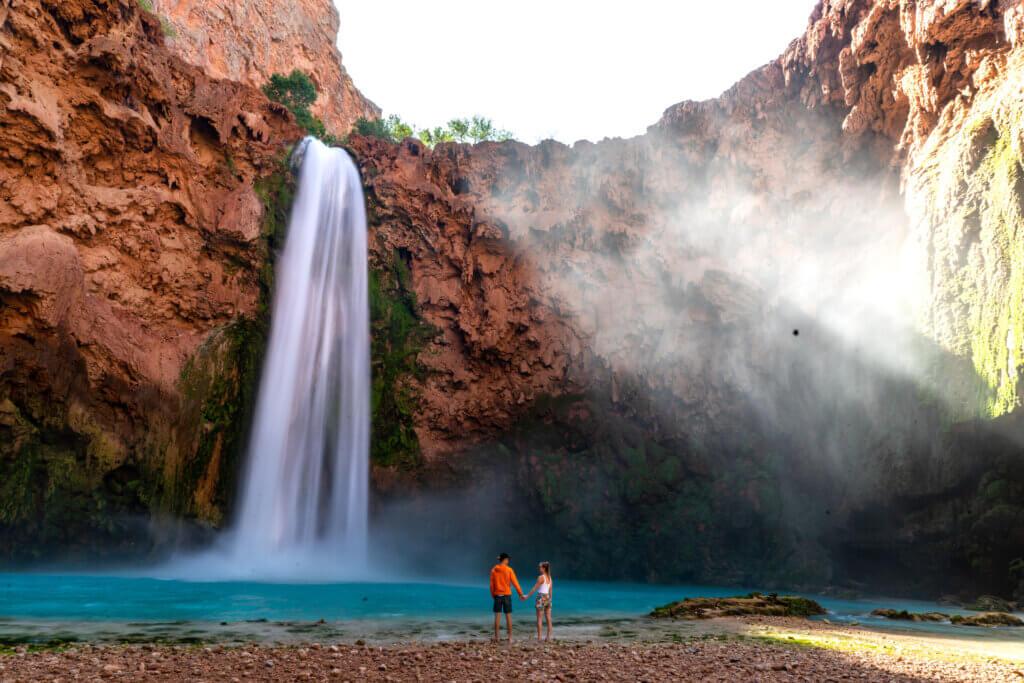
Today is your day to chill and enjoy Mooney and Havasu Falls! They are the two waterfalls on either side of the campground, so you don’t have to go far to explore either one! We chose to go down to Mooney right after sunrise (to beat the crowds) and then spent the rest of the day swimming and ham mocking by Havasu Falls! It was the perfect relaxing ending to the best trip we’ve ever taken.
You can also hike back to Beaver Falls today if you feel you didn’t get enough time there after the Confluence! Either way, it’s so nice to save your last full day as a nice and relaxing one.
Day 4
Hike Havasupai Campground- Hilltop
Distance: 10 miles ONE WAY
Elevation Gain: 2500 ft
On day four of your trip, it will be time to head back to the Havasupai Hilltop and say goodbye to the magical falls of Havasupai. Logistically, hiking out is MUCH HARDER than hiking in. The trail is uphill the entire way and your legs will already be tired from exploring all week. Do not underestimate the hike out, otherwise you can put yourself in a very dangerous situation.
Depending on what time of year you’re going, you might need to start your hike out super early due to the harsh sun. In the summer months the mid-day heat can get up to 120 degrees in the Canyon, which is incredibly dangerous to hike in. If you are going in one of the hotter months, please plan your hike out to where you are back at your car by 10 am.
What to Pack for Havasupai?
For a full list of our backpacking “must-haves” check out backpacking gear guide & and recommendations! Bust specific to Havasupai you will need the following:
Hiking Boots: We LOVE these Salomon’s in women’s and men’s!
Pack: A good backpacking pack makes ALL the difference! We both use Osprey bags (women’s and men’s) because they are truly the best on the market!
Sun protection: a brimmer hat and sun hoodie (women’s and men’s) are essentials in the sun!
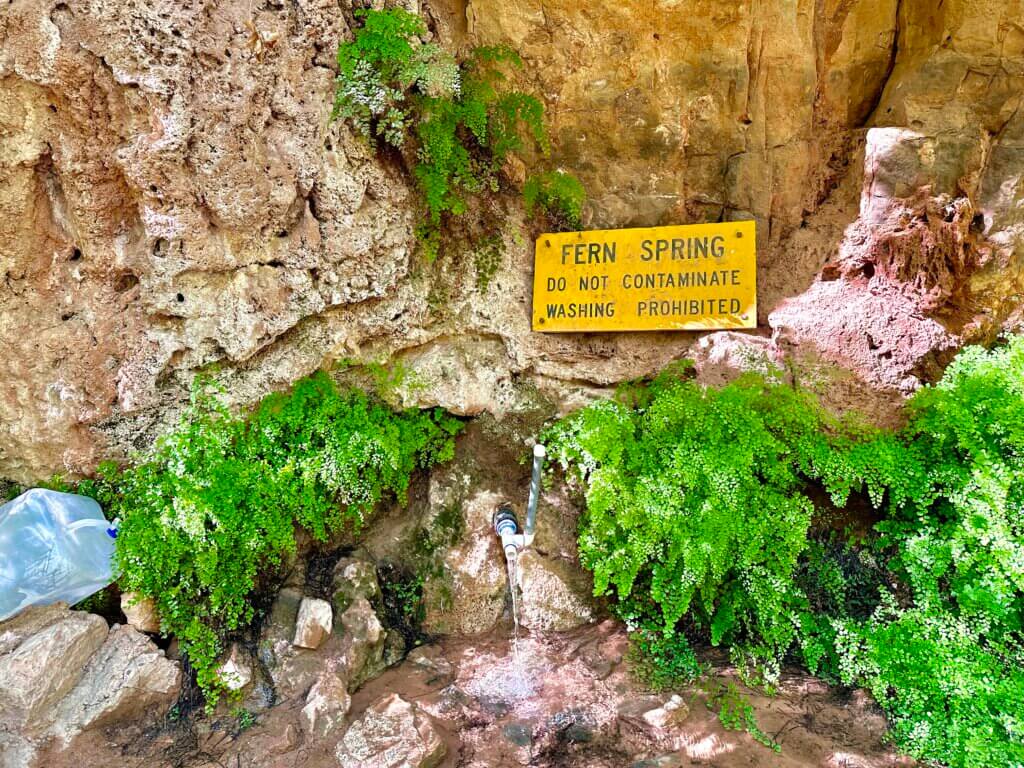
Water: Of course you’ll want to bring a water filter and a water bladder, but it’s also super nice to bring a collapsible water cube to keep around camp so you don’t have to make a million trips to Fern Spring.
Rat Sack: Small wild critters in the campground (mice, squirrels, etc) will try to get to your food and anything else with an odor, even if it means chewing through your pack or tent. Be sure to bring a ratsack to store all your food in so the pesky critters can’t get it.
First aid kit: Just this standard first aid kit should suffice if anything were to happen!
Light: A headlamp and extra batteries are important to carry in case you are out hiking later than you suspect.
Paracord: This is super nice to have to put up around camp so you can hang your wet clothes, bathing suit, etc. Its a lightweight cord that you hang from tree to tree.
Towel: A packable quick dry towel is a MUST if you plan to get in the water at all!
Packable Day Pack: It’s really nice to be able to leave your big backpacking pack at camp and use a lightweight day pack for your day hikes.
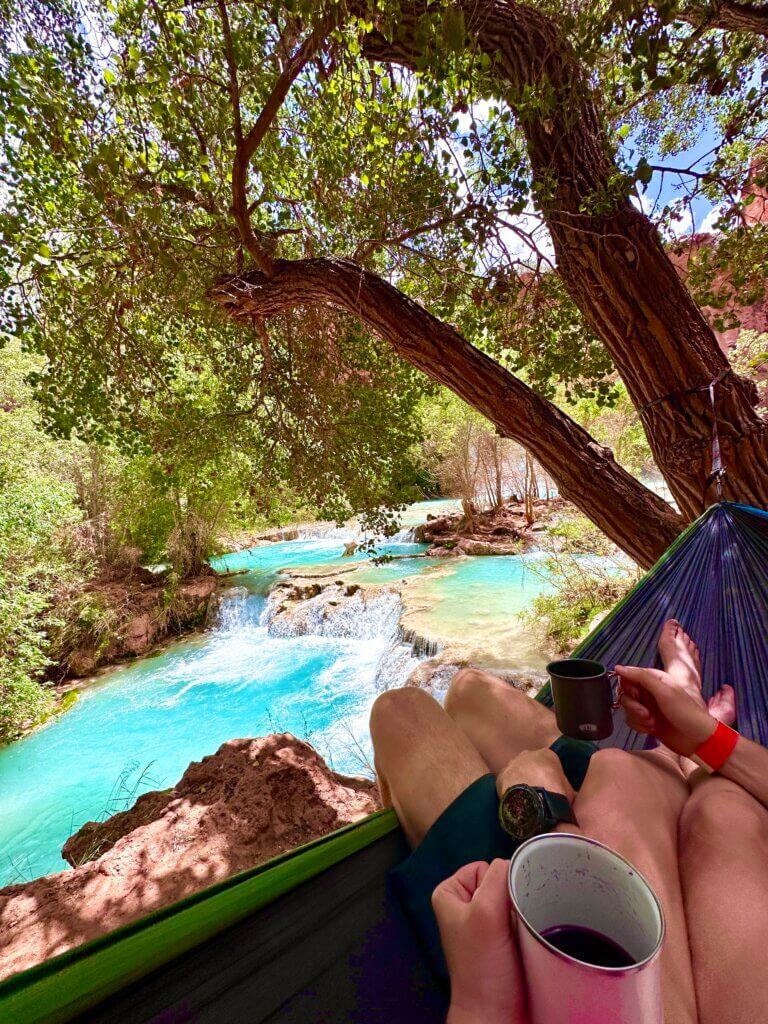
Hammock: You definitely do not need to bring a hammock, but it’s SO nice to have for sitting around enjoying the waterfalls or even for down time at camp!
FAQ
Is there food available for purchase?
There are two stores in the village where food is available for purchase – the Supai Store and the Cafe. They both have very limited options and are about 2 mi from the campground. Occasionally there will be a “fry bread” stand at the top of Havasu Falls where you can purchase fry bread with cash!
Is there clean water to drink or do I need to bring a filter?
There is a constant stream of clean water in the middle of the campground called “Fern Spring” that you do not have to filter, HOWEVER, you should bring a lightweight water filter such as the Sawyer squeeze to filter any water that you take from other areas of the creek.
Any cell service or wifi?
There is very limited cell reception, if any. Some people can get service in the village, while others cannot. There is Wi-Fi available for purchase in the lodge.
How hard is the hike down to Mooney Falls?
The hike down to Mooney Falls in infamous for the vertical “staircase like” drop that you have to descend to get down to the base of the waterfall. It isn’t necessarily “hard” per say, but it does have a little bit of exposure involved as well as a short rope section that you use to aid your descent.
It is not a technical section by ANY means, but it is one where you will want to wear proper footwear, be VERY careful, and of course know your limits.
Are there any campground pesks to be aware of?
