Joshua Tree National Park is famous for.. you named it, Joshua Trees! Most people visit the park for a day or two and decide they have seen it all. BUT, there are some incredible hikes in Joshua Tree that offer an array of different things to see! If you enjoy hiking, I would recommend setting a few days aside to get out onto the trail and enjoy a few of these classics that the park has to offer.
Check out what to pack for a day hike for gear recs, or where to stay in Joshua Tree for camping/lodging options!
Contents
Best Time of Year for Hiking in Joshua Tree
Joshua Tree National Park is situated at the very southern tip of California in a region that receives very little precipitation over the year and where two distinct deserts meet, the Mojave Desert and the Colorado Desert. The area sees insanely high temps in the summer with the highs commonly above 100 F, therefore summer is a NO-GO for hiking! Okay now that I’ve gotten that little warning out of the way… let’s talk about when it IS a good time to hike in Joshua Tree!
Spring
Weather-wise, Spring is the best time to visit Joshua Tree! The temperatures are mild with highs in the 70s and lows in the 40s, making it absolutely perfect for hiking. Spring is also when all the desert flora starts to bloom! The “bloom” happens quickly and doesn’t tend to last very long so it is a very special time to visit. The ONLY downside to spring is that it draws massive crowds, but if you plan and book ahead of time you will be totally fine!
Fall
Fall is a great time to do some hiking in the park as well, especially late fall. The weather is similar to springtime, but without the special desert blooms. Remember that the desert tends to have an “Indian summer” so start looking to plan your fall hikes around mid-October.
Winter
Winter hits the sweet spot of good weather + less crowds! While not as warm as spring or fall, winters can see highs up to 60 F which is still wonderful hiking weather. The crowds are significantly thinner and overall winter is a great experience!
What to Pack for Joshua Tree
Shoes: We LOVE these Salomon’s in women’s and men’s!
Pack: A good day pack makes ALL the difference! We both use this 30L Ortovox pack. It’s the perfect size for day hiking and we love that it unzips all of the way down the front!
Sun protection: a brimmer hat and sun hoodie (women’s and men’s) are essentials in the desert sun!
Cooler: Keep a few snacks and drinks cool in the car with this affordable soft sided cooler! It’s a game changer on a hot day!
Water: Be sure to bring a water bladder for your daypack. Plus this packable water cube and a reusable water bottle are great to keep in the car!
Snacks: Make sure to pack some trail snacks too! We love these meal replacement bars (although we use them as a snack not a meal!)
First aid kit: Just this standard first aid kit should suffice if anything were to happen on the trail!
Light: A headlamp and extra batteries are important to carry in case you are out hiking later than you suspect.
OF COURSE you should always carry the 10 essentials as appropriate to your hike & environment! 🙂
Joshua Tree Hikes
Without further ado, let’s get to the hikes! You will find the easiest hike listed first ranging to the most strenuous hike listed last. Pretty much all of these hikes are suited to every skill level, with Ryan Mountain being the only hike with significant elevation gain.
Cholla Cactus Garden
- Loop
- 0.25 mile
- 0 elevation gain
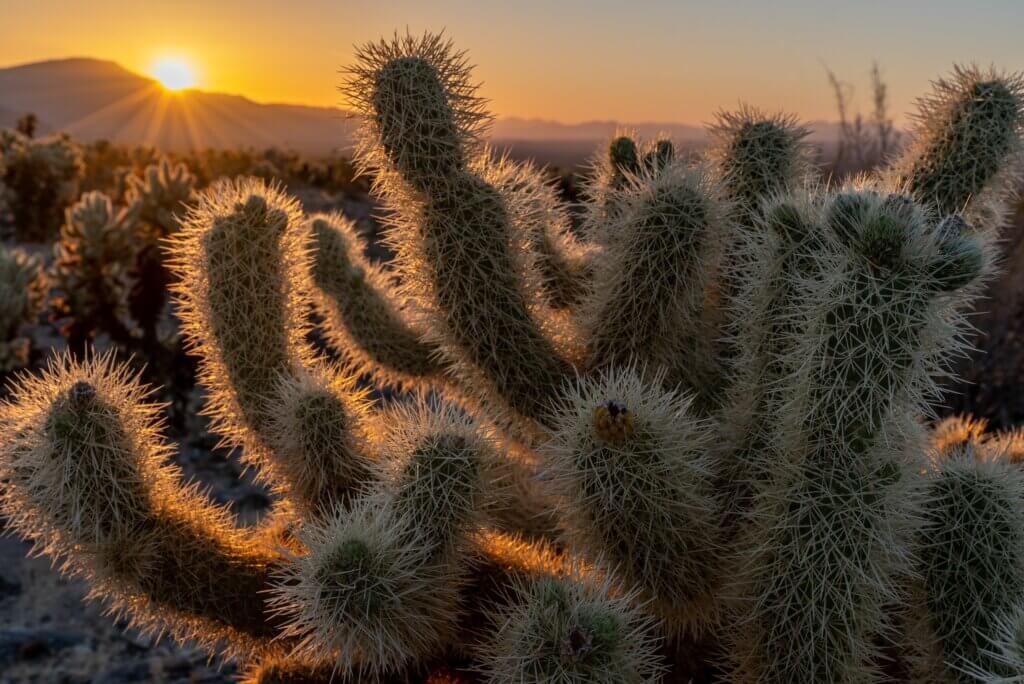
Let’s start with the best sunrise hike. If you sleep in for the entirety of your trip, I urge you to at least set one day aside and GET YOUR BUTT UP AND CATCH THE SUNRISE in the Cholla Cactus Garden. It is by far one of the most magical sunrises I have ever experienced.
The Cholla Cactus Garden is a little walking trail that takes you through a field of endless Cholla Cacti. It feels as if you have stepped on a different planet. During the day, the area is extremely crowded as it is very accessible, but if you make the small effort to wake up early and catch the morning light coming through the garden, then you will have it all to yourself!
Skull Rock
- Loop
- 0.25 mile
- 0 ft elevation gain
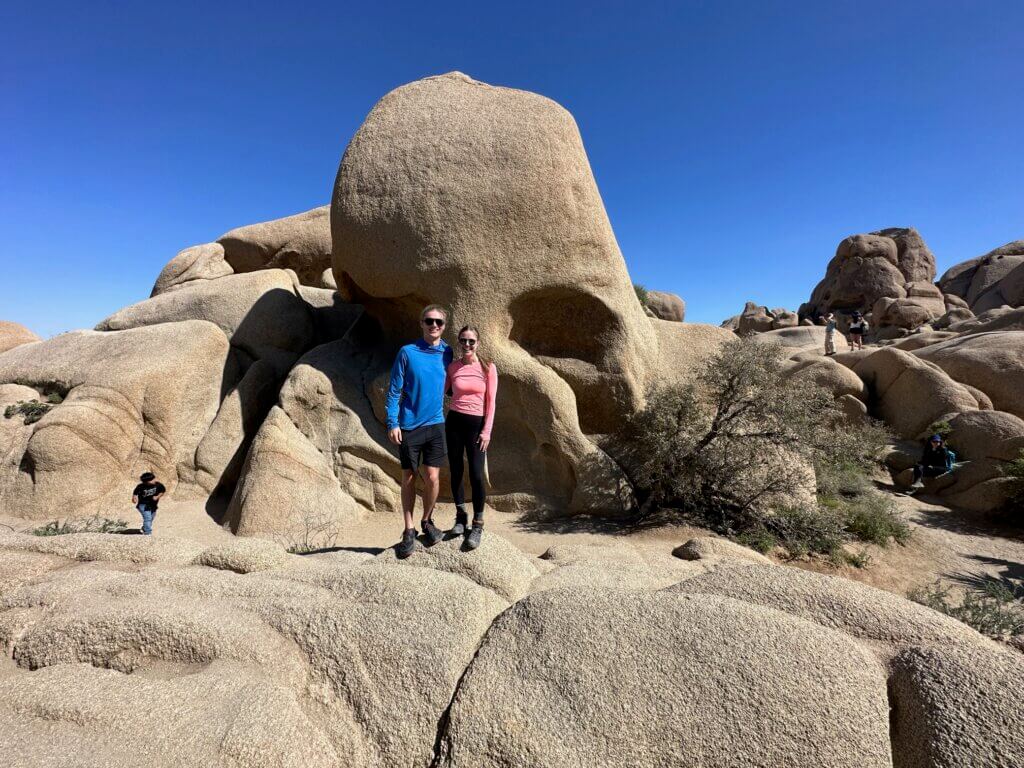
Technically skull rock is a 1.7 mile loop trail with about 150 ft elevation gain, but the main attraction is right at the start of the trail. This massive rock formation in the shape of a skull attracts tons of visitors every day! This area is extremely popular and normally stays crowded throughout the day. The rest of the hike is wildly unimpressive and therefore I suggest just stopping briefly to check out the rock.
Barker Dam
- Loop
- 1 miles
- 50 ft elevation
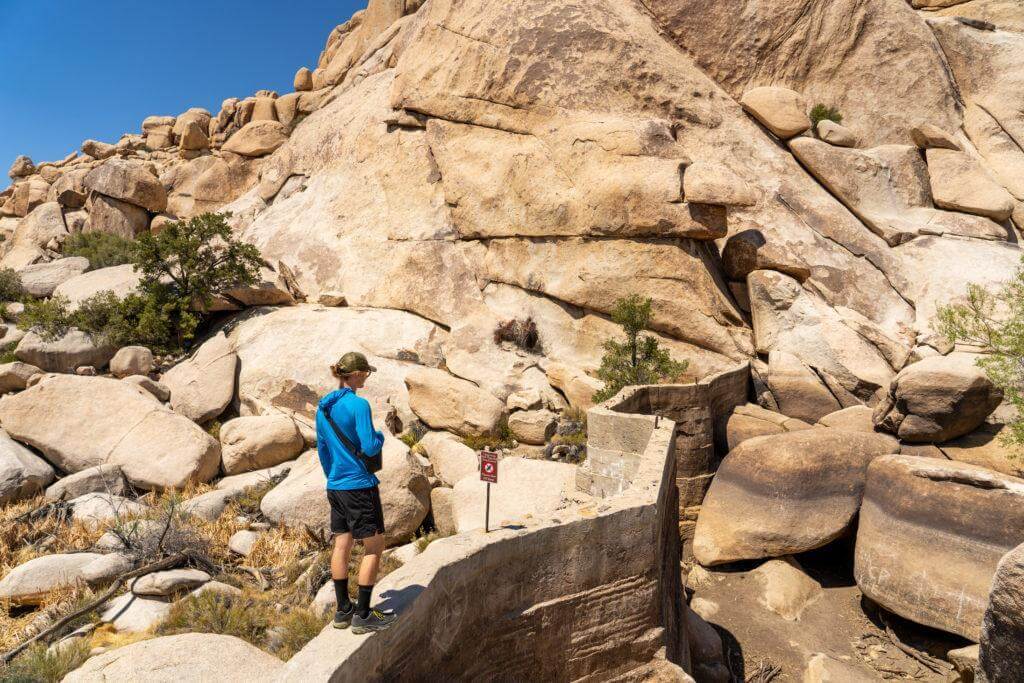
Barker Dam trail is a very easy 1 mile loop, which offers scenic rock formations and of course barker dam itself! The dam was built by cattlemen in the early 1900s to supply water for their livestock. On a good precipitation year, you may be lucky enough to catch the dam full of water! We went early spring, and the dam was dry as a bone. Still a beautiful hike and a great little walk in the past.
Hidden Valley Nature Trail
- Loop
- 1 mile
- 100 ft elevation gain
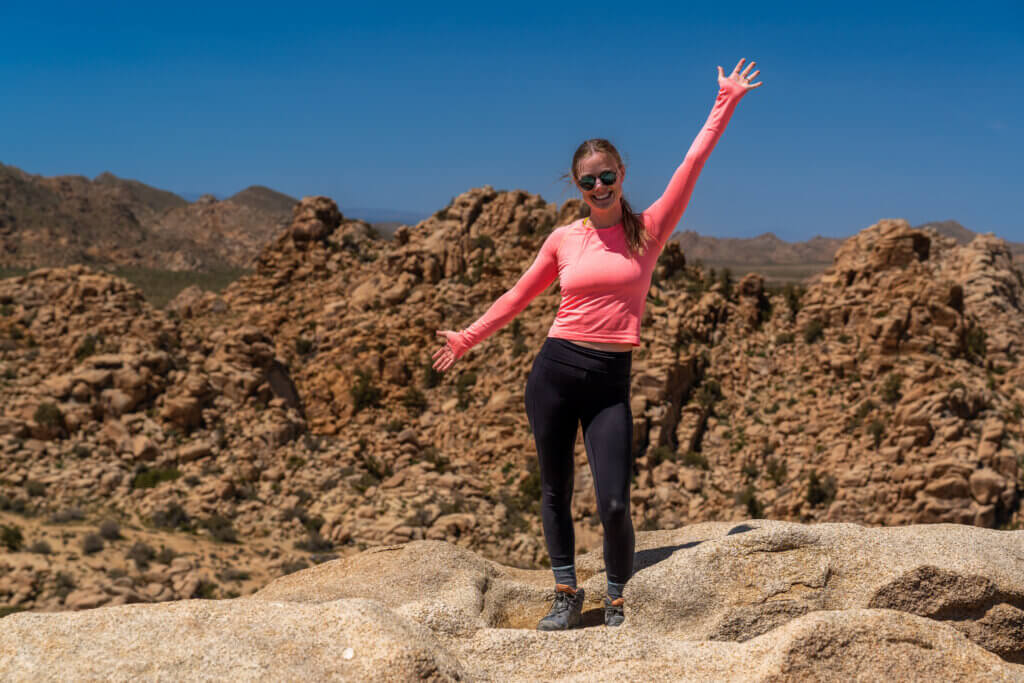
A great hike to get a little taste of what the park has to offer! Hidden Valley Nature Trail is a quick 1 mile loop that takes you into another world! Surrounded by boulders of all sizes, this hike is like a massive rock playground! It is a great place to be on the lookout for rock climbers, as there are numerous routes in the area and right off of the trail. Be sure to arrive early to snag a parking spot, as this area will undoubtedly fill up by noon!
Heart Rock & Arch Rock
- Out & back
- 1.7 mile
- 100 ft elevation gain
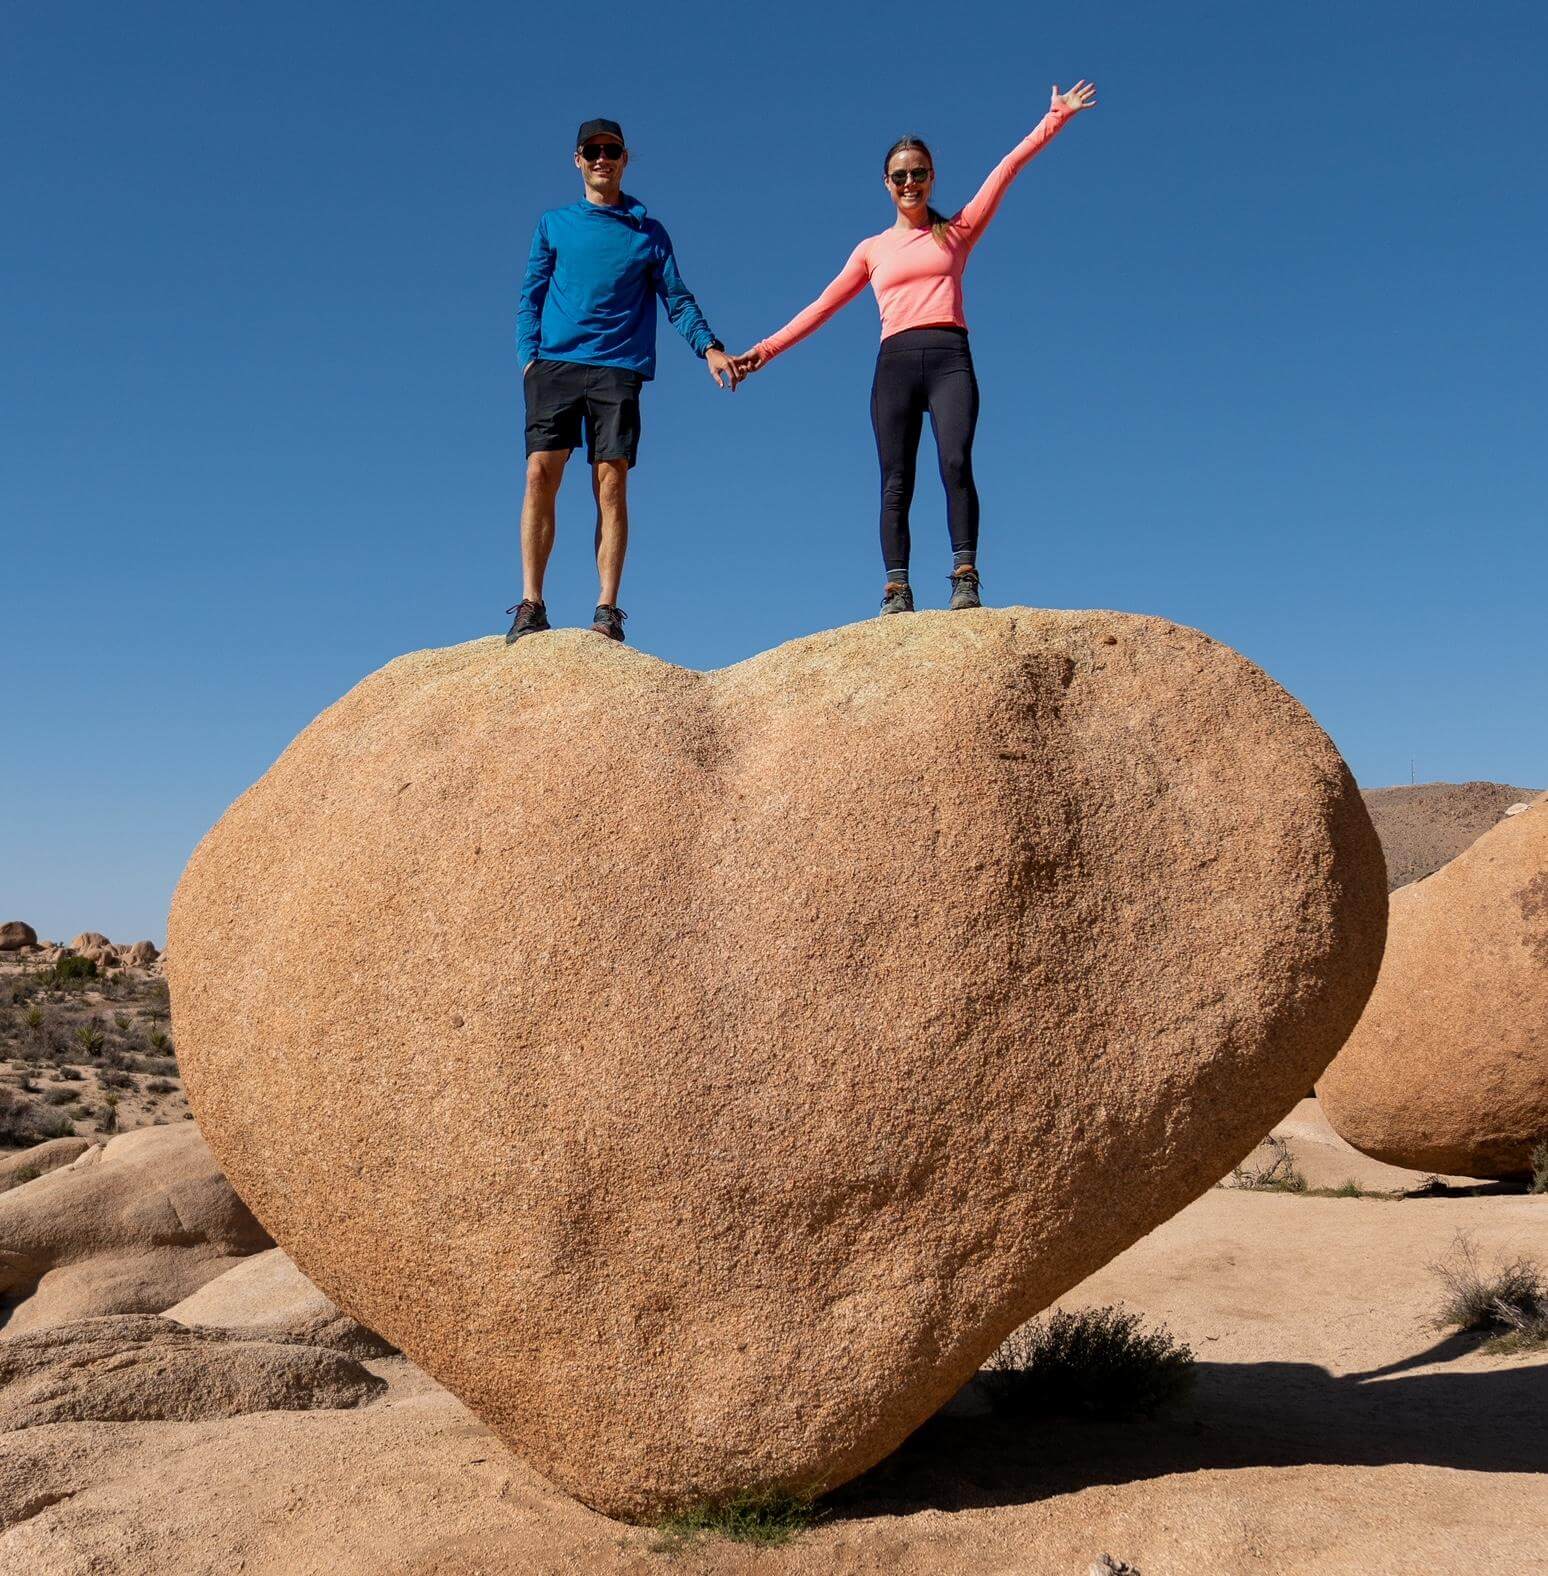
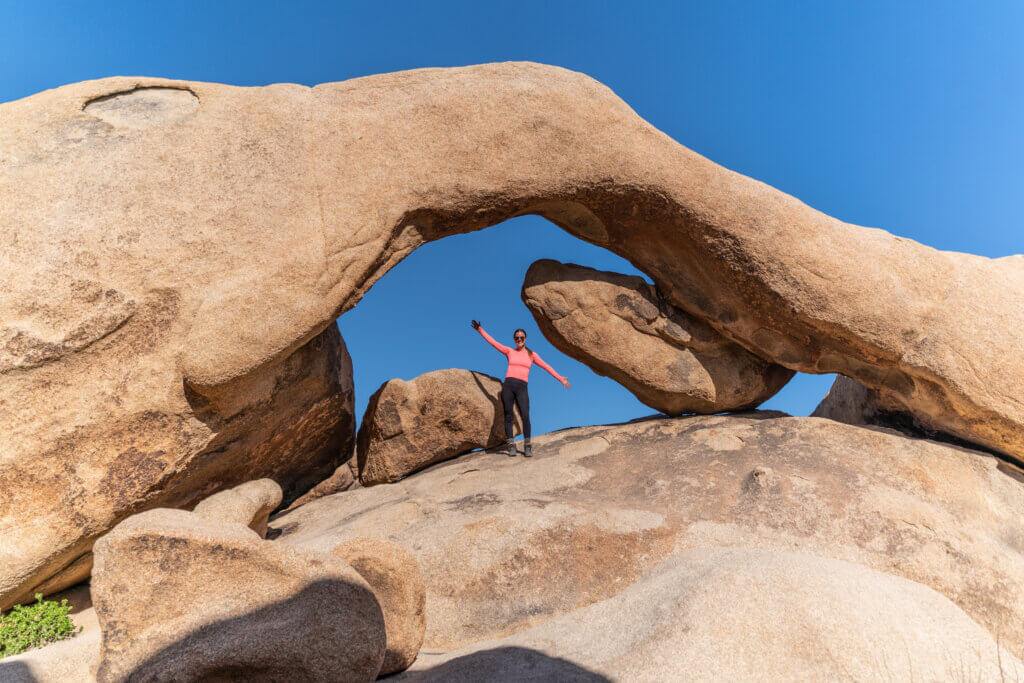
These two rock figures share the same trailhead and are two of the cooler rock formations in the park! Both are a quick and easy hike, but for some reason they are not nearly as popular as other hikes (BONUS)! There are actually a ton of cool rocks in this area so feel free to explore a bit and look for your own designs in the rocks!
Split Rock
- Loop
- 2 mile
- 252 ft elevation gain
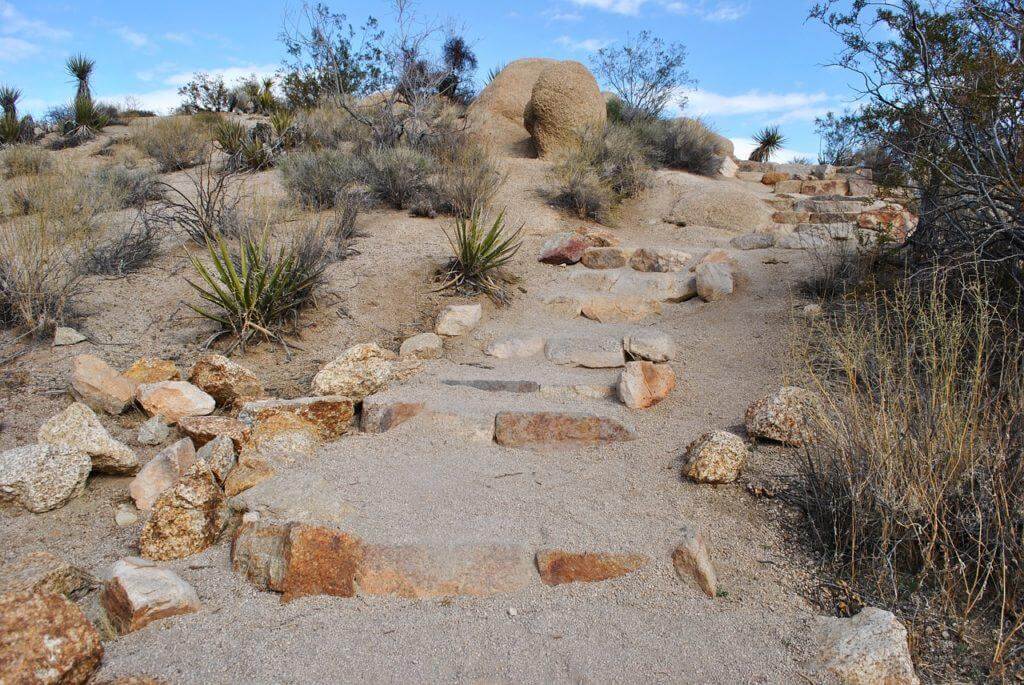
Split rock trail is a loop trail that is has scenic rock formations around every turn! We personally enjoy trail running this loop, as it is not too long and the elevation in minimal. Still, a great hike on a day where you might be feeling a bit tired from hiking Ryan Mountain the night before.
Inspiration Peak
- Out and back
- 1.8 miles
- 700 ft elevation gain

OKAY so the picture is from Keys View, because the actual inspiration peak trail isn’t pup friendly! BUT I would highly suggest hiking Inspiration peak for sunset! It has the exact same views as Keys View but with NO crowds!
49 Palms Oasis Trail
- Out and back
- 3 miles
- 600 ft elevation gain
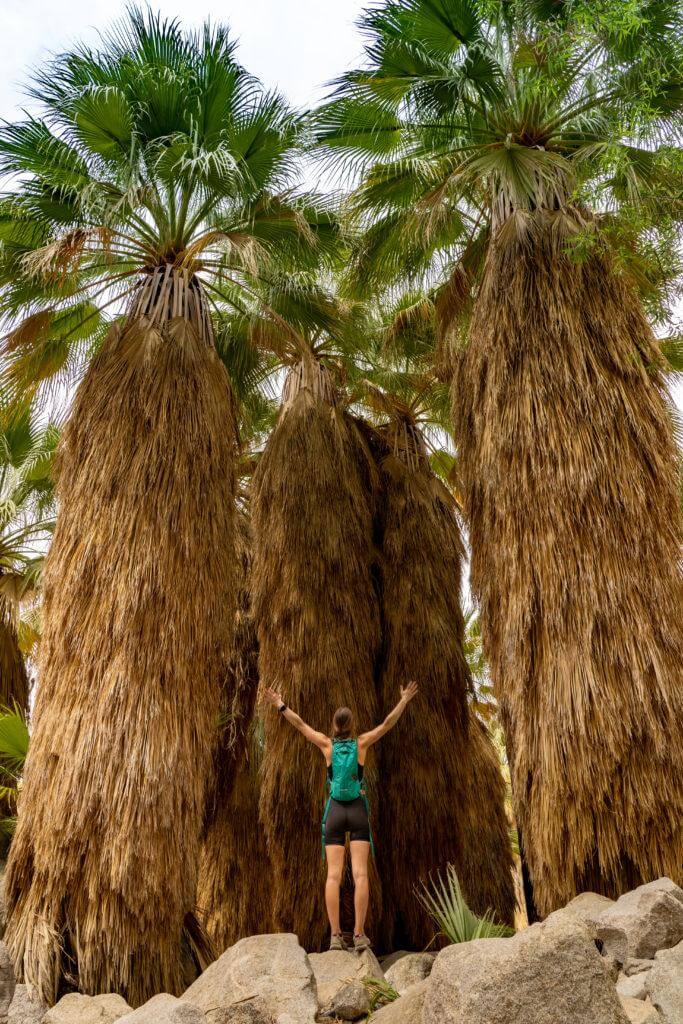
There are a handful of Oasis’s within the park, but the 49 Palms one is our favorite! Hike 1.5 miles in where you will be met with a beautiful natural occurring oasis. An oasis is defined as “a fertile spot in the desert, where water is found”. It is a pretty rare and extremely beautiful phenomenon.
The 49 Palm oasis trail is a moderate hike that leads to numerous fan palms, birds chirping, and little ponds of water! As you can imagine, animals and wild-life flock to these areas. If you close your eyes, it will feel as if you have stepped into a little jungle! Be sure to bring a lot of water with you and avoid going at the hottest part of the day, as the entire trail is unapologetically exposed.
Ryan Mountain
- Out and back
- 3 miles
- 1050 ft elevation gain
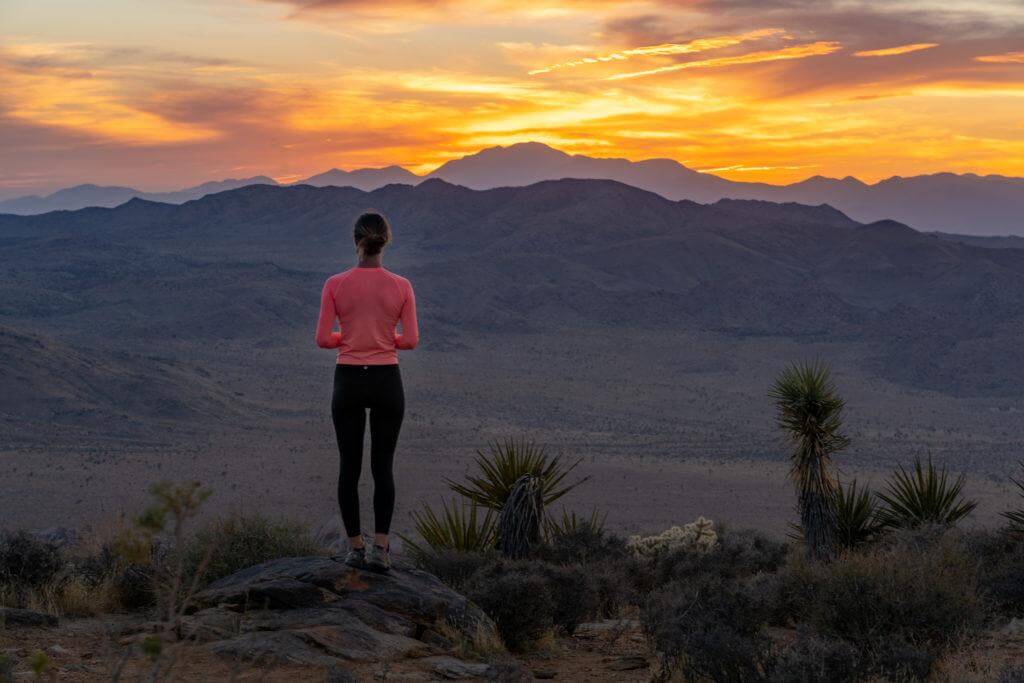
Ah, the perfect hike to end the day! Ryan mountain trail is one of the most popular in the park, and for good reason! In a short 1.5 miles, you will find yourself with breathtaking panoramic views of JTNP! I highly suggest hiking this for sunset, as there is no shade and trail holds a steep grade for the entirety of the hike. At the top there are plenty of places for everyone to spread out, relax and enjoy the peaceful sunset. Make sure to bring a headlamp, so you can navigate your way back when the sun goes down!
Helpful Tips
Make a Plan
There is NO SERVICE in the park, therefore it is helpful for you to have an idea of what you will be doing for the day before you enter the park. Grab a map at the entrance or on recreation.gov to help you navigate the park without your handy dandy cell phone.
Bring Extra Water
There is absolutely no potable water in the park, therefore you will need to bring in all of the water you plan to consume.. and then some. Always bring extra water! The climate is hot and dry and the risk of dehydration and heat stroke is high, especially in the warmer months.
BYOF: Bring Your Own Food
There are no stores or restaurants in Joshua Tree, so at the minimum you need to bring some snacks with you! There are multiple picnic areas in the park though, so it’s always nice to bring a lunch and take a mid day break
Wear Sunscreen
Sunscreen in imperative! The desert sun is powerful, do not underestimate it.
